This week’s craft was inspired by this (click image for source):

I am nowhere as talented as Lier so ours did not turn out nearly as awesome but I still love it and so does David.
We grabbed an Amazon box, printed her pdf, cut it all out, traced.
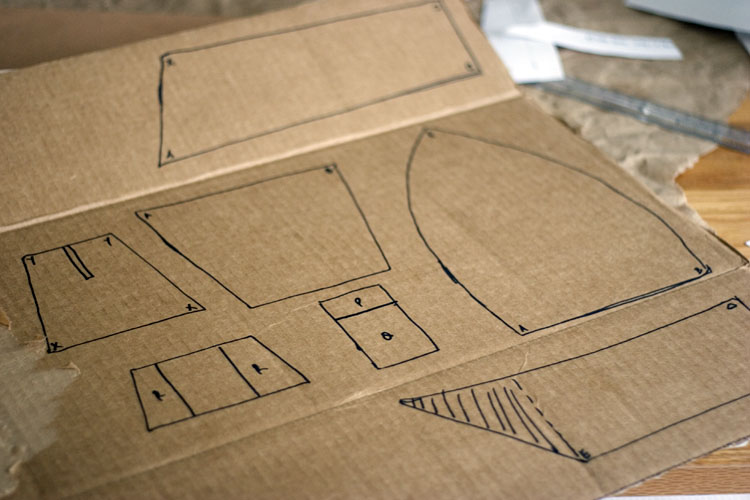
Cutting the cardboard was really quite hard for me. I used box cutters and scissors. I am not talented.
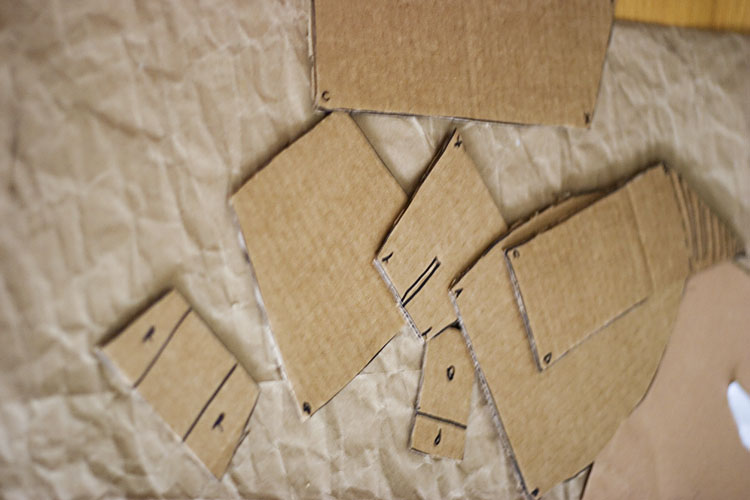
It took me a while to figure out how the whole thing fit together but I did eventually manage it.
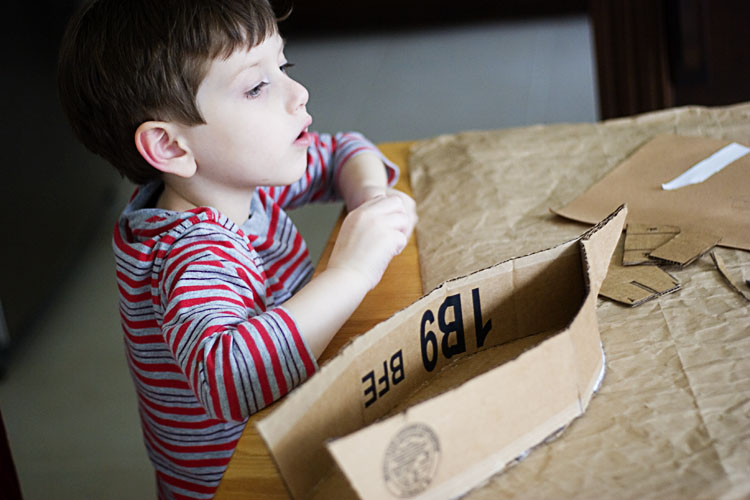
And I must admit David loved it.
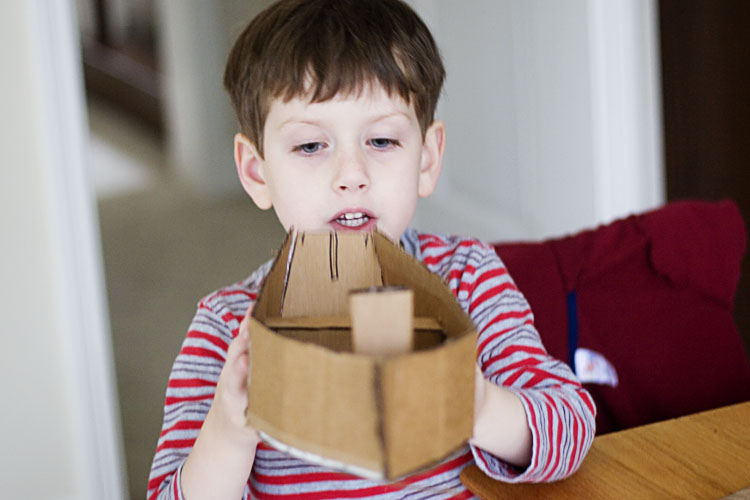
By the time we were done, I was pretty exhausted and ready to stop so we didn’t do the little pieces and there was no way I was doing the ends like she magically did. I didn’t even get to put the sail in but I think that worked out better actually.
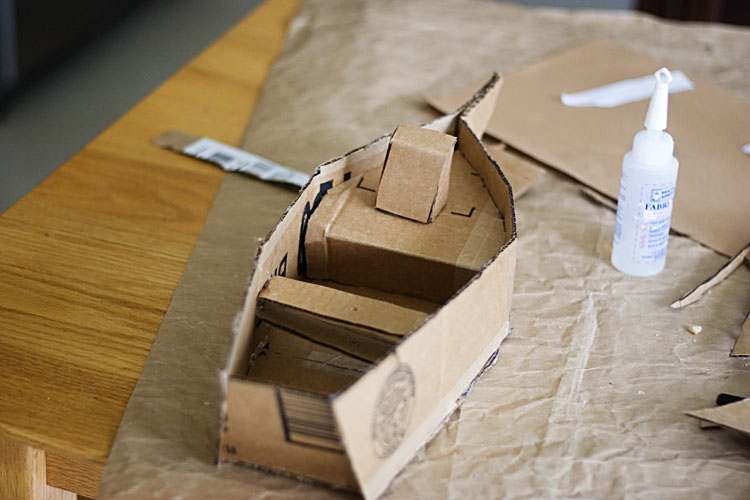
The next morning, I woke up to find David had colored it all with his markers and he’s been playing with it nonstop.
Who can complain about that?
This week’s craft was simple fun inspired by this (click image for source):

Sadly, I don’t think I made a paper chain since I was a little girl and I wasn’t sure I remembered how. But I tried.
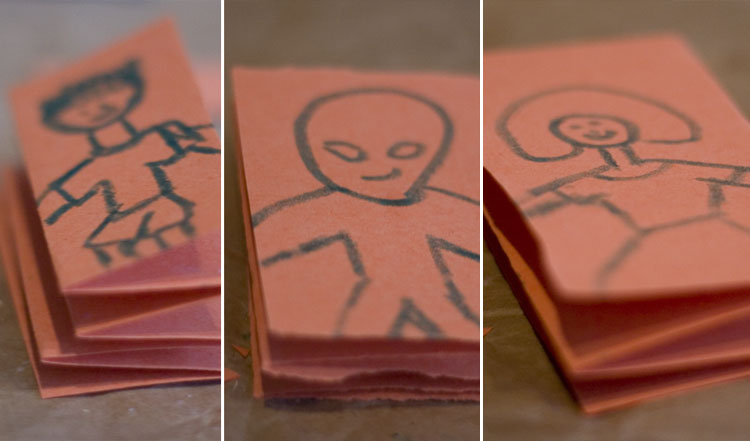
Ahem, I have an art minor from college can you tell? Yeah.
Once we cut them, they were even less recognizable. The first one fell apart and only a few chained.
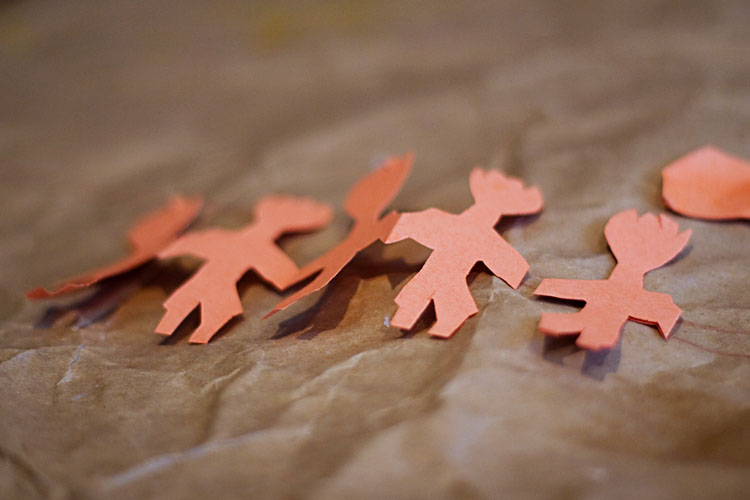
But the next one was right.
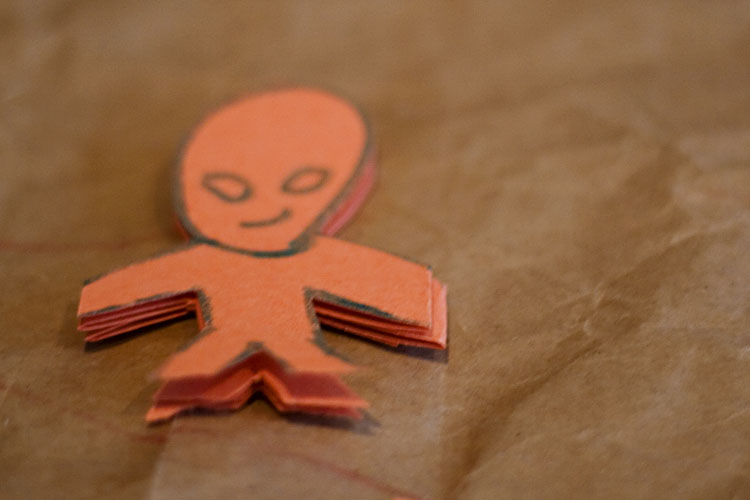
And David enjoyed the process a lot.
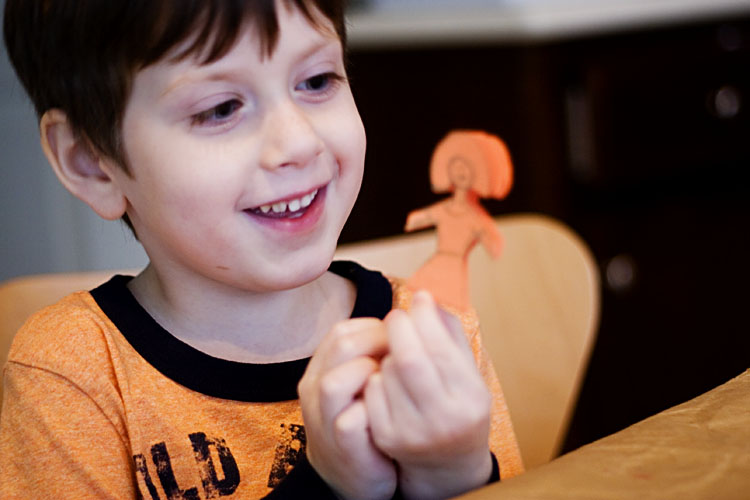
Especially when he got to open them for the first time. So he didn’t care that I had no talent.
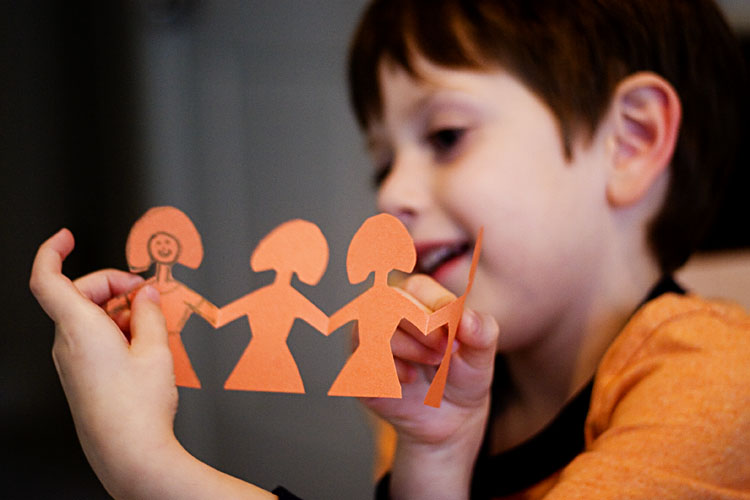
And remember the truck from last week? They all ended up in the trunk.
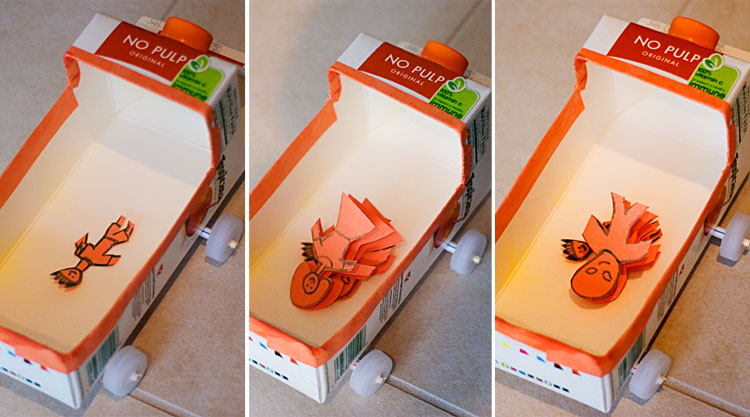
All in all, it was quick but really fun! We need to make more of these.
This week’s craft was inspired by this (click photo for source):

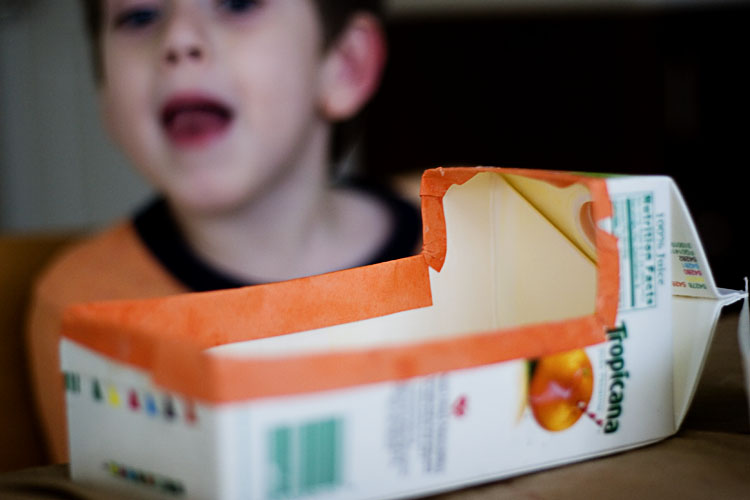
We don’t normally have cartons in the house because I don’t like them and we tend to buy a gallon of milk. But as it turned out, we bought some orange juice for Christmas so I saved the carton.
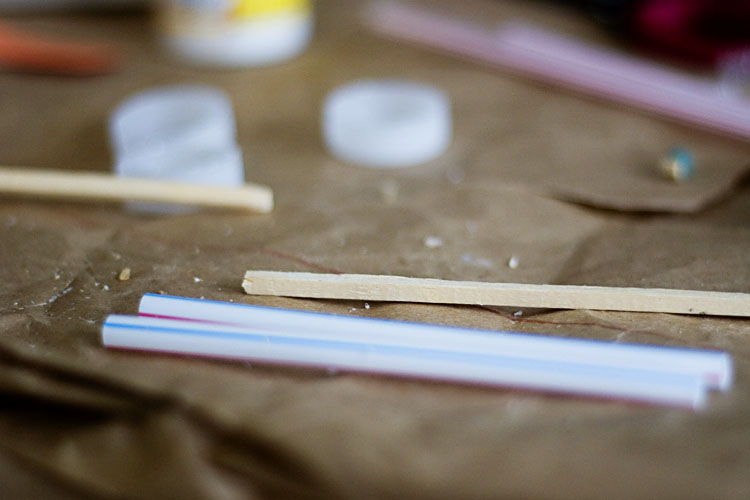
We gathered all of our supplies:
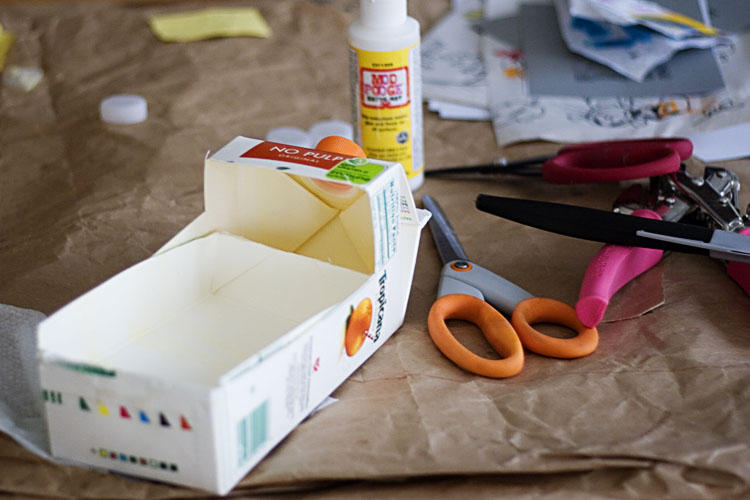
We then taped the edges with glue and construction paper.
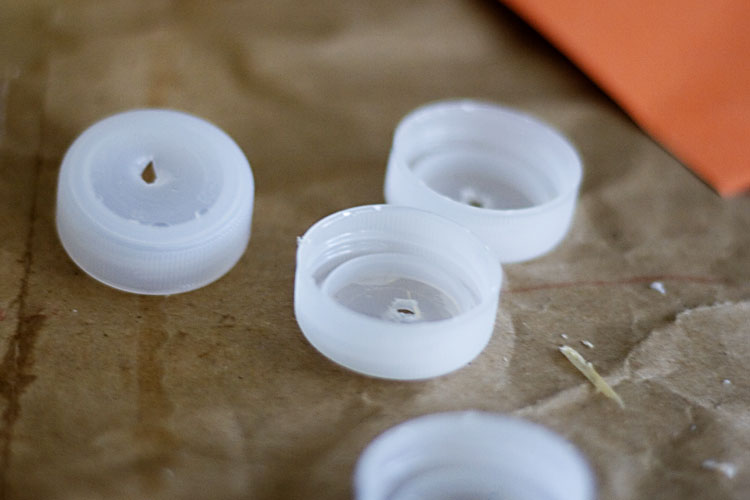
We drilled holes in the bottle caps.
I didn’t have the sticks she used, so I cut up a long match we had and thankfully the straws were still wide enough.
David put the straws through.
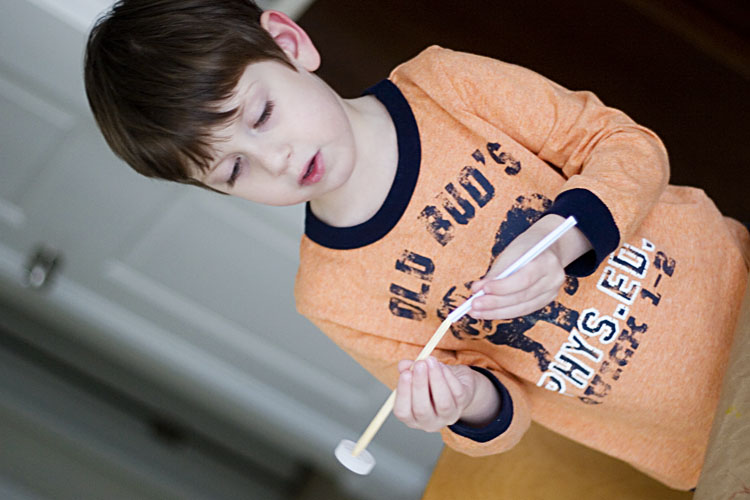
And we glued them to the truck.
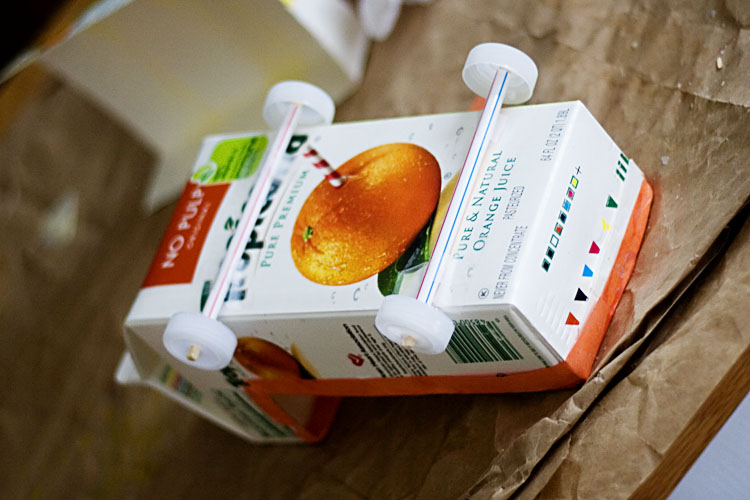
Here are two shots of the finished product.
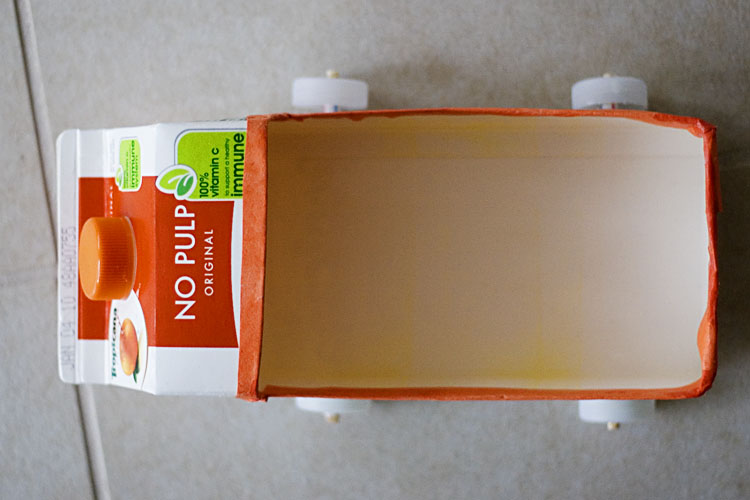
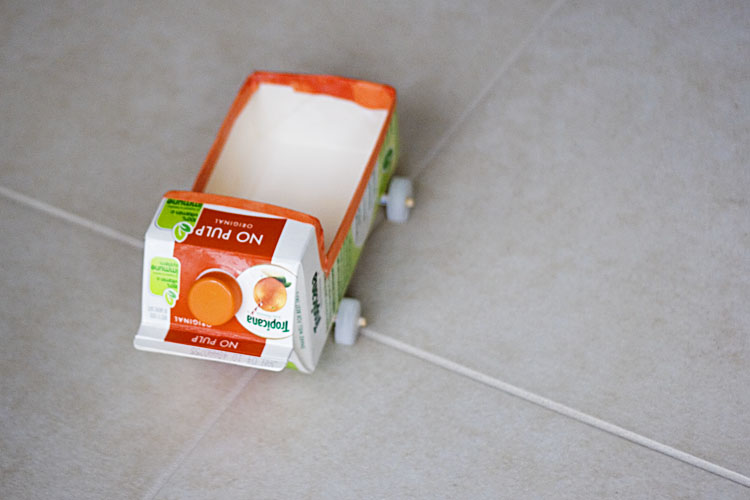
And here’s David playing with it.
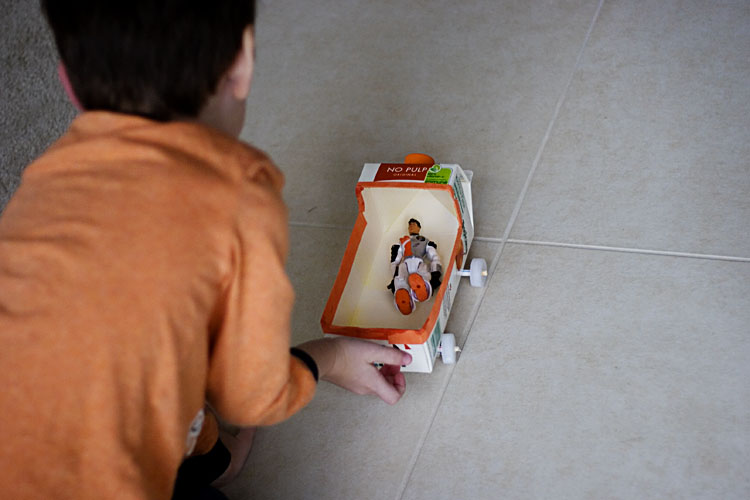
This was a quick and super-fun project. Highly recommended. David loves loves loves his truck.
Since it was David’s birthday last weekend, I thought it would be fun to make him do his own thank-you cards.
We picked three different colored papers form my leftovers stash. Grabbed the Martha Stewart butterfly punch and punched a bunch of hearts out of each. I then cut some heavyweight 8.5×11 paper to create the cards.
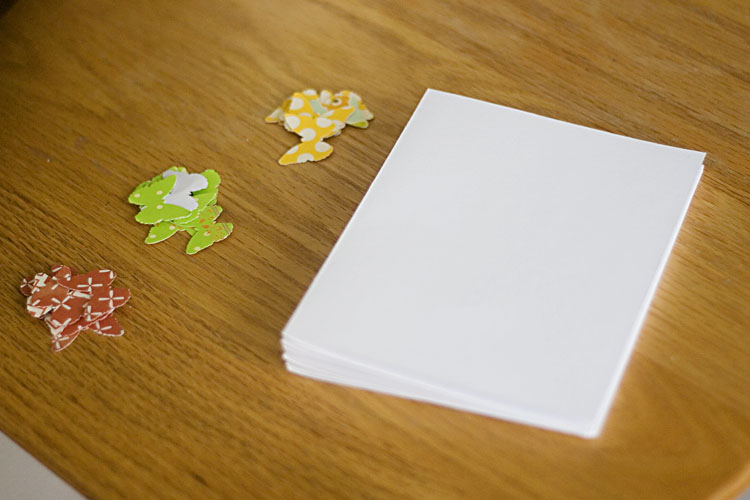
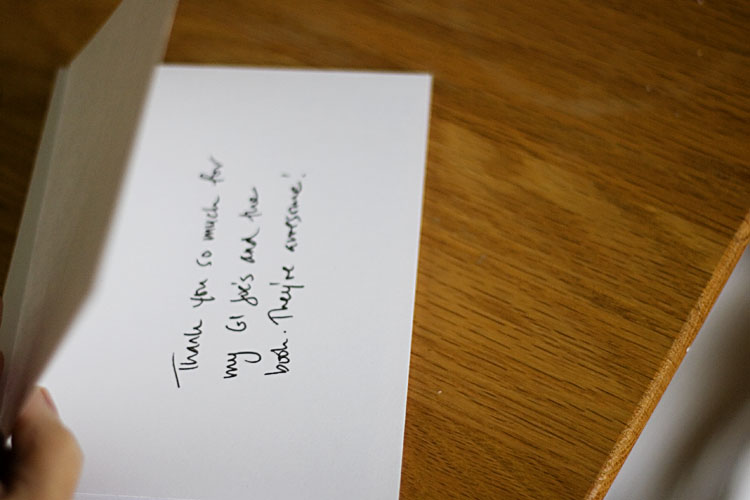
I wrote the inside of the cards, thanking them for the specific gift. I kept it short since I knew David would take up a lot of room writing the names.
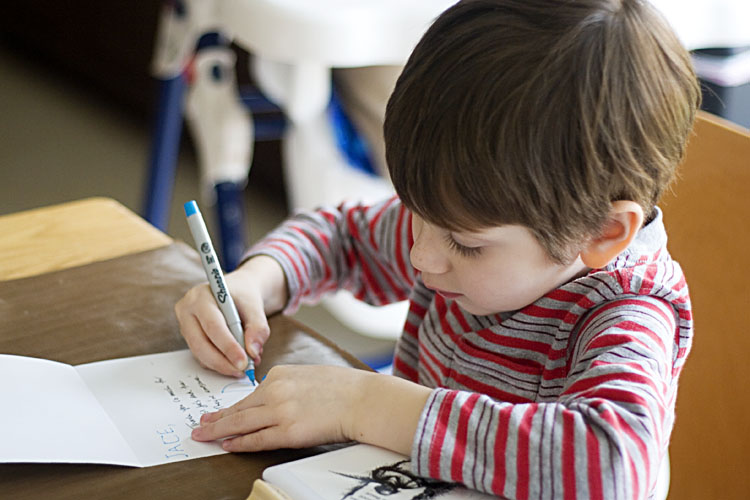
David then wrote the names of the kids on top.
And his name on the bottom of each card.
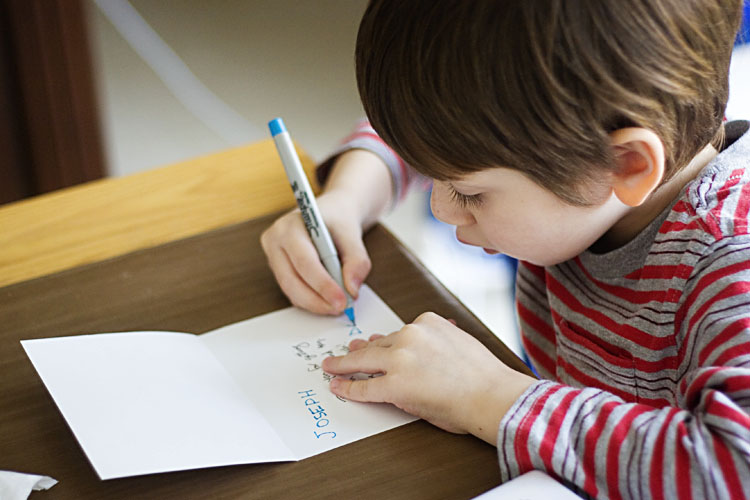
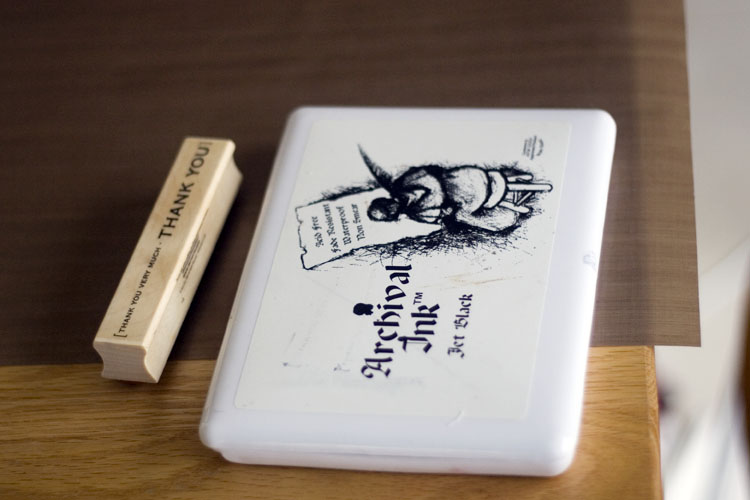
When he messed up, we just went with it. Then, we grabbed some stamp and ink:
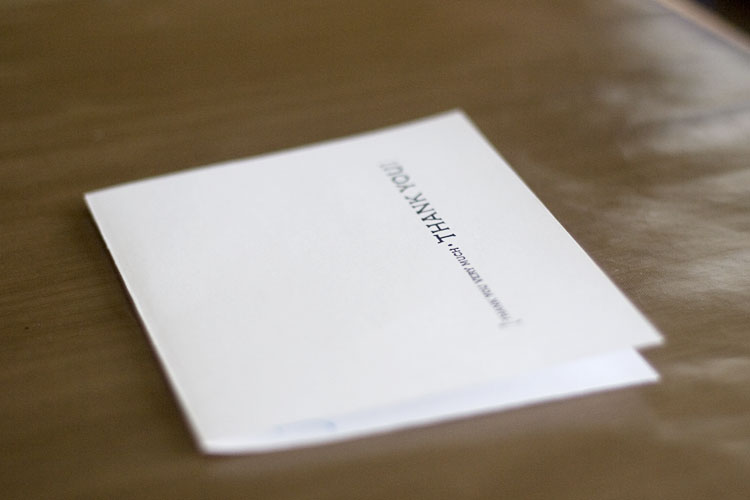
And we stamped the front of the cards. Some crooked, some less.
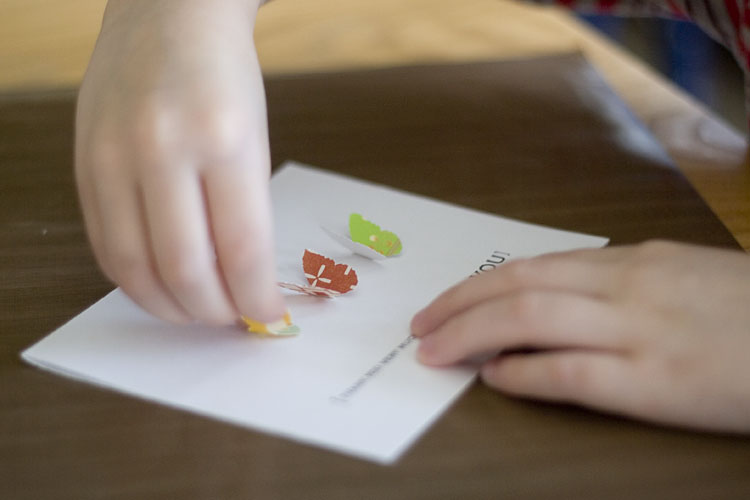
He then put glue dots and put one of each color butterfly on the cover. And ruffled up the wings.
And here we are:
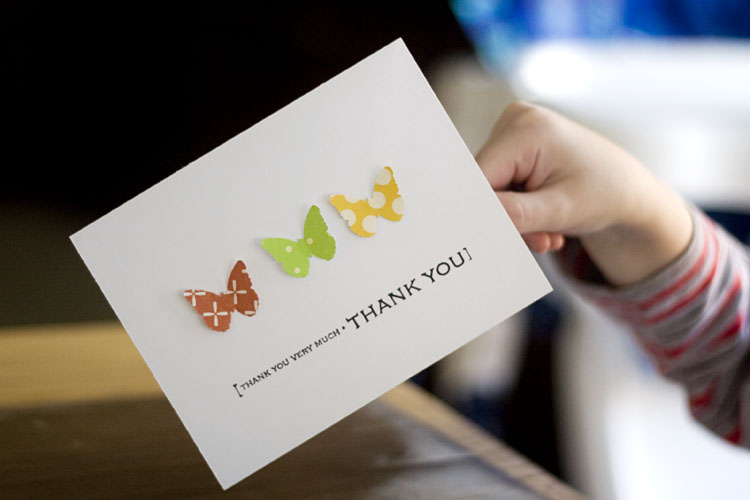
Very flawed but 100% authentic. Love them!
Thanks to Lisa, we downloaded some paper airplanes today and we followed her suggestion and made a Delta one and a Classic one.
We printed out the models.
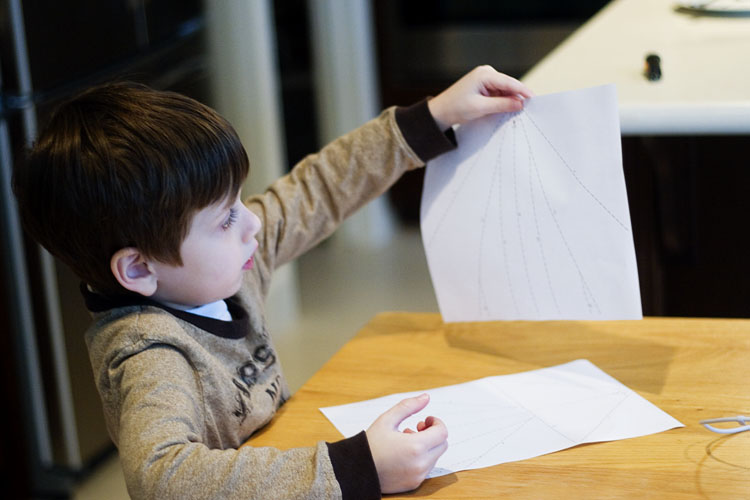
I did most of the folding while David watched. He picked the Delta one and said the Classic can be mine.
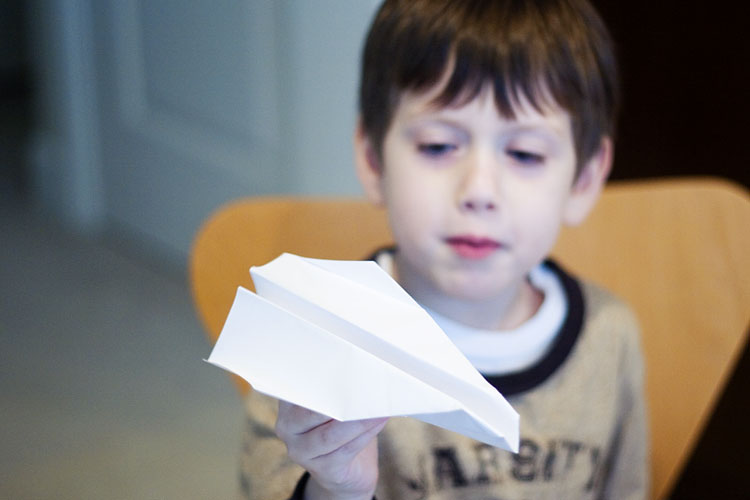
here he is with both of them.
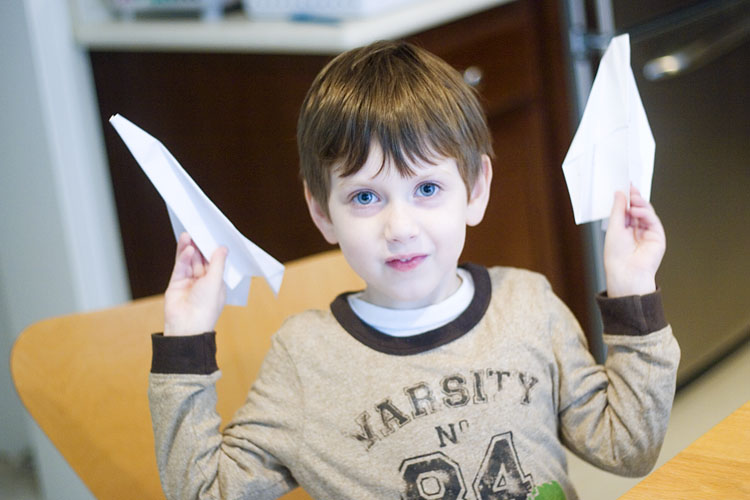
Then we raced both of them for a while as we laughed. I taught David how to throw properly (he kept throwing it down and not up so it wouldn’t glide.) and then we realized the little one was watching too and I couldn’t help but get a video of his reaction. It was the highlight of the whole event for both David and me (and Nathaniel I guess!).
Thanks Lisa for the greatest idea!!
This week’s David decided we needed to do a treasure box. I had this old brownie box I’d been keeping so we decided to convert it.
We took a bunch of the excess paper I had from scrappy projects and tore it up to smaller pieces.
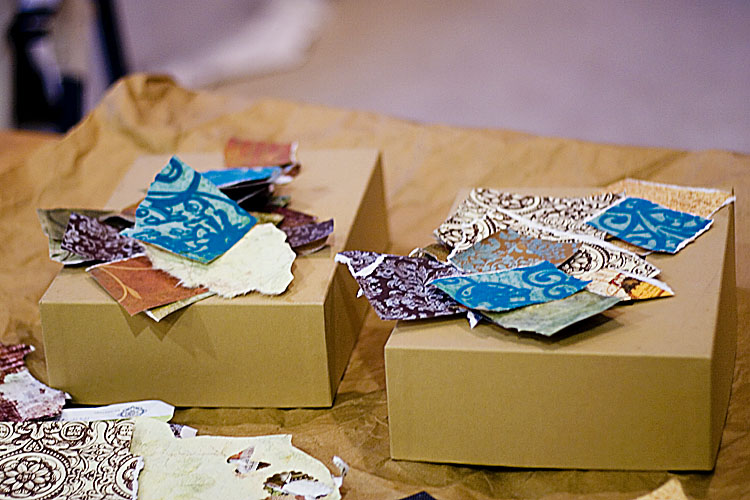
We then covered the box with glue and stuck the papers haphazardly so they covered the box. David did all the sticking with a little guidance from me. I then covered the whole thing with another layer of glue and we left it to dry.
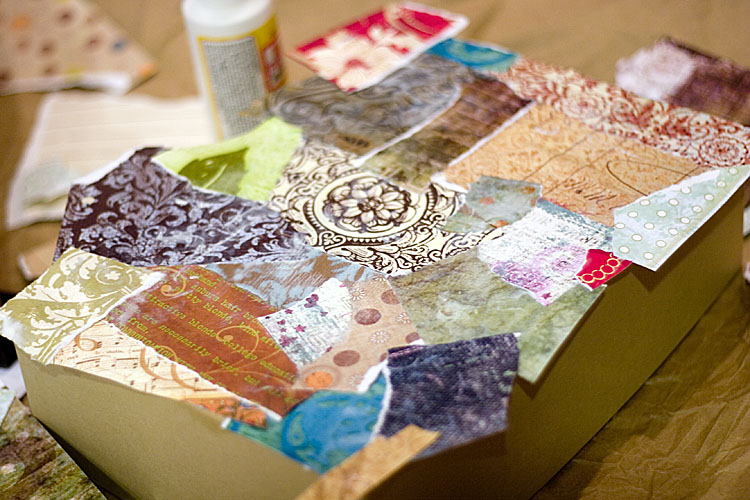
We then did the sides and the other piece.
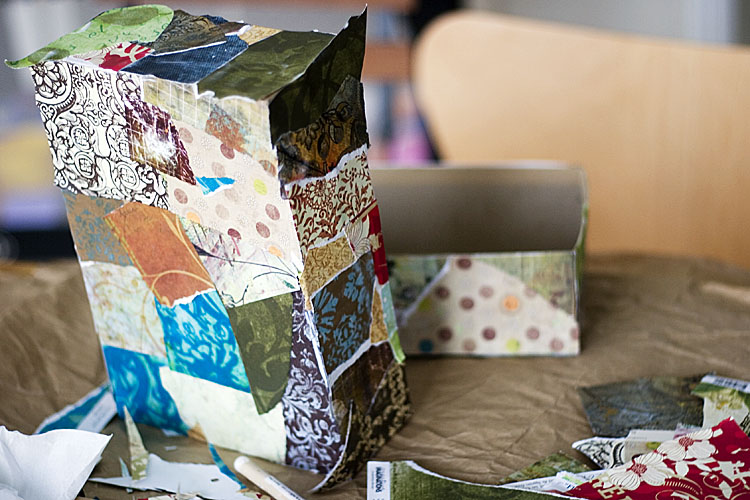
We cut off all the excess paper, glued down the stay bits and the next thing we knew, we had a fully covered box, waiting to hold some treasures. We might embellish it more but it looks pretty perfect as it is.
This week’s craft wasn’t a craft. It was a science project. We decided to do one of the experiments in the science kit I got David for Christmas. It was the exploding volcano.
Here’s David doing it:
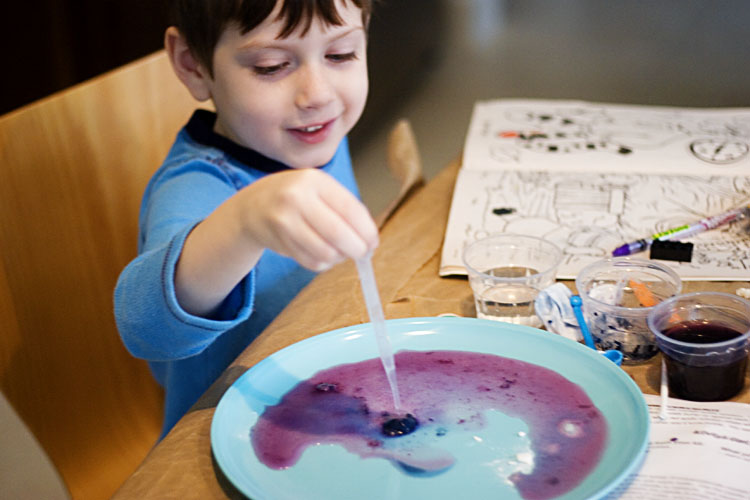
And since photos cannot capture this one, here’s a bit of video I shot. It’s one minute and might be boring for you. We’re whispering because Jake was napping. Nathaniel is screaming cause he’s in the high chair and out of puffs.
This was a really fun one for me. I always loved playing with my Chemistry set as a little girl and thanks to David, I got to relive a bit of that. I might have even enjoyed it more than he did.
We kept the jello container from last week to do one of these.

The source link.
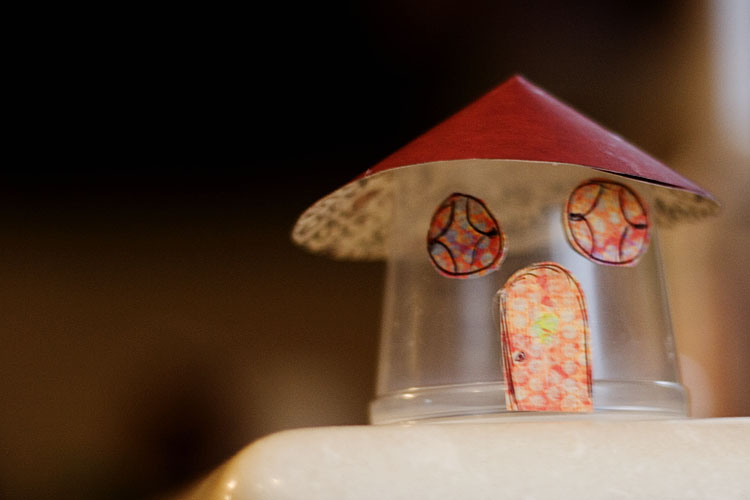
We used some red scrap extras to make the roof.
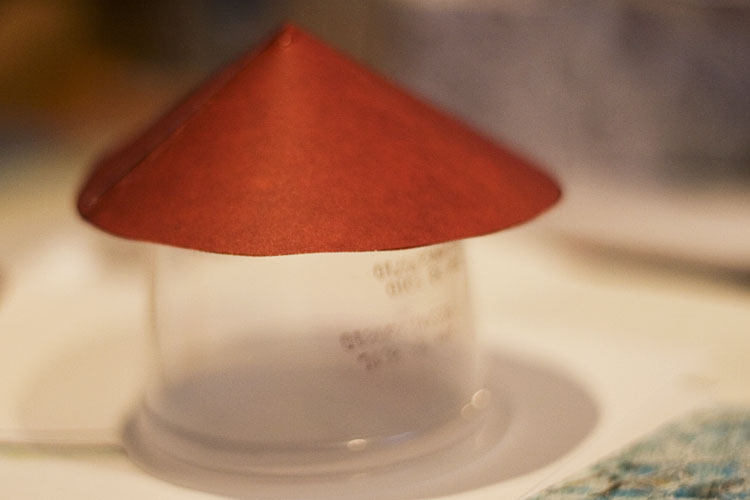
I attempted to draw some windows and doors on another scrappy extra.
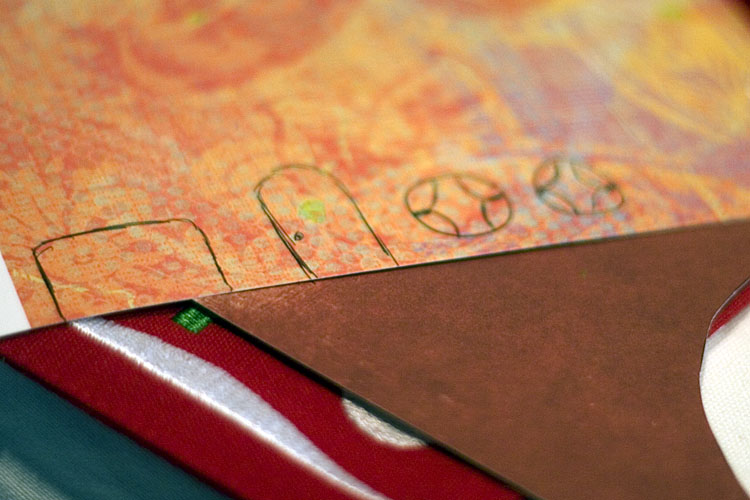
David helped me glue them on.
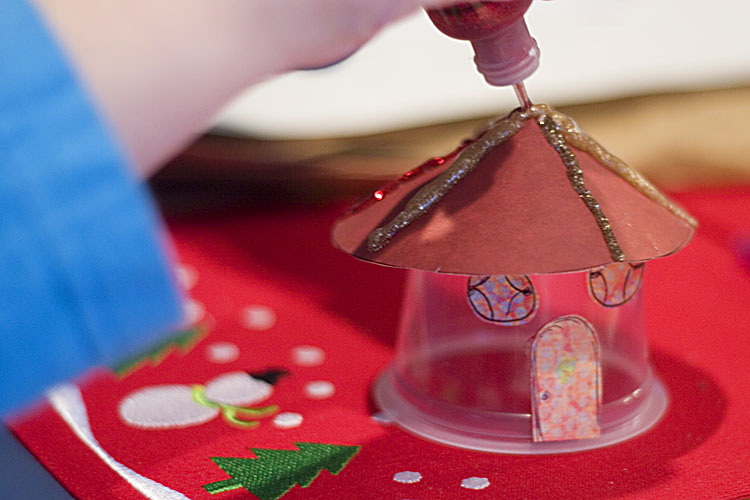
Of course, no project is complete without stickles, so we used them to decorate.
And here’s our final product, left to dry overnight.
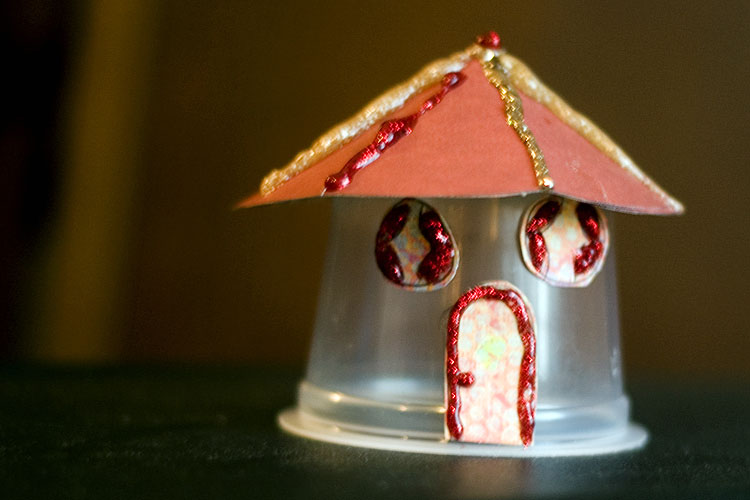
It was pretty dark by then which is why we have blurry-ish photos. I love the whole scene in the original post and we’ll have to add to it at some point. But this is a cute start.
Ok I think this doesn’t even count as crafting but hey some weeks that’s all we do. This was the inspiration:
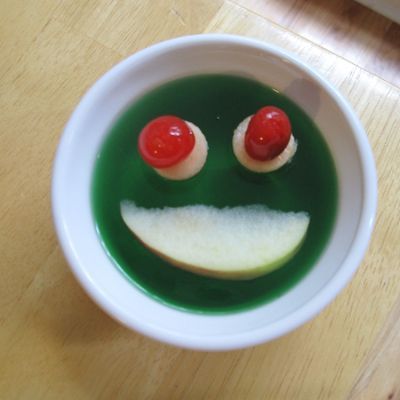
The source link.
We improvised a bit and used pretzels for the mouth and M&Ms for the eyes. And then we used some cookie decorations we had for the nose and teeth and it ended up looking more like a green spongebob than a frog. So here it was.
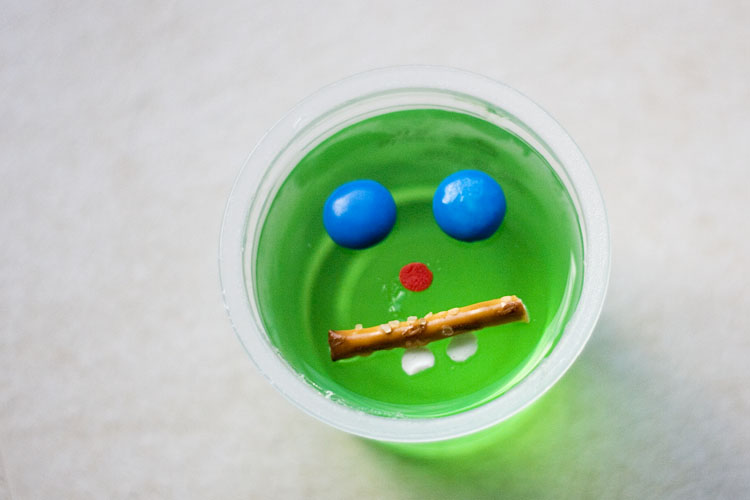
Looks great I think and David enjoyed eating every piece of it.
What I didn’t realize until I sat down to do one of the crafts on our list was that most of these require materials we don’t seem to have at hand. (So while I am good at making lists of ideas, I neglected to make one for supplies. Good job, eh?) One of the only items on the list that had simple supplies was the paper-plate dogs.
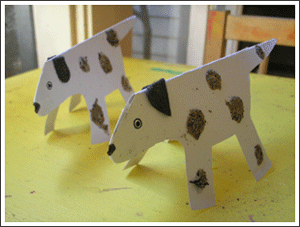
The full tutorial from kids craft weekly.
Believe it or not, I didn’t have white paper plates, but I did have some heavy weight paper. So I drew the doggie. (yep, I made him too fat at first but it didn’t matter since we cut it out.)
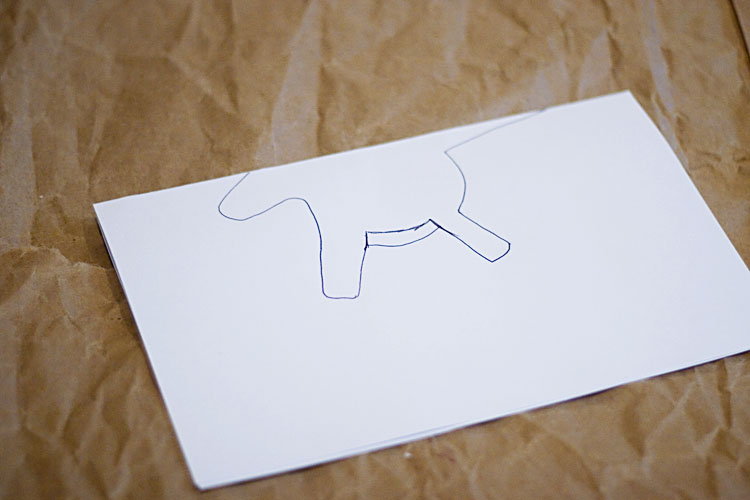
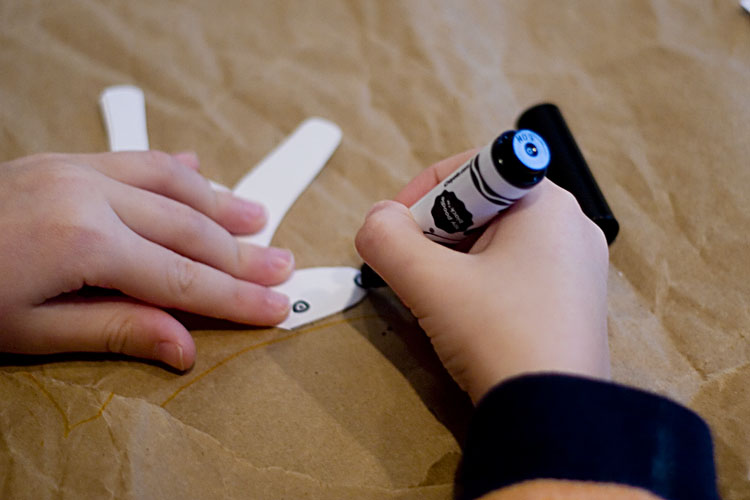
After I cut it out, we turned it inside out so the drawing lines would not show. We taped the head and the tail. Then I drew an eye and a nose and David colored it in.
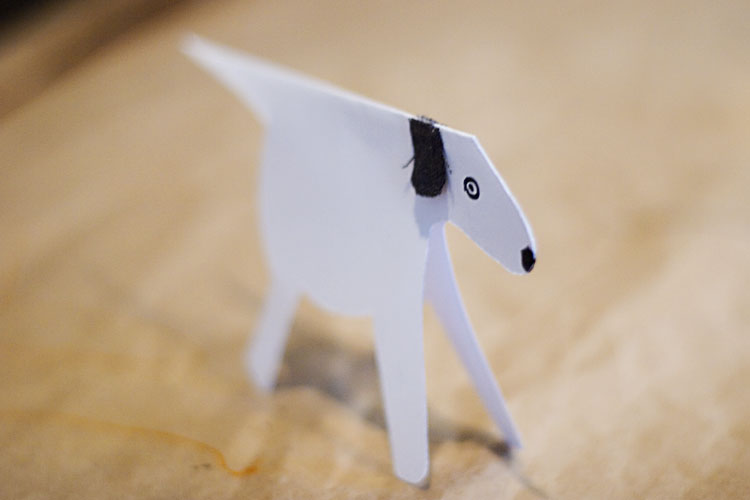
We then cut up a tiny bit of gray fabric to make his ears. He was already looking pretty good by then.
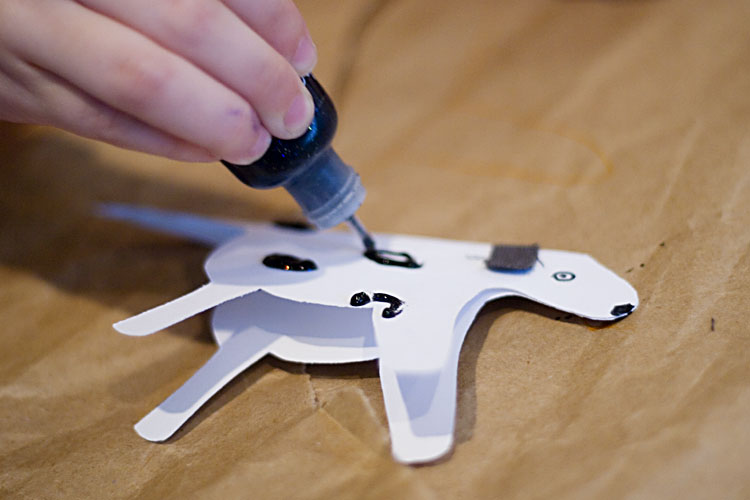
The tutorial then has some glue and dirt for the spots. But I had something easier, so I pulled my stickles and drew some circles for David to color in.
And here’s our final product, left to dry overnight.
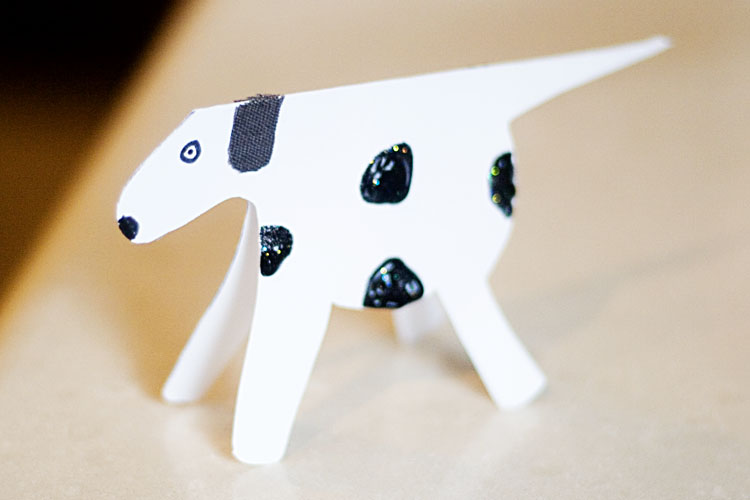
Looks pretty cute if you ask me.
Recently, I decided I need to take more videos. My kids are growing up too fast and I will miss it a lot. Knowing exactly how they do something. So here’s my way of documenting.
Nathaniel loves eating these puffs and I love watching him. Warning:might be super-boring for you.
Excuse the dirty tray, he had just eaten so it’s a mess.
A few weeks ago, we went to David’s school for the bi-annual parent-teacher conference. One of the things the teacher said was that David is well-rounded in that he is interested in art as much as playing with trains and blocks. They thought it was wonderful that he enjoyed art and baking and I totally agree. So I decided that this year, I will take time (at least) once a week to sit with him and do some crafts.
Since I know from experience that it’s more likely to get done if I already have a list of ideas, I made an initial list of ideas. I might do all of these or none of these and I will likely add to it throughout the year. If you happen to know of fun craft ideas for kids (he’s going to be five years old in February), please please leave me a comment and I will add it to my list.
As we do them, I will post them here and change these links so you have both our creation and the original idea’s link.
I’ve also made a visual version of this on tumblr so we can quickly look at the photos and David can pick what he wants to do that week.
Here’s my initial list:
- Cut-out stencil prints
- Halloween bats
- Halloween gourds
- snowman doorstop
- leaves art
- make a kite
- miraculous leaf rubbings
- messy leaf prints
- robots
- Paper plate dinosaurs
- Paper people chains
- stencils
- flowers
- flower pot
- xmas advent
- xmas countdown advent
- nature bracelets
- origami tree
- wrapping bottles
- yarn pompom
- felt xmas trees
- fabric ornaments
- hanukkah – city
- cereal box houses
- fun wreaths
- leaf stenciling
- popsicle pencil holder
- paper heart
- glue resist dinosaur
- froggy jello
- recycled milk carton truck
- felt cuffs
- bath ice cubes
- sun prints
- body flip book
- bead bugs
- ice cream sandwiches
- juice box boats
- ice cream cones
- felt caterpillars
- fairy wings
- fall tree
- felt shapes
- fishing game
- apple trees
- apple cake
- crow puppets
- halloween mini pumpkins
- halloween haunted house
- spider cookies
- gourd ghosts
- halloween bat garland
- halloween painted jar luminaries
- 3-d tree with felt leaves
- paper chains
- yogurt cup houses
- thanksgiving wreath
- acorn painting
- paper roll squirrels
- gingerbread man puppets from felt
A wide range of ideas. Some easier and some more challenging. Here’s to a year of crafting with my (big) little one. As Nathaniel grows up, he might join us for a few of these, too.
|
projects for twenty twenty-four
projects for twenty twenty-three
projects for twenty twenty-two
projects for twenty twenty-one
projects for twenty nineteen
projects for twenty eighteen
projects from twenty seventeen
monthly projects from previous years
some of my previous projects
|


