Since David and I haven’t been crafting all that much lately, I thought it might be interesting to post some of our pages from the studying we’ve been doing lately. Apologies for the terrible quality photos.
For math, so far, we’ve been talking about places, comparing numbers, addition and subtraction:
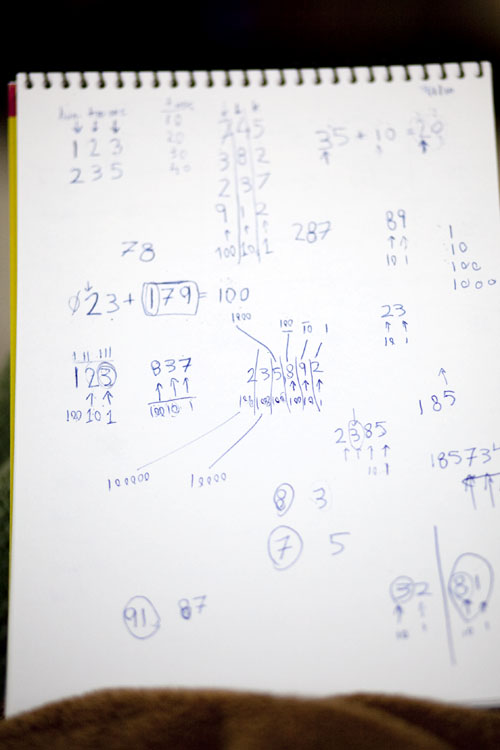
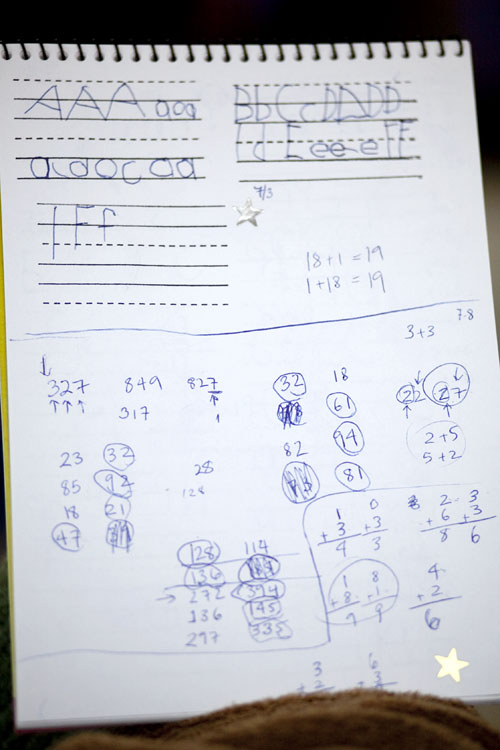
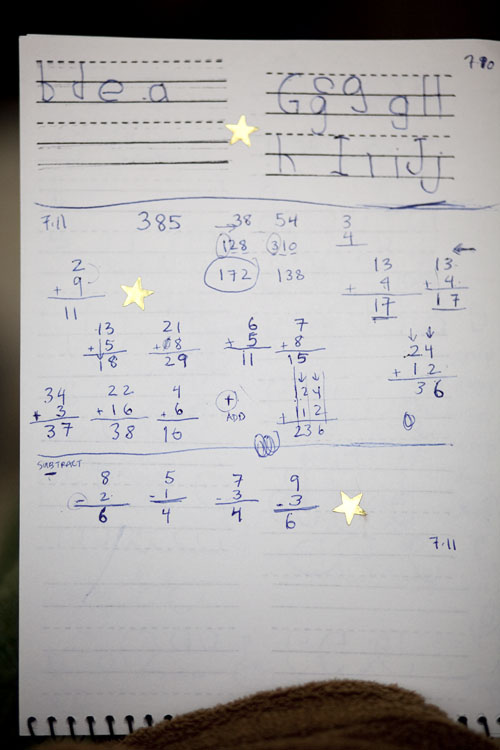
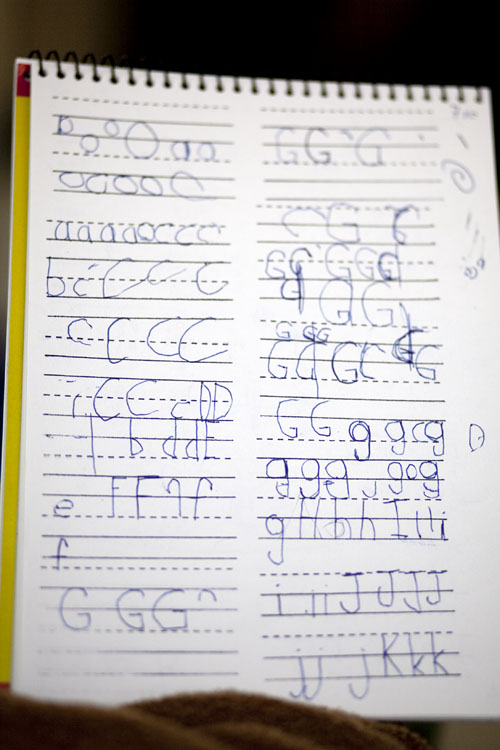
for writing, we’re using lines from a stamp I have to practice upper and lowercase letters. So far, we’ve done a, b, c, d, e, f, g, h, i, j, and k.
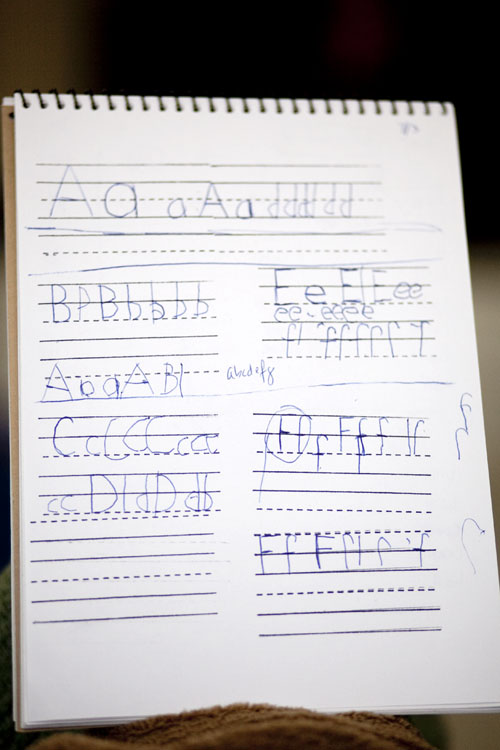
and we’ve been doing reading with 3 or 4-letter words. So far we’ve done b, c, d, f, g, and h.
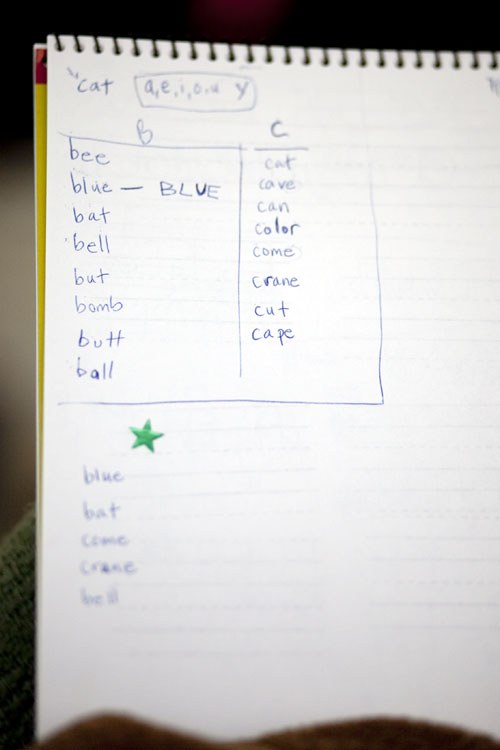
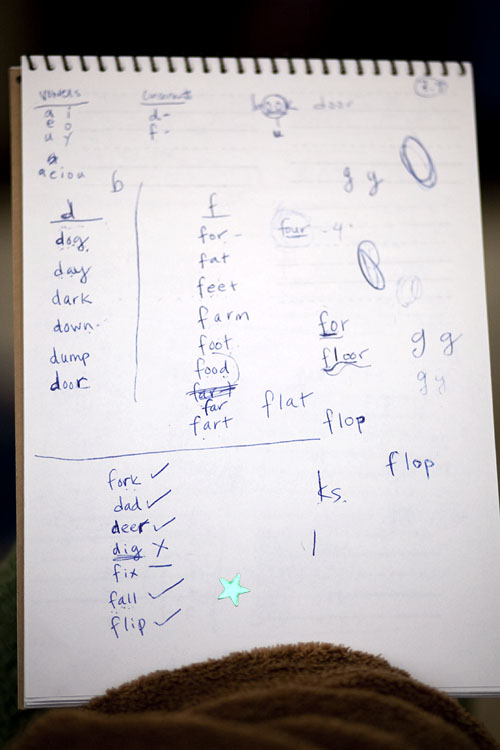
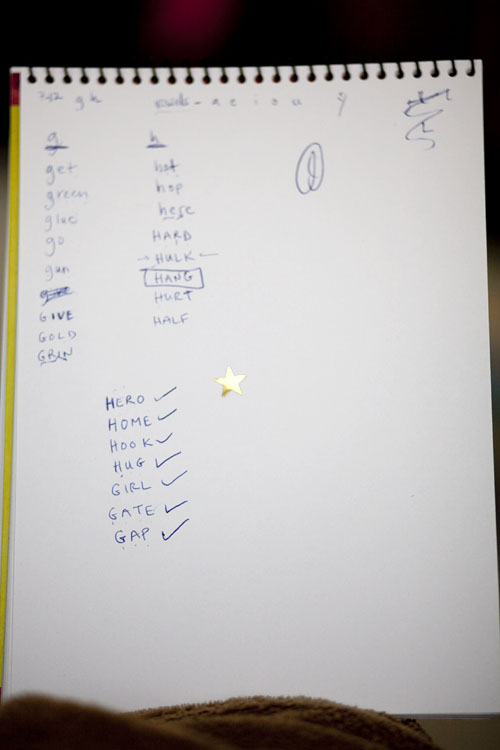
At the end of each session, he gets a mini-quiz and if he gets it all right, he gets a gold star, a little wrong is green star and then silver. We have yet to go below silver.
So far, so good.
This week’s craft was simple but meaningful.
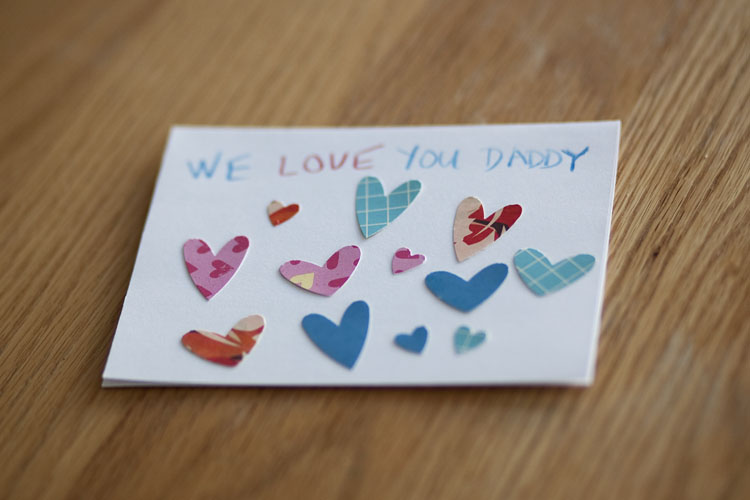
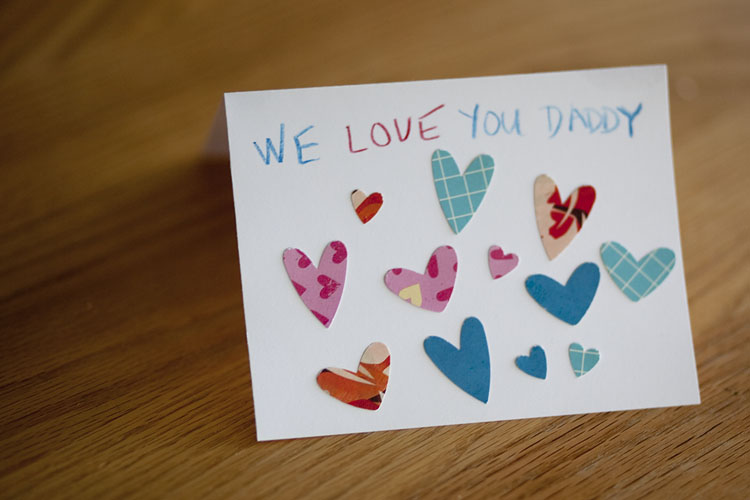
This is the Father’s Day card David made for Jake. He picked the colors of the papers and he even laid out the hearts the way he wanted them.
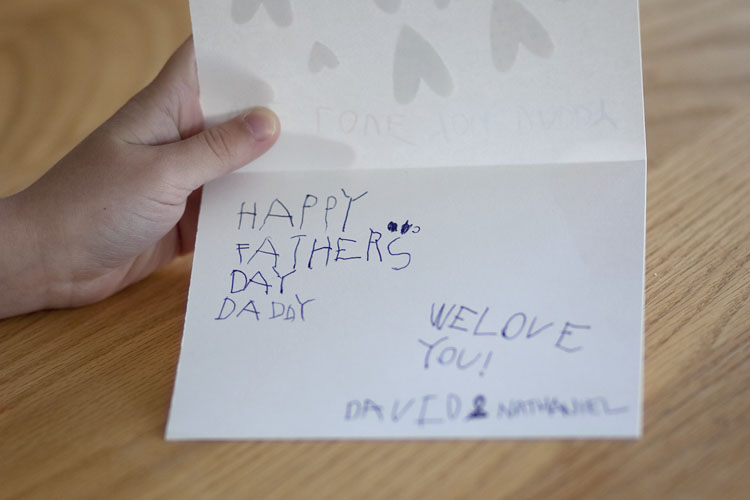
And inside it says: “Happy Father’s Day Daddy. We love you. David & Nathaniel” He wrote it all.
Lovely isn’t it?
I’d like to say this amazing marketplace inspired us but really our project this week is so terrible that I cannot even remotely compare it to this incredible project.
I am really not good at doing these projects without detailed instructions and we’ve been running behind a bit so we didn’t have a lot of time this week to do it. But he really wanted to do this one. So we did it. We opened up some windows, made some floors.
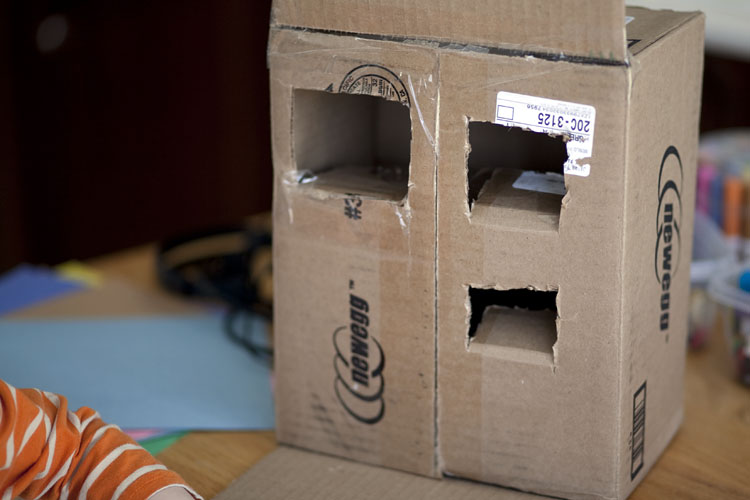
We then cut up paper to cover it with.
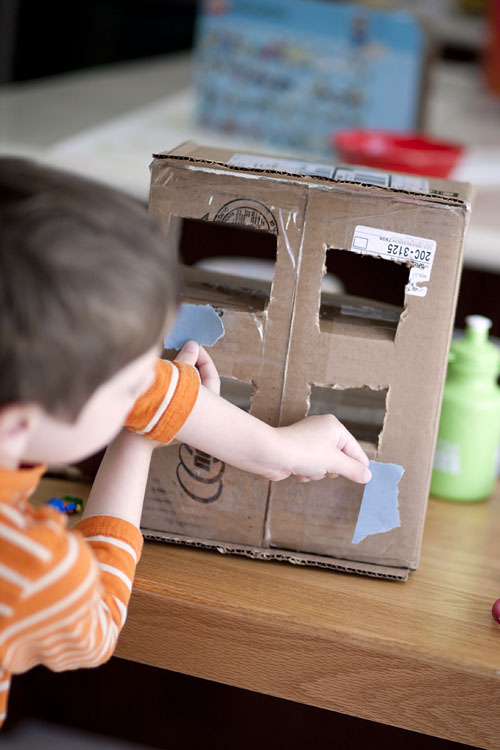
I only had sparkly modge podge so it’s super-sparkly. And I am so not proud of it and almost didn’t even post it.
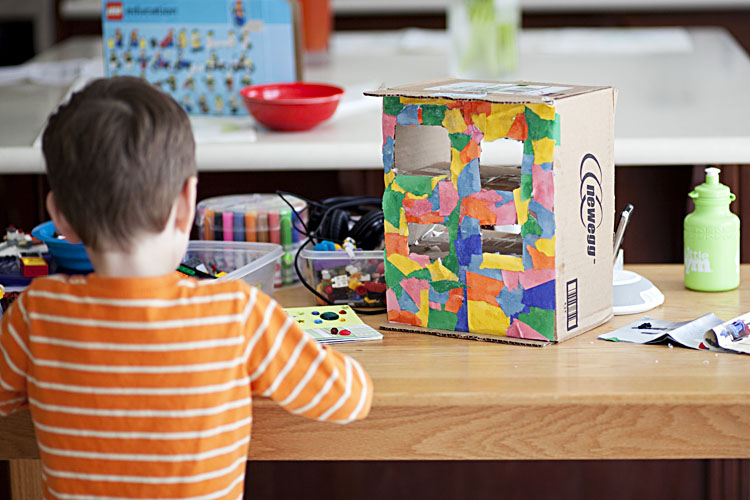
But David’s delighted and thrilled and loves it. He’s already put his men on it and they’re wearing parachutes so if they fall off, they don’t get hurt.
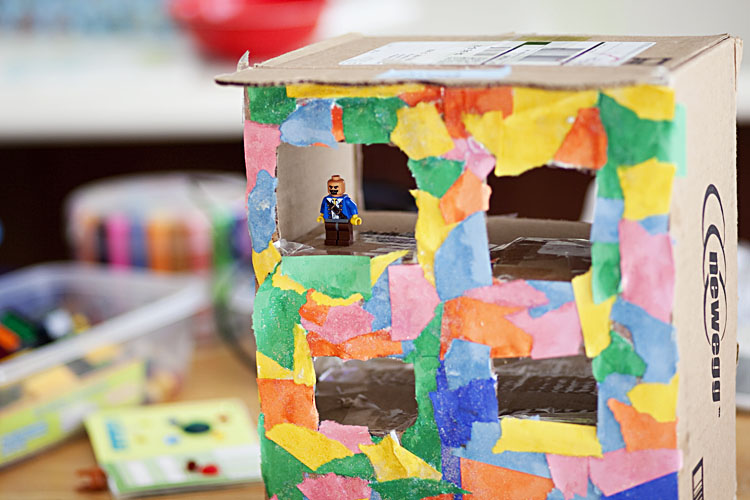
Amazing what a little cardboard can do when embellished with a child’s imagination.
When I saw this tiny book tutorial Lori linked to, I knew it was something David and I could do together.
We gathered our supplies. David’s favorite color is green right now so he picked a bunch of green.

We cut them all up.
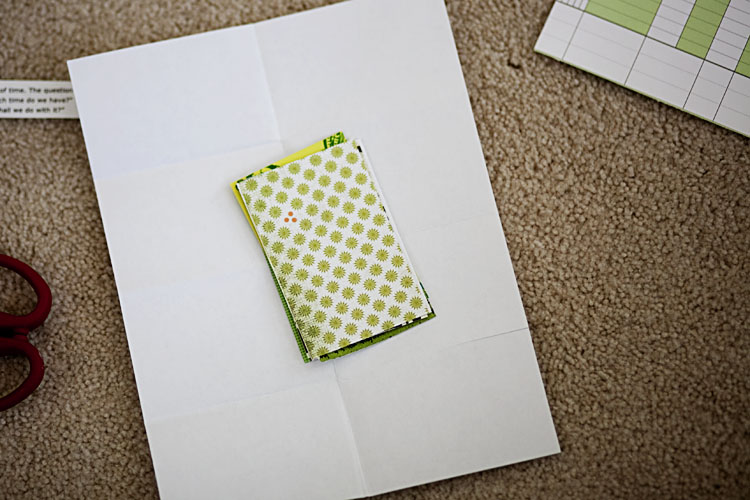
glued to the paper.
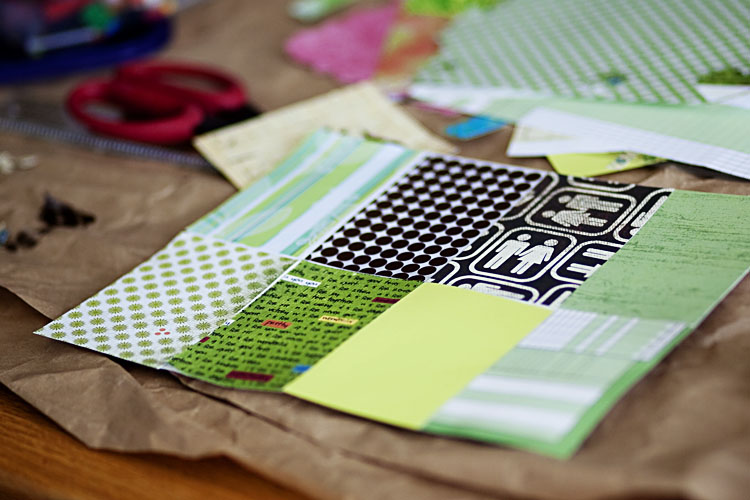
And then made our book.
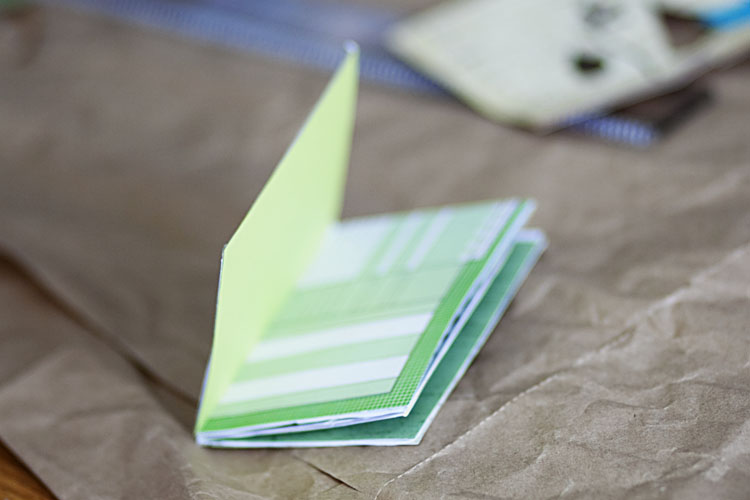
David punched out a bunch of birds.
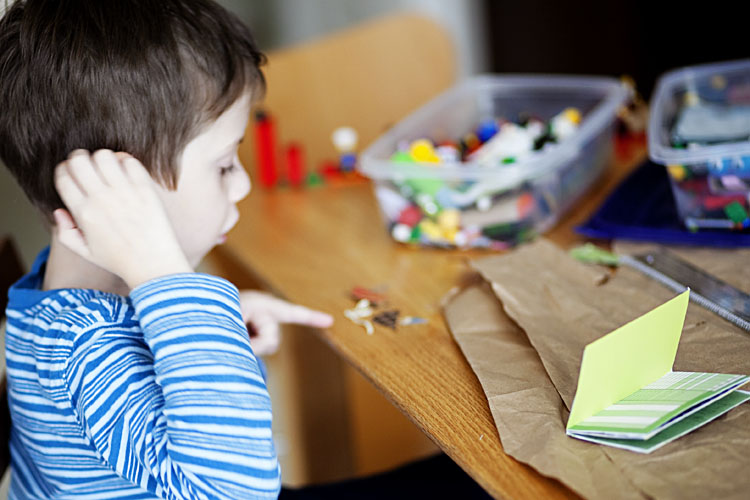
and glued all of his treasures.
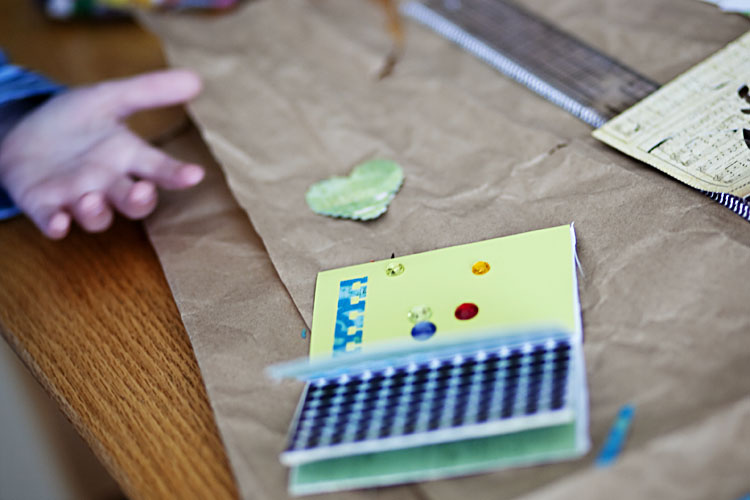
We added some more accents and then I gave him a sheet of letter stickers and he’s having a ton of fun with them.
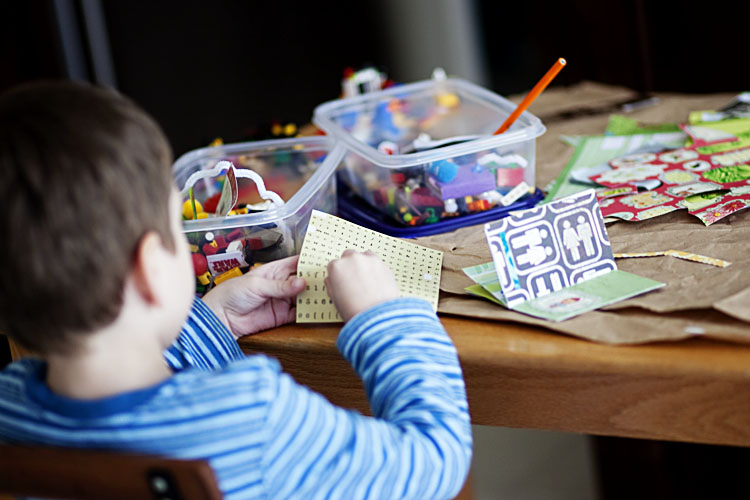
Here’s what he wrote.
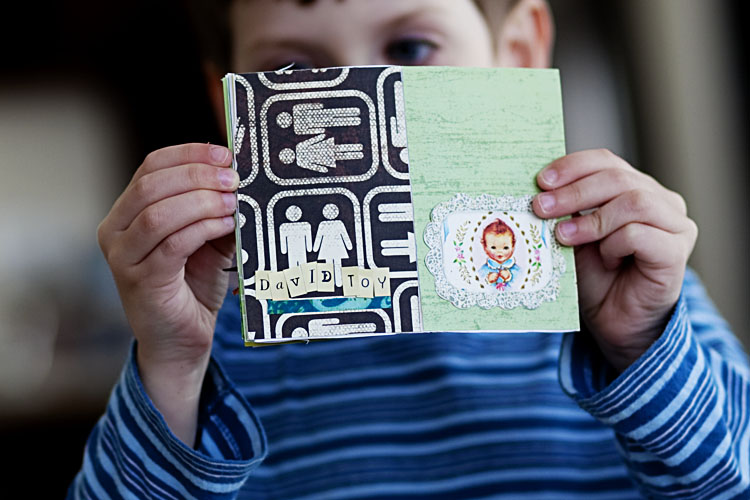
And here he is with his book.
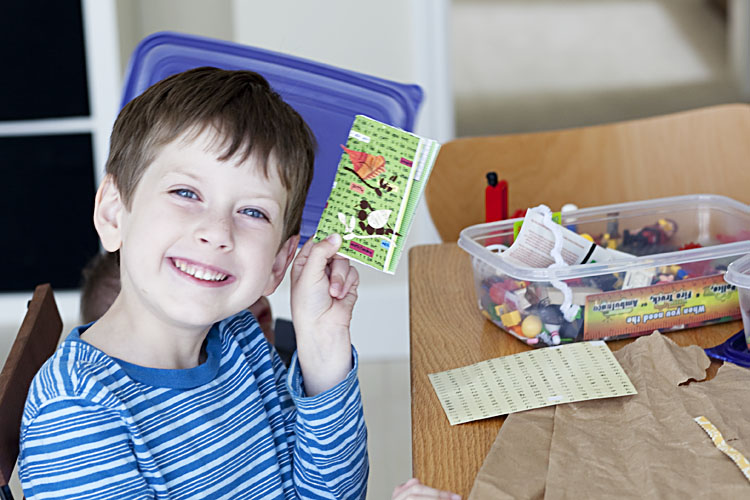
An hour later he’s still adding to it and playing with it. That’s what I call a good craft project.
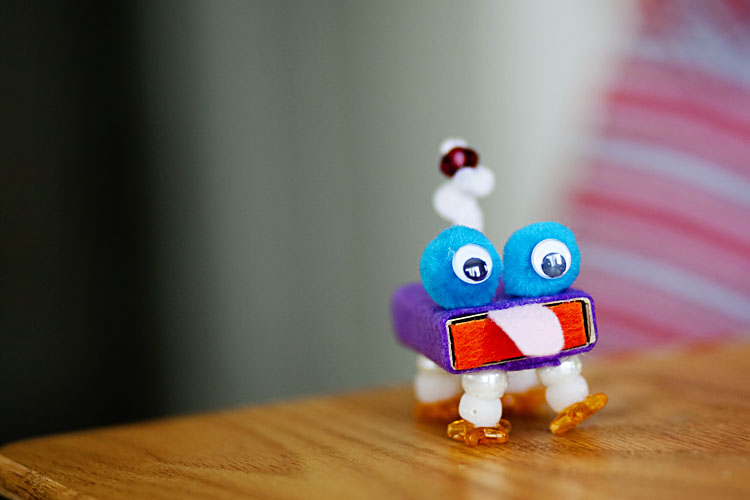
This week’s craft was super fun and inspired by this (click image for source):

We got all the supplies
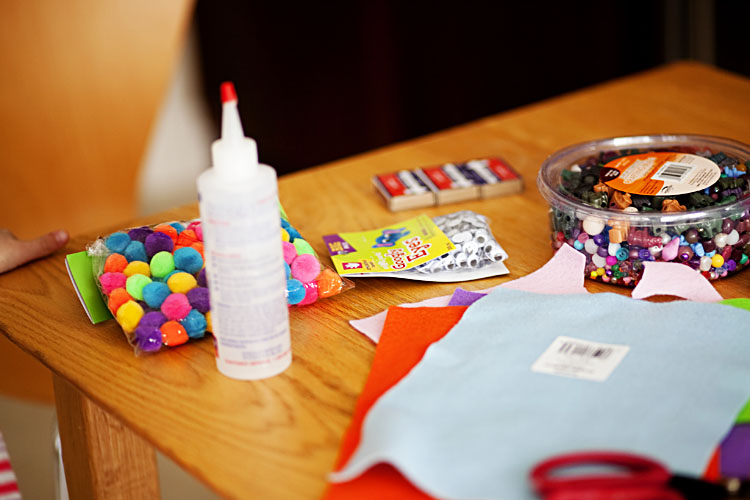
Wrapped the matchbox with felt and put a different one in the drawer.
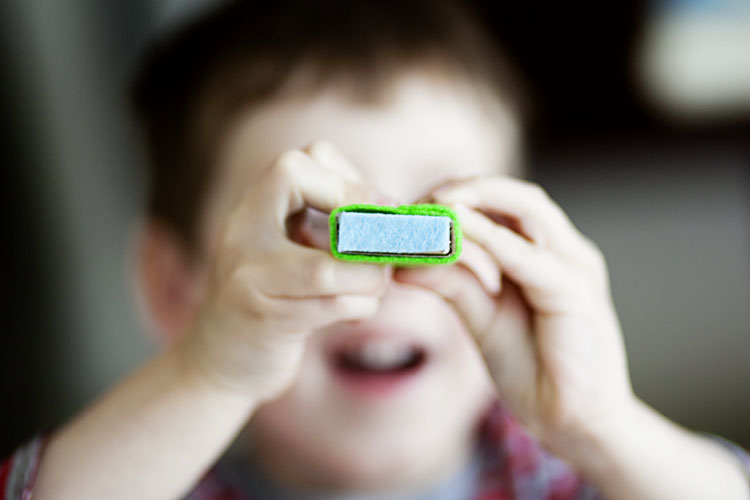
Another view.
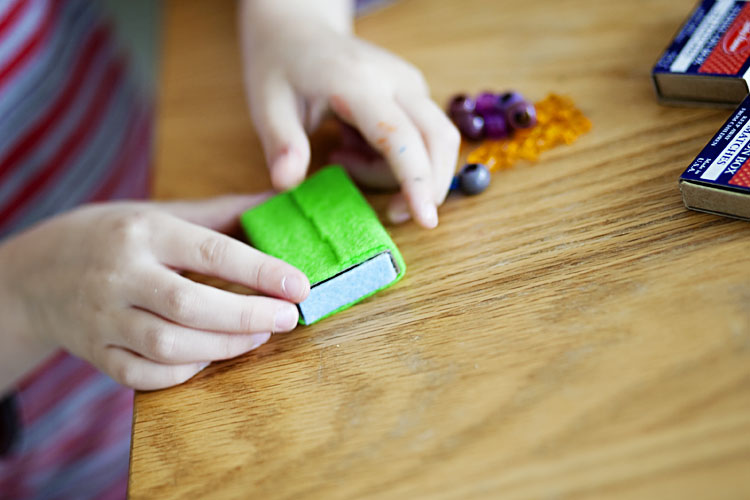
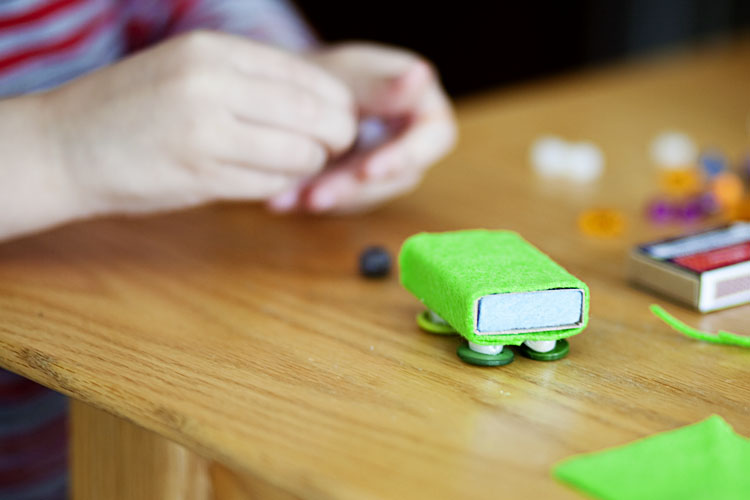
Then we used some beads and buttons to make the legs.
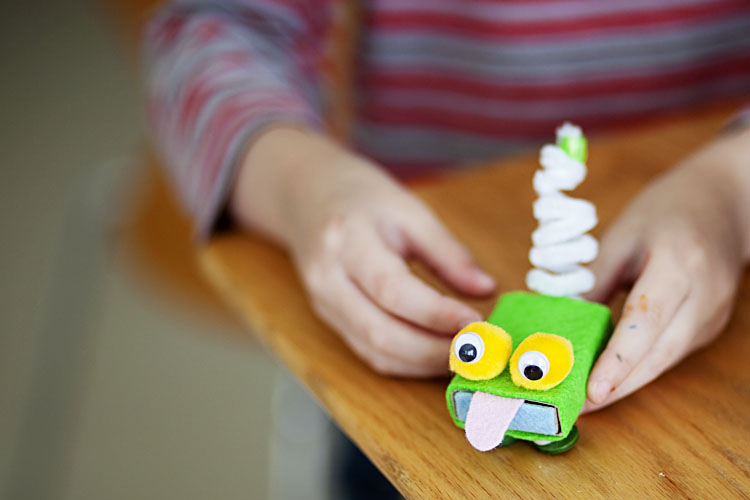
Pom poms, googley eyes, pipecleaner and a felt tongue and we were done.
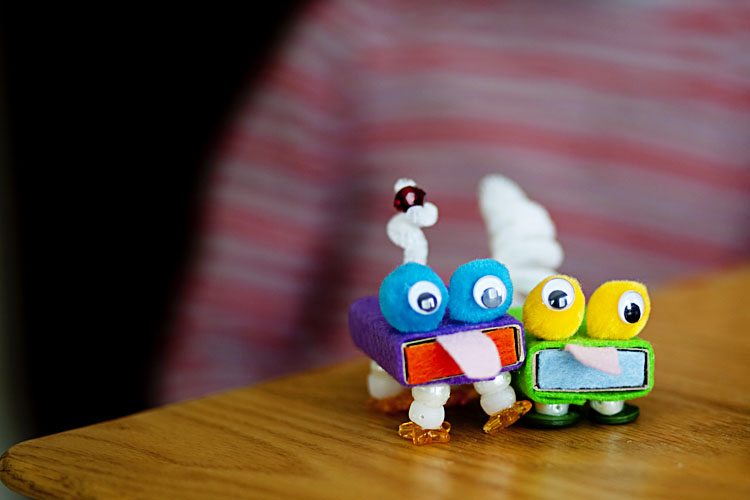
It was too much fun so we made another.
Now they’re friends.
And now they’re kissing.
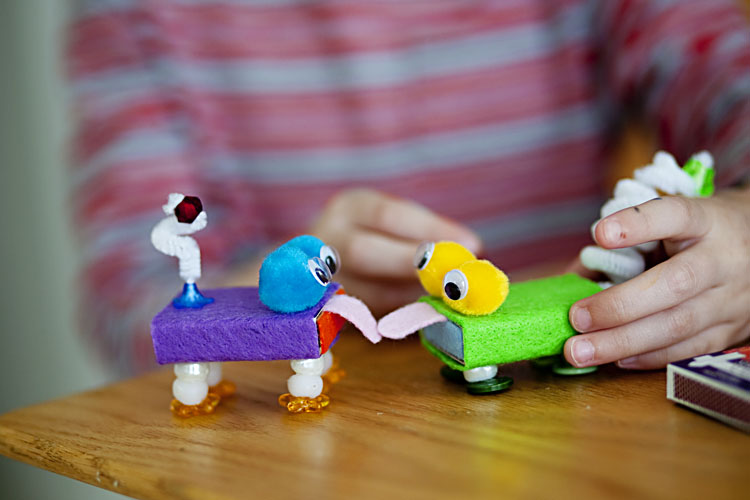
This was fantastic fun, highly recommended!
This week’s craft was super simple but very important. My mom turned 60 on Saturday and we wanted to do something for her for when we were going to Skype. Our initial goal was to make hats but we couldn’t do it with what we had at hand, so we decided to make a big banner.
We picked some paper.
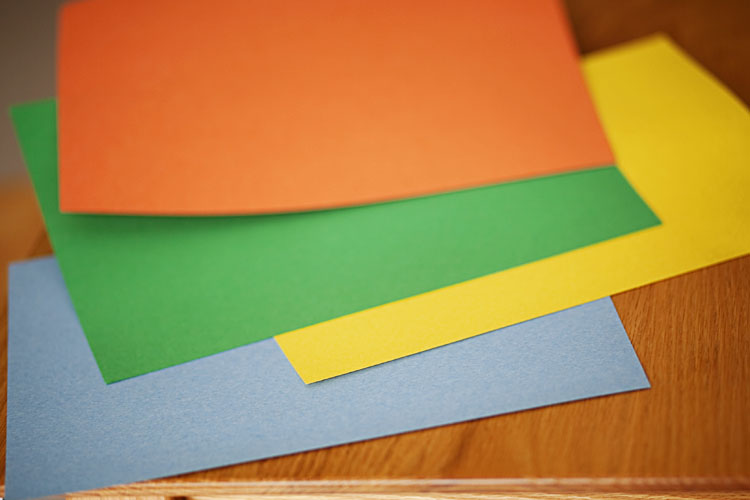
And lined up our stamps.
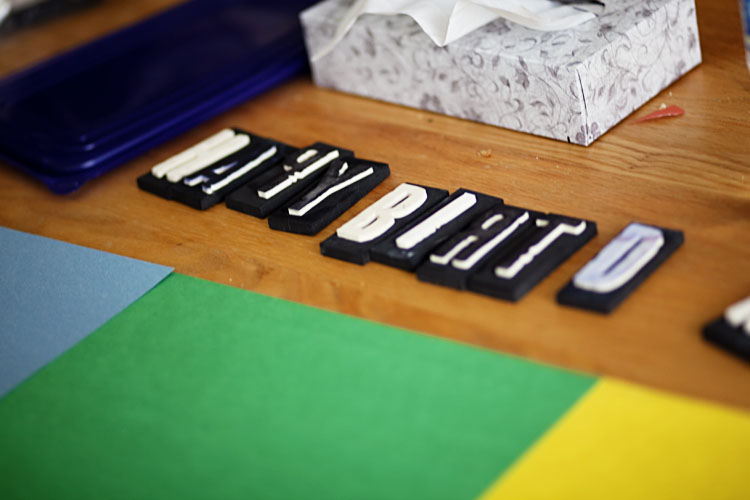
And then stamped away.
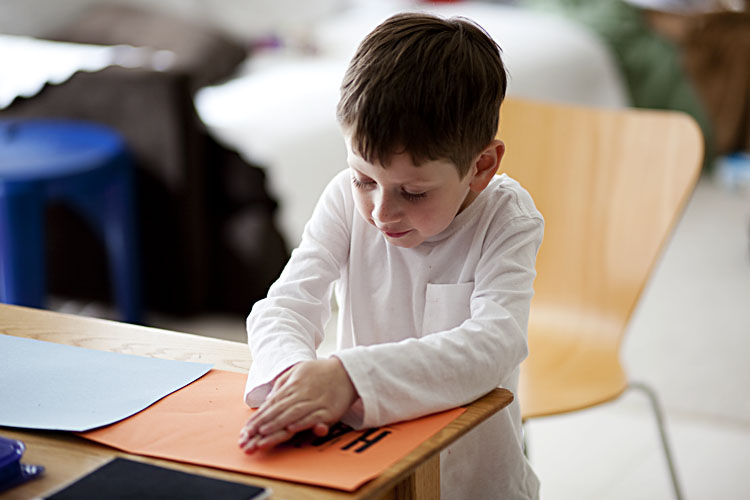
see? there he is
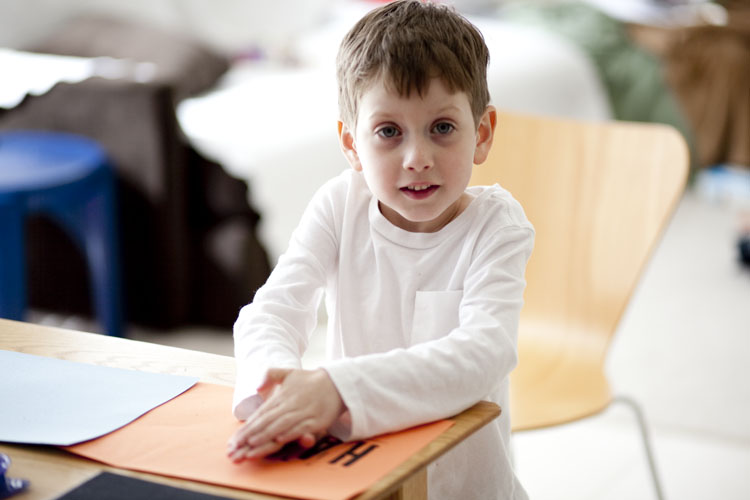
and here it is finished. simple but gets the job done.
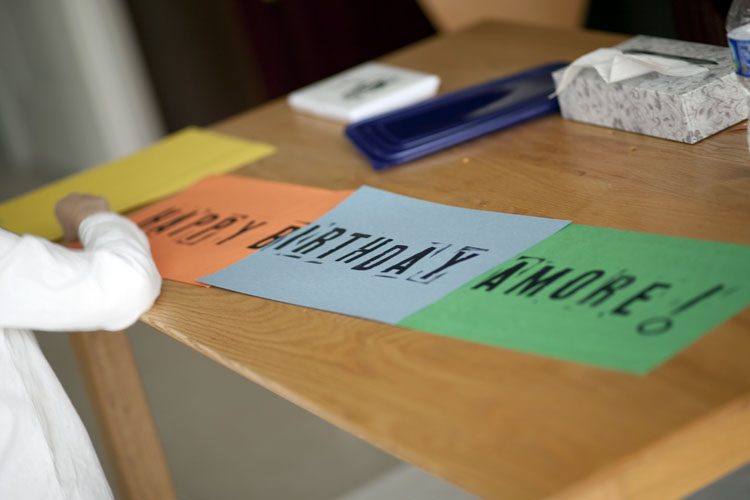
and here it is hanging behind us when we’re chatting with her.
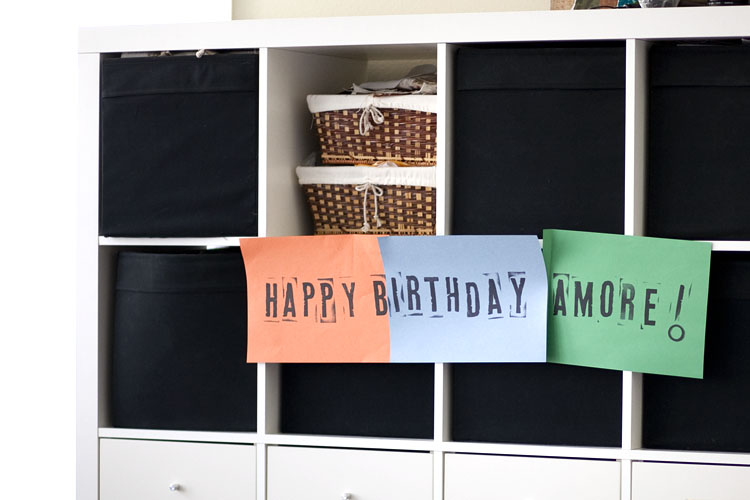
we love you SO MUCH Amore!! HAPPY HAPPY BIRTHDAY!
This week’s craft was another thank you card set and a little happy birthday one.
We gathered our supplies.
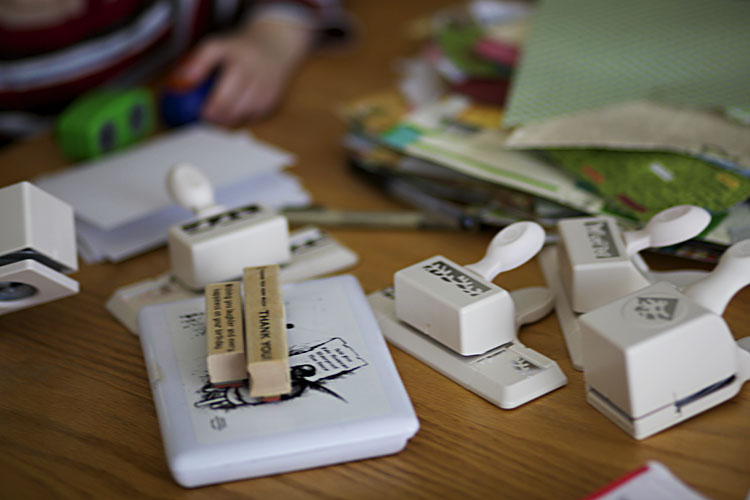
We wrote the insides first cause David had to write both his and Nathaniel’s name.
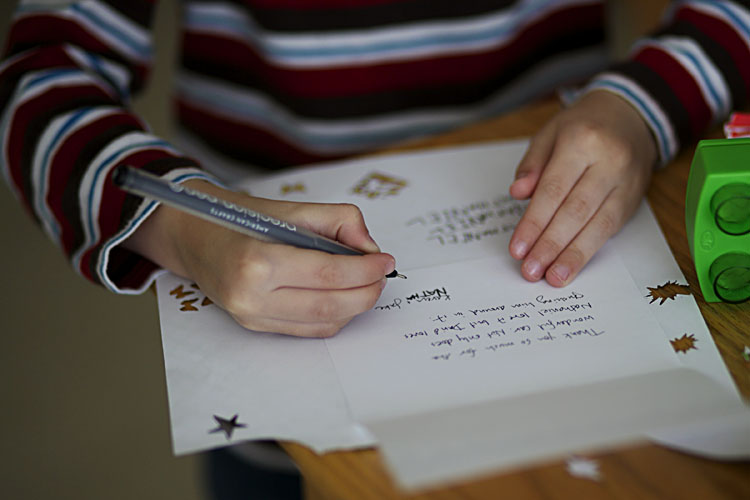
and he didn’t do so well on the first try.
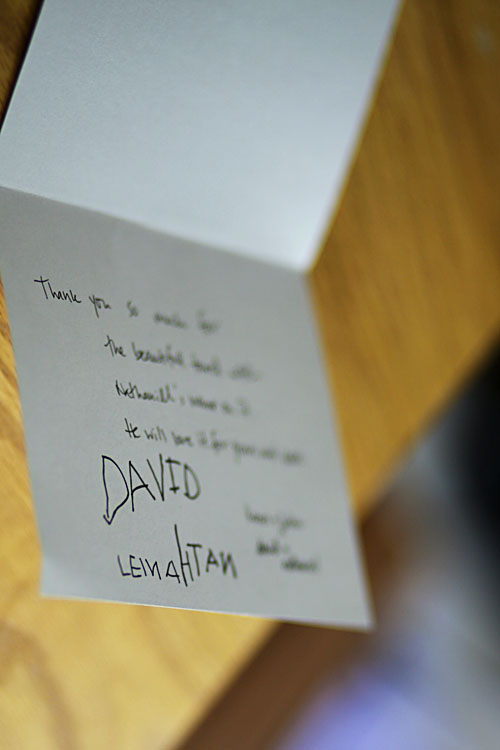
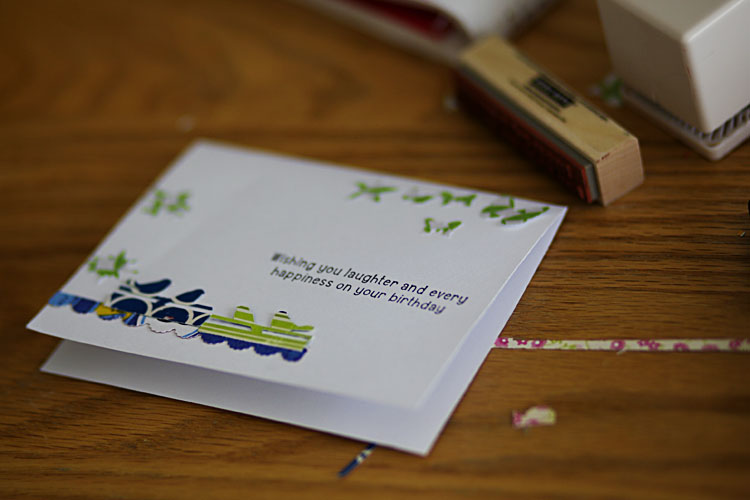
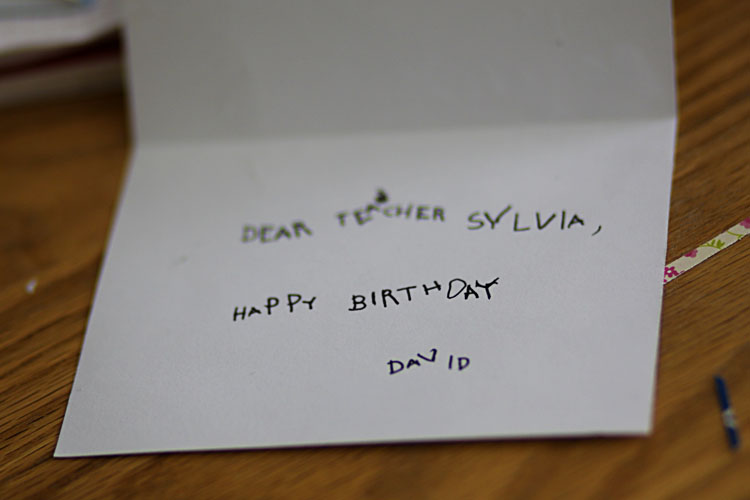
Then he made the card for his teacher’s birthday.
And wrote the inside all by himself.
And then we finished the thank you cards.
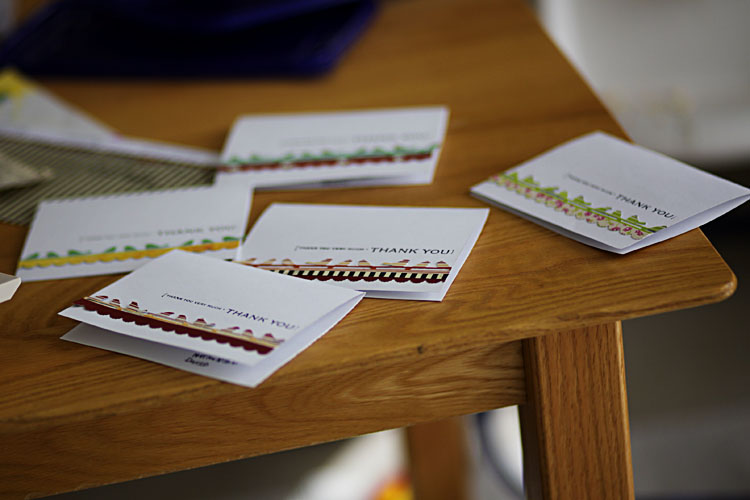
They were Nathaniel’s birthday thank yous.
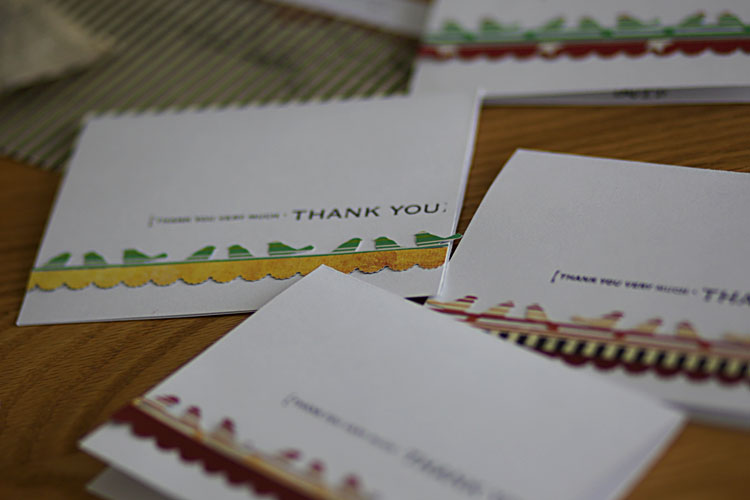
And that’s it this week.
This week’s craft was not a craft as much as writing.
David and I practiced all the words he’s learned to spell in the last few weeks. He wrote each of them 5 times. He was losing his patience towards the end but stuck with it.
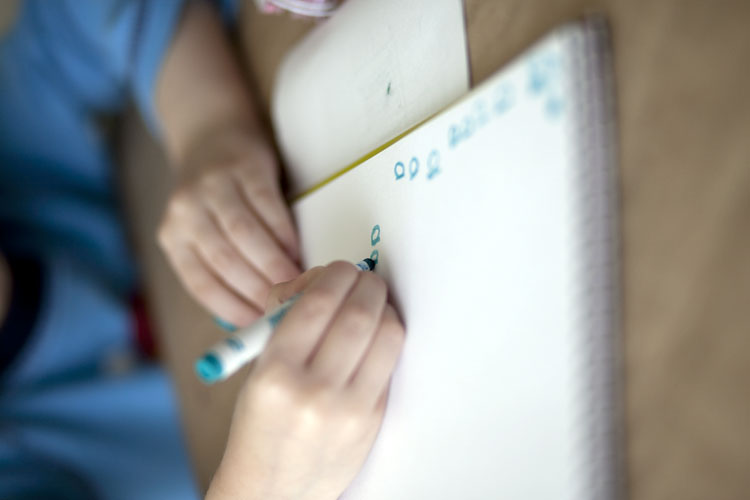
He tried to focus hard.
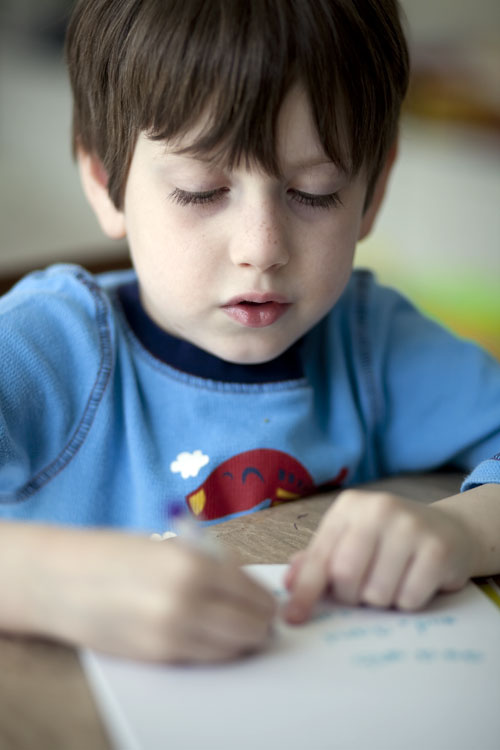
And filled the whole page. Two pages actually.
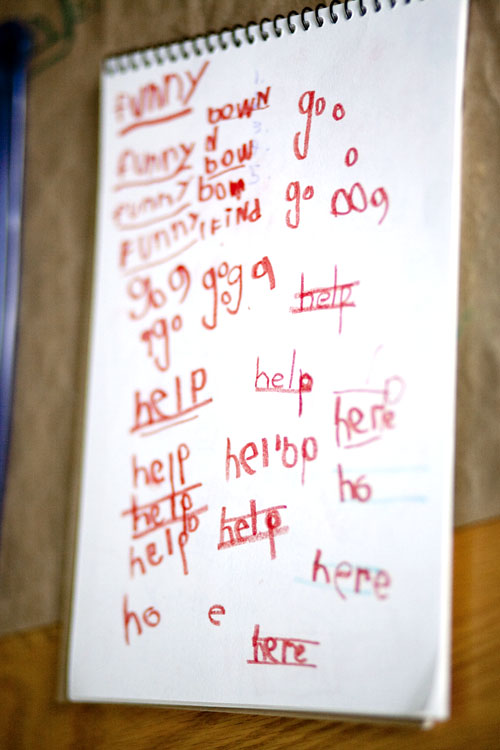
We need to do this more often and we need to get back into the habit of practicing more words. We both feel lazy about it sometimes.
This week’s craft was a project for David more than one with David.
Since I didn’t grow up in the US, I never learned English until I was much older and I learned things much more differently than a 5-year-old might so I had no idea how to teach David to read. And I know he’s interested cause now that he knows all of his letters, he reads things everywhere, all the time. So I asked my friend Lori how one learns to read. She told me that in her kid’s school, they make kids memorize sight words. Words that are very common and ones where the letters don’t make their “typical” sounds so they are hard to sound-out.
So I googled “sight words” and found this link with all the words broken by grade. I printed the pre-K and K words. We picked two colored papers to glue in the back:
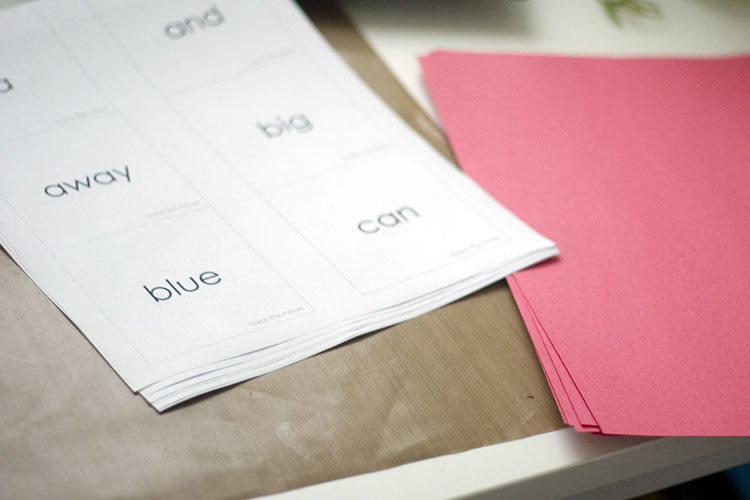
I can’t glue to save my life so I stitched them instead.
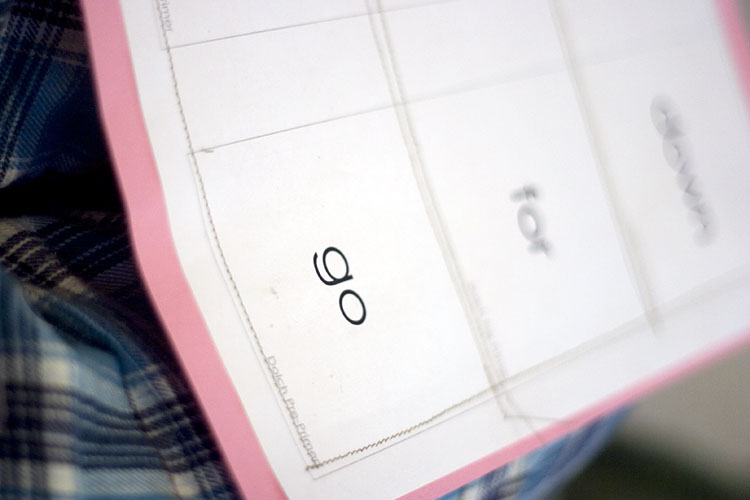
Then I cut them all up.
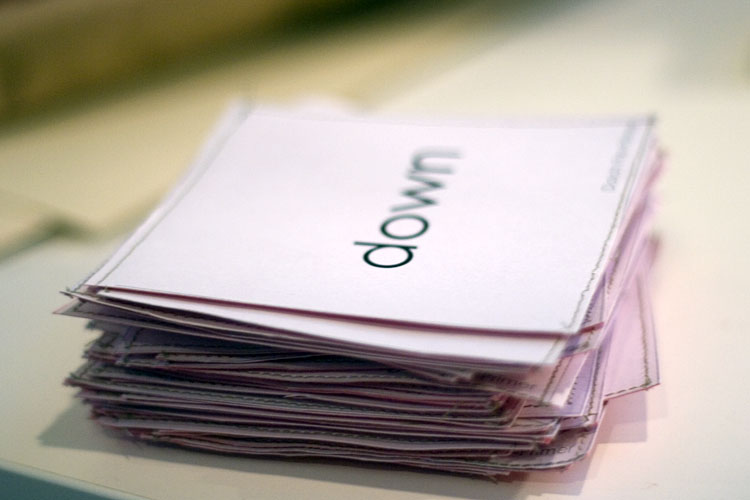
And using my Bind-It-All, I made a little book of all the pre-K ones. (I’ll do the K ones later once we know if this is useful.) Here’s our little book:
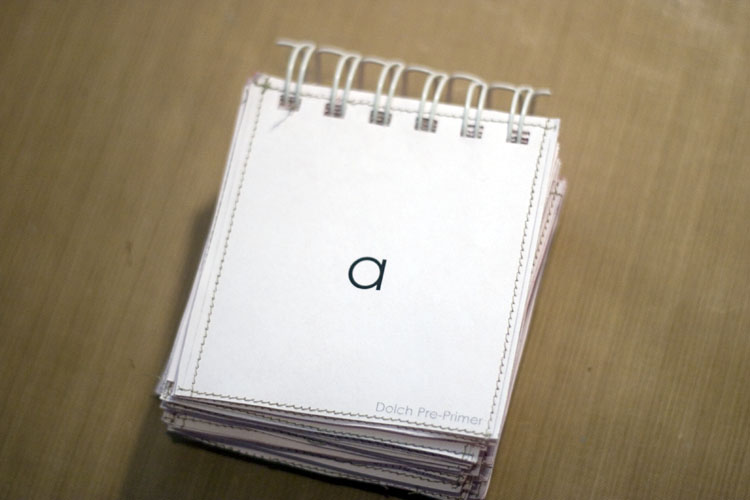
Now we get to learn them and have fun together!
This week’s craft was inspired by this (click photo for the source):

I am not nearly as talented as the original crafter but the great thing is David doesn’t care! So I cut some pieces from colorful felt.
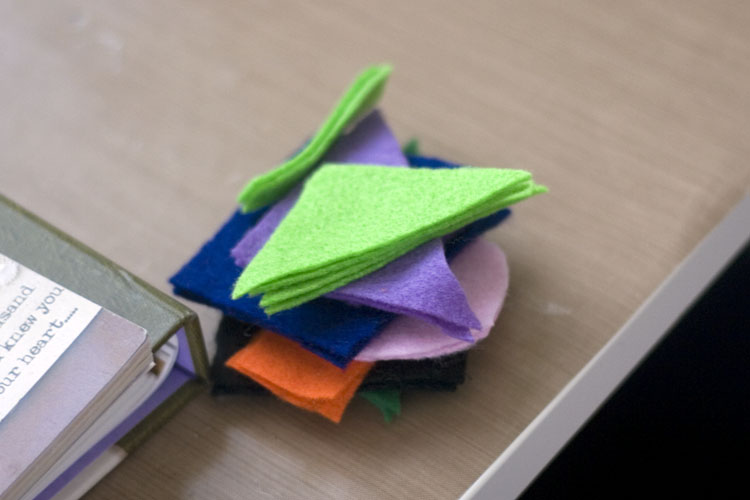
Stitched them and voila!
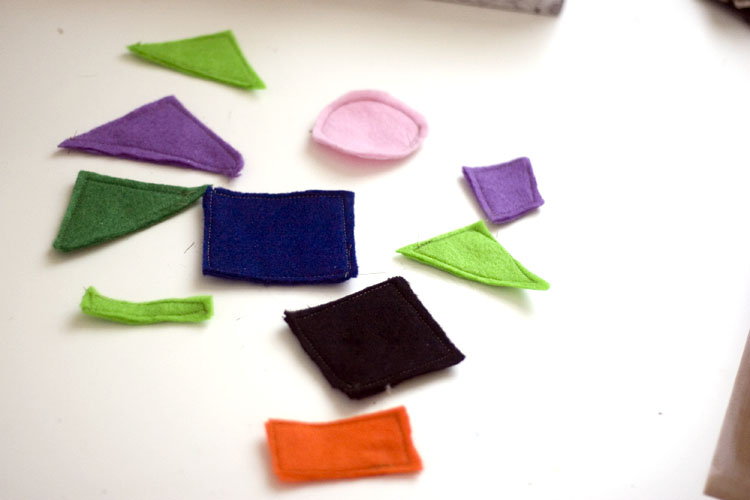
Yep, can’t cut a circle or sew a triangle. But you know what? David loves them!
This week’s craft was inspired by this (I am so sorry, I seem to be missing the source. If you know it, let me know and I will add it.):
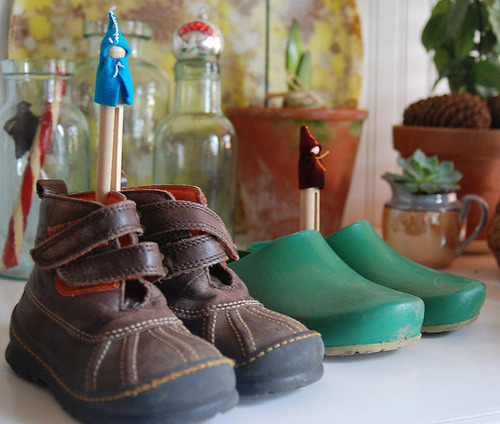
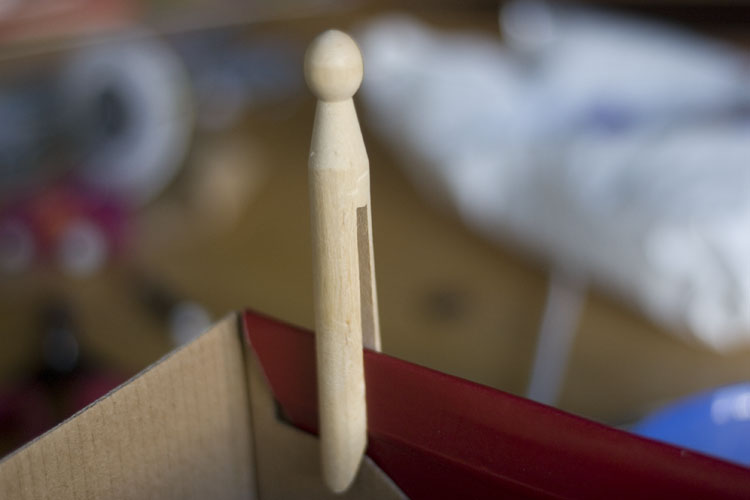
The hardest part was finding the wooden pegs. We finally ordered them online and it was way to expensive for what it is. But anyway, they’re here now.
We wrapped some fleece on one and tied with fabric thread. Then he wanted to paint hair so we added a headband.
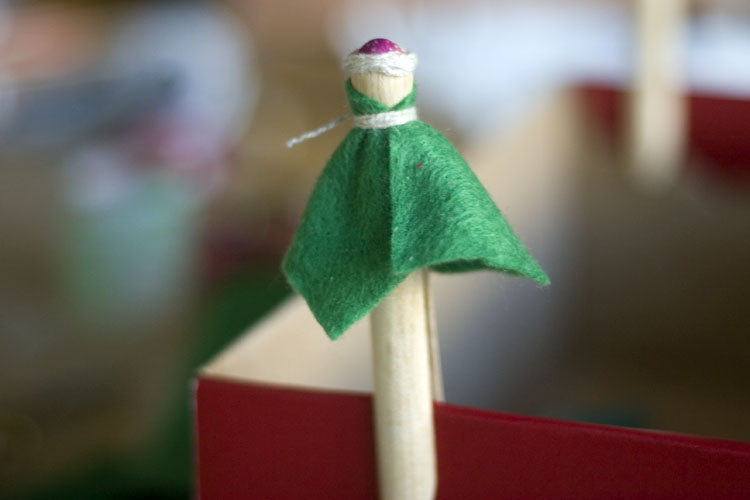
Then we drew a face and here we go!
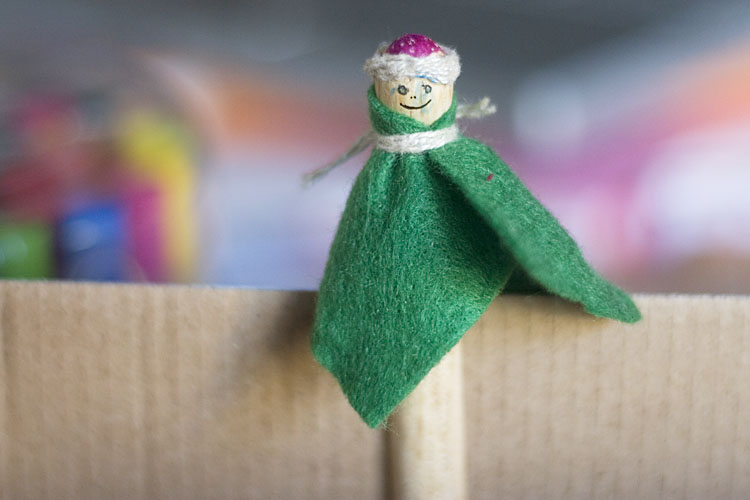
We then made another one with a black shirt and green pants. We did add hair to this one later too.
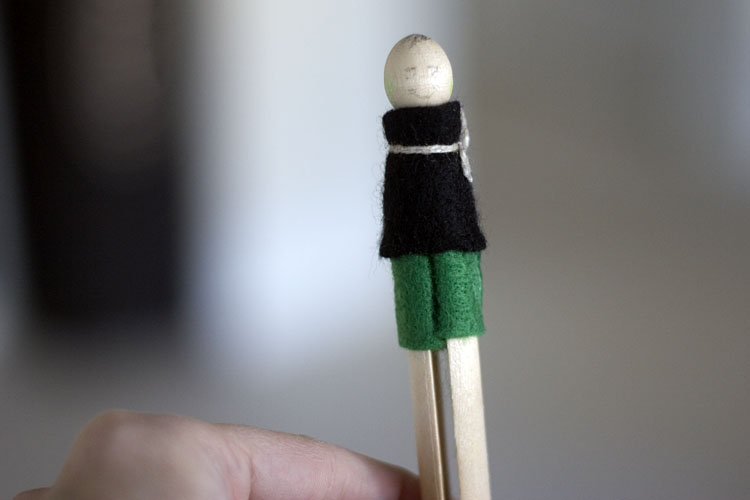
Not nearly as amazing as our examples but still, simple and super-fun!
This week’s craft was inspired by this (click image for source):
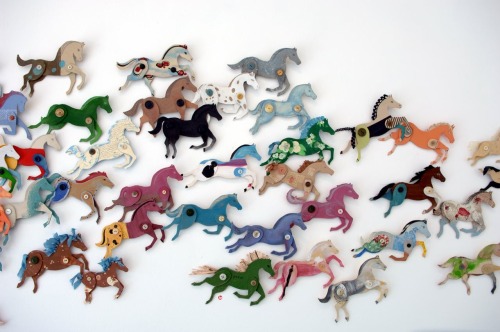
We only did one but it was really really fun.
I printed the horses.
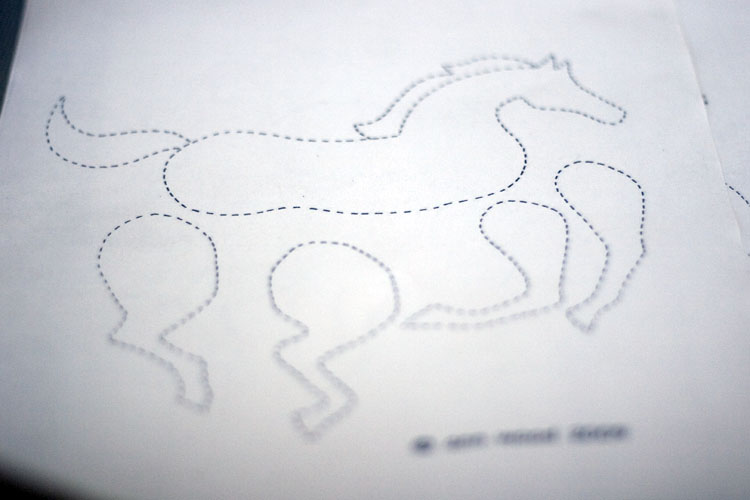
I traced onto a shoebox.
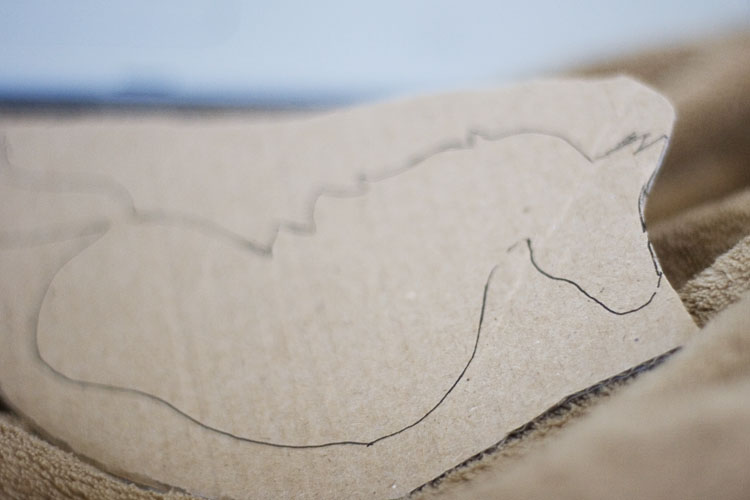
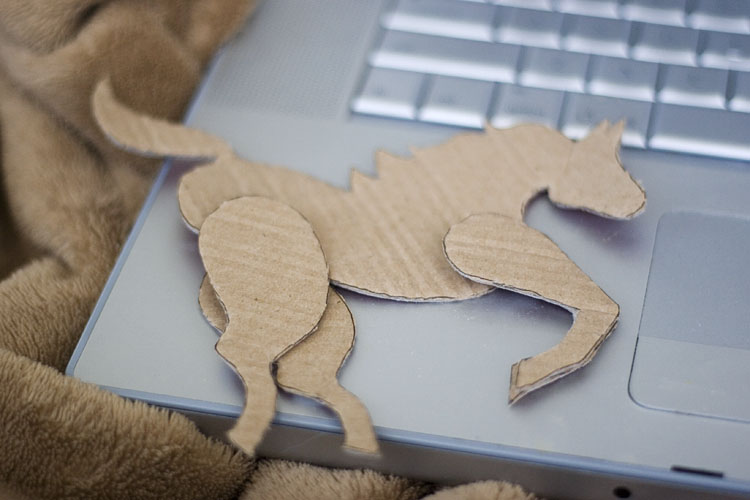
Cut it out.
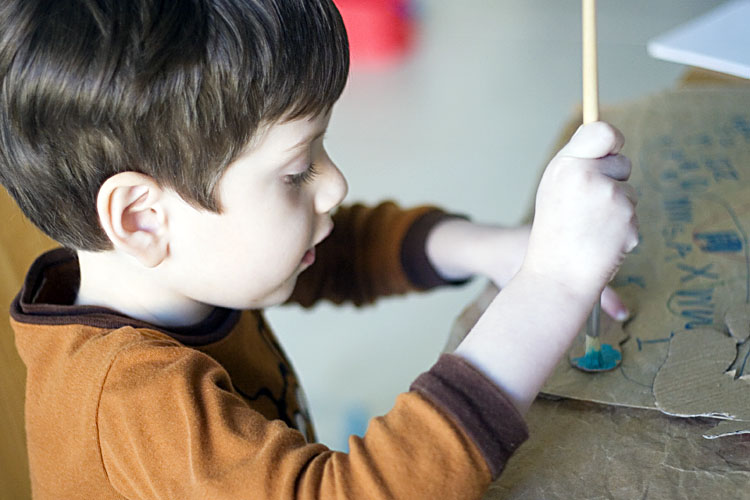
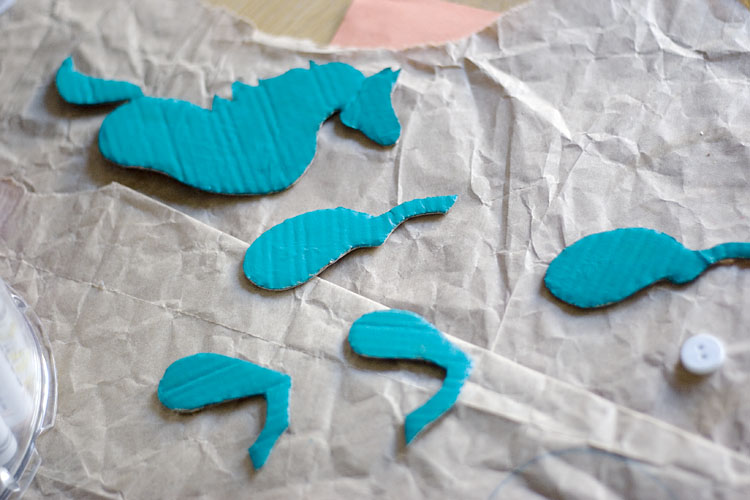
David painted it teal (his favorite color is green right now.)
We waited for it to dry and picked our buttons.
Some wire and a white button and the back feet were on.
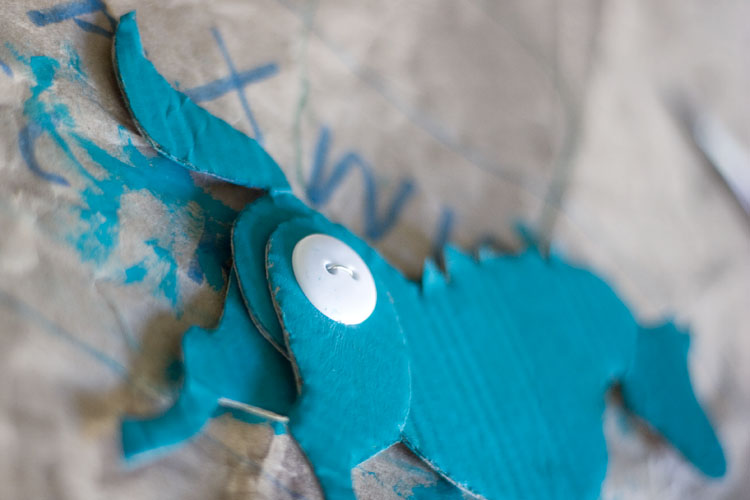
Here’s our horse constructed.
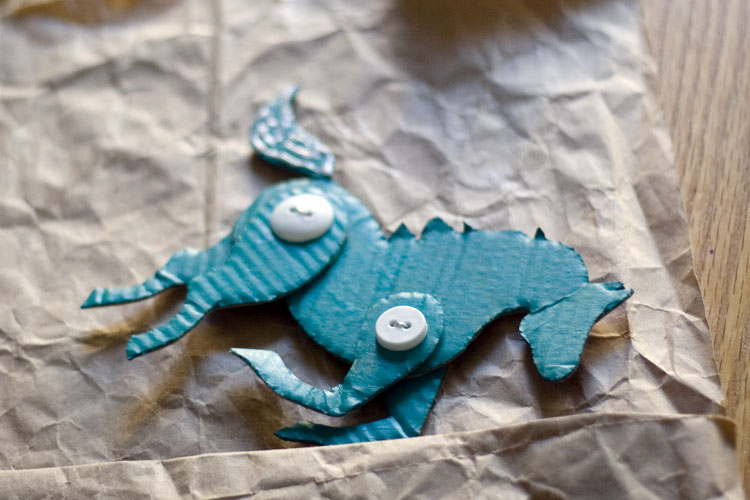
We then used some fibers I had to glue on to his tail.
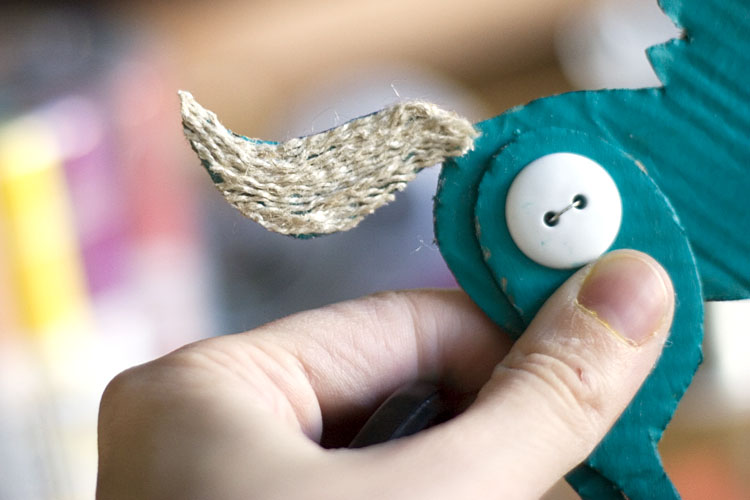
And his back.
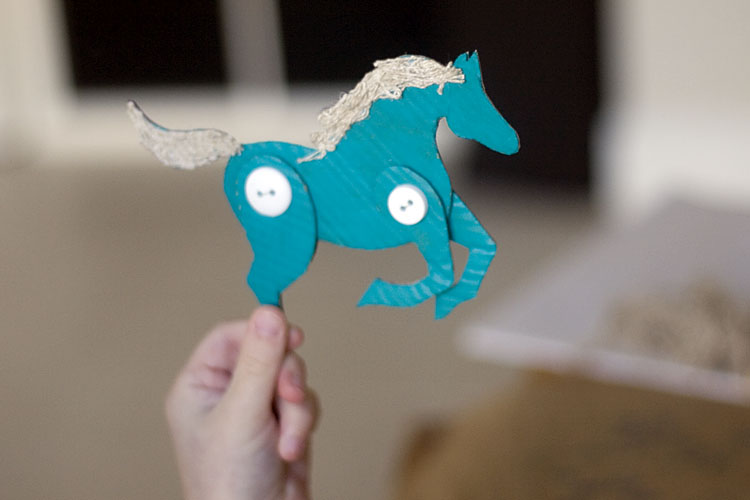
And here’s David playing with it.
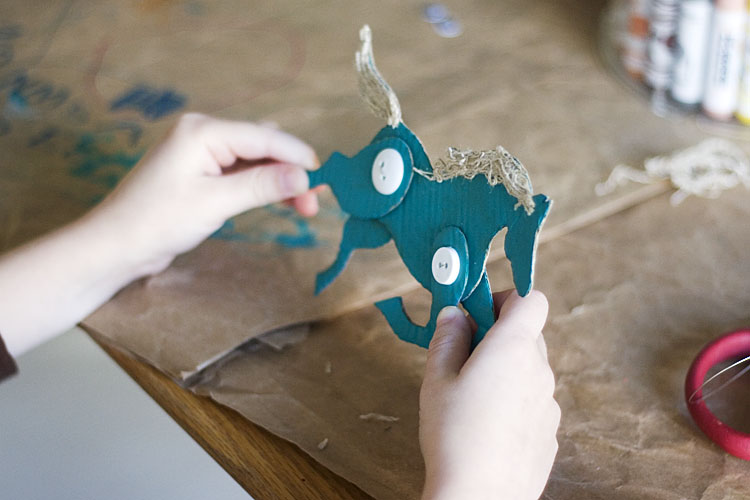
It was actually relatively easy and super-fun. David loves it!
|
projects for twenty twenty-five
projects for twenty twenty-four
projects for twenty twenty-three
projects for twenty twenty-two
projects for twenty twenty-one
projects for twenty nineteen
projects for twenty eighteen
projects from twenty seventeen
monthly projects from previous years
some of my previous projects
|


