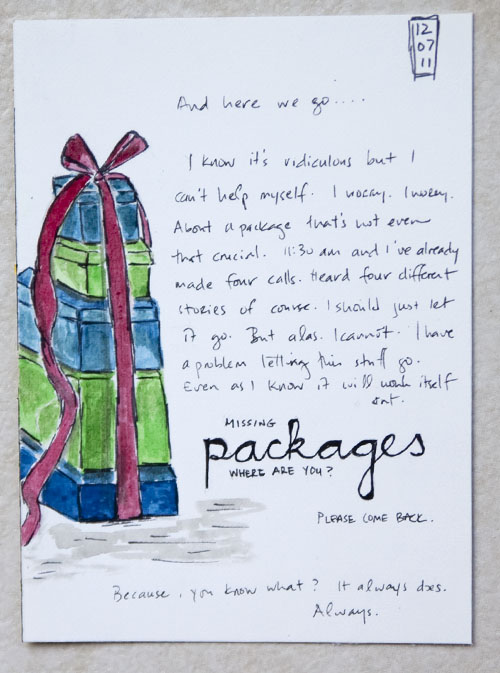
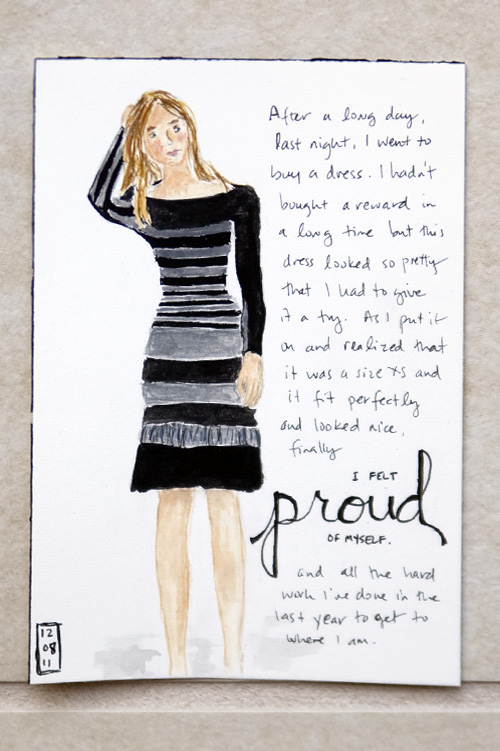
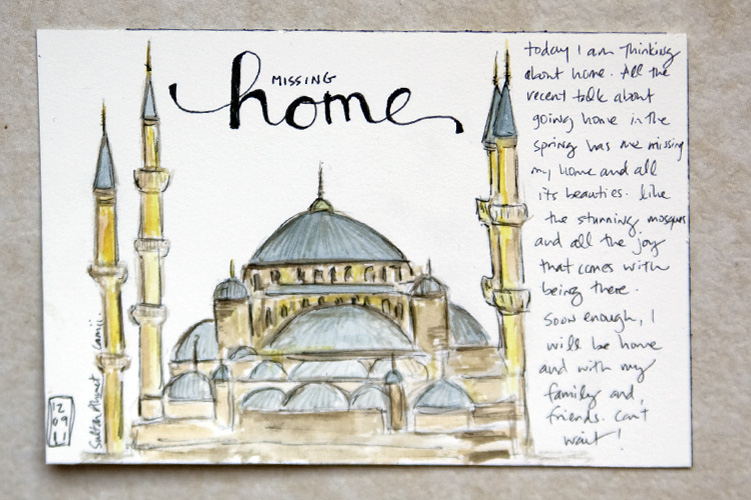
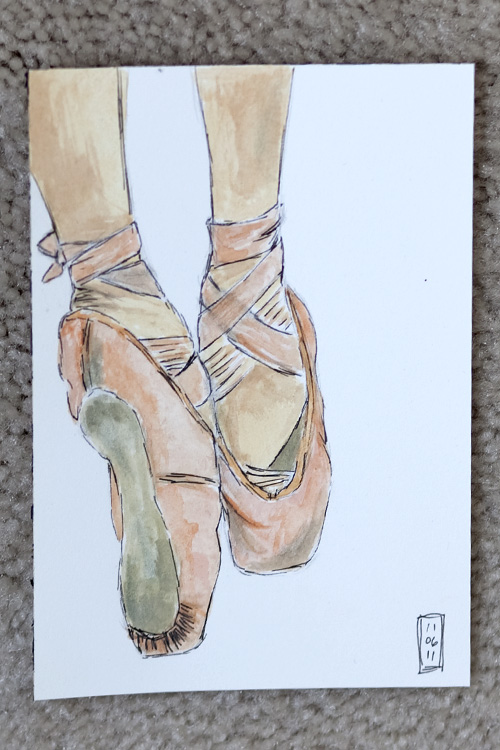
Apologies for posting two reposts in one week. This is a post I wrote for Julie’s Art Journal Everyday series in November. It talks a little bit about my art journaling journey and process. I wanted a copy preserved here.
The first time I decided I wanted to keep an art journal was in 2007. I had a 7-gypsies book in my stash, I decorated its cover with a photo I took and my word for that year.

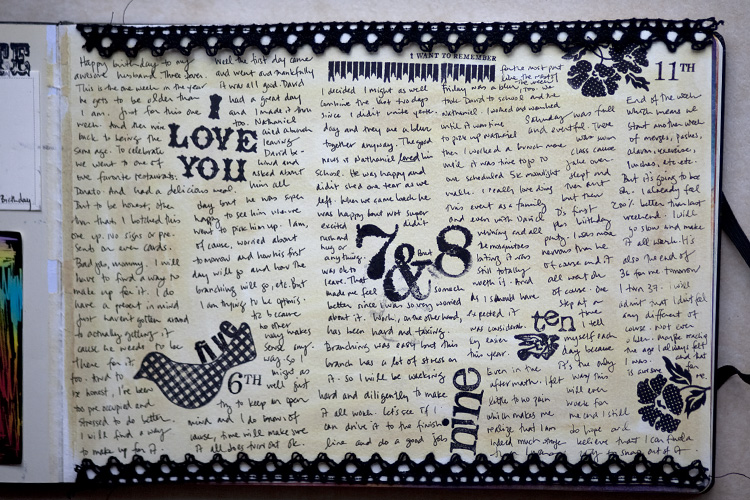
I was super excited to fill its pages. During the next few weeks, I made a few collage pages. Some inspired by artists I admired, others using techniques I’d learned in the classes I took online. After the initial 4-5 pages, I didn’t touch that book again until 2010. When I finally finished it last year, I felt a sense of relief. Three years of trying again and again, and I was finally able to finish one art journal. I’ll admit that it was a lot of effort. I spent every single day in November of 2010 creating pages, just to finally be done with the book. I remember feeling frustrated each day and while I was proud to have completed it, the book just didn’t feel mine. It felt like a collection of my version of other people’s techniques and styles. It was beautiful. It just wasn’t “me.”

When I made my list of projects for 2011, art journaling weekly was at the top of the list. I knew I wanted to art journal more (I’d wanted to art journal more since 2007!) but I truly didn’t have an idea what that meant. What exactly was art journaling? When I looked around to people whose art I admired, I saw a wide variety. There was acrylics, collage, watercolor, fabric, drawing. I can go on and on. Instead of feeling inspired by the variety, I felt confused and frustrated. I didn’t know what was “right.” Where should I start? What did an art journal really look like? I signed up for a bunch of different classes, all claiming to teach me how to “get inspired.” But they just managed to confuse me further.
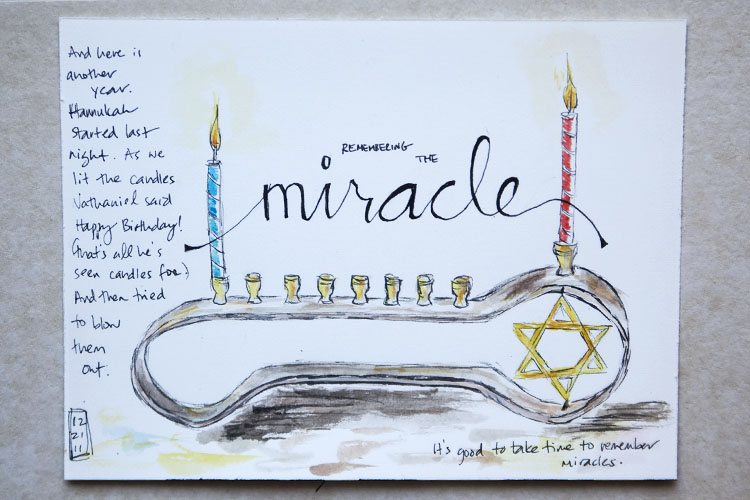
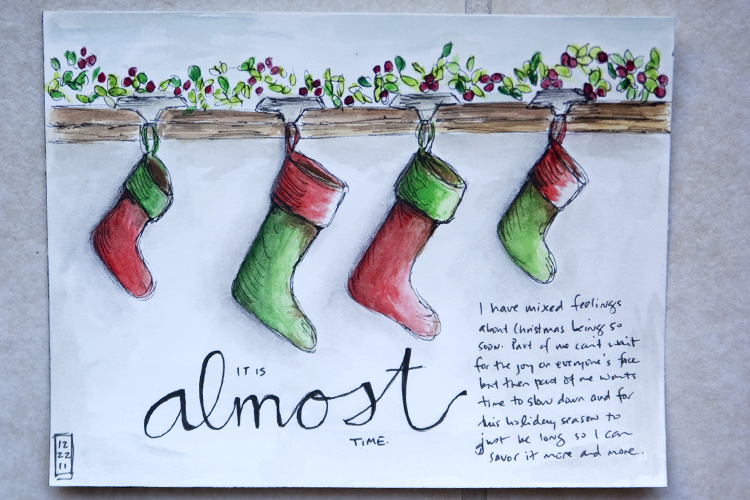
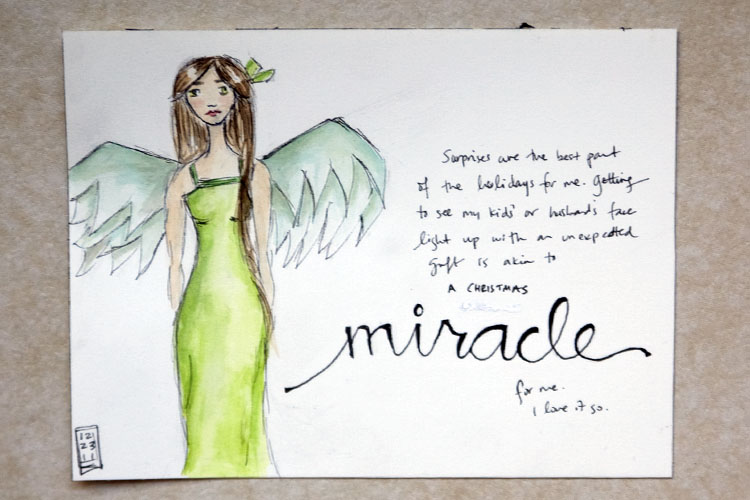
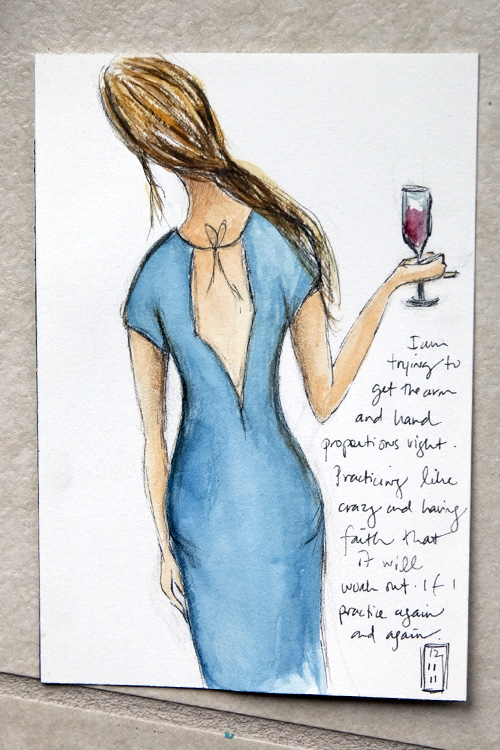
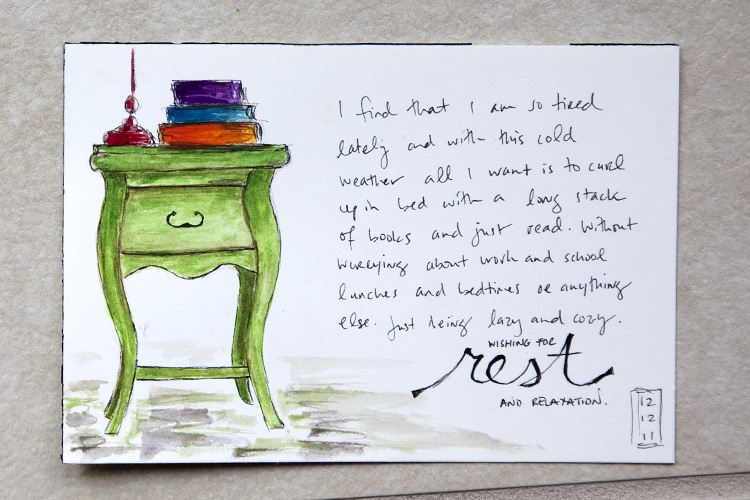
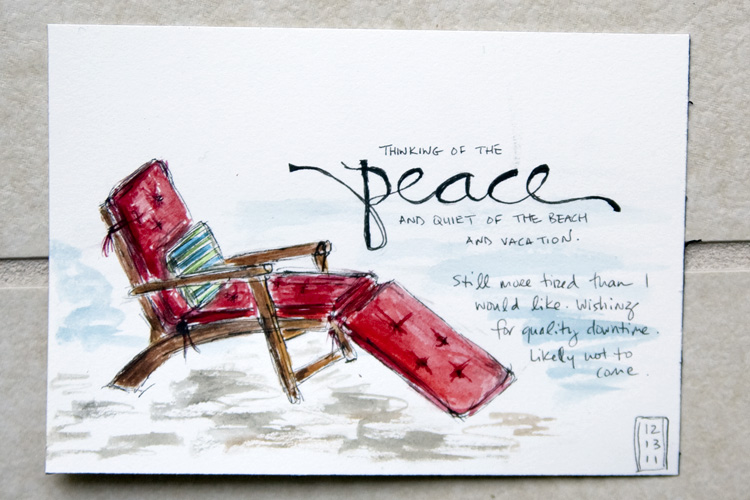
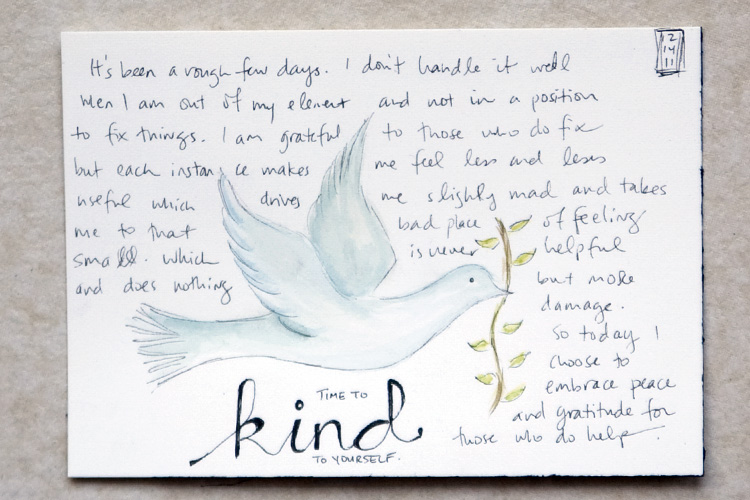
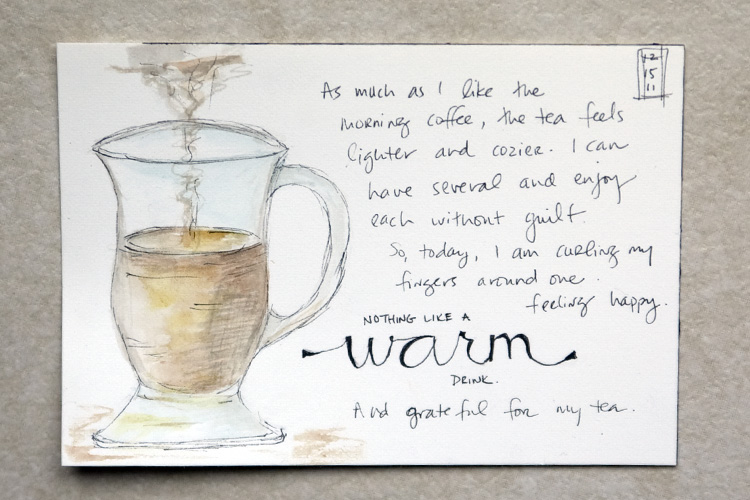
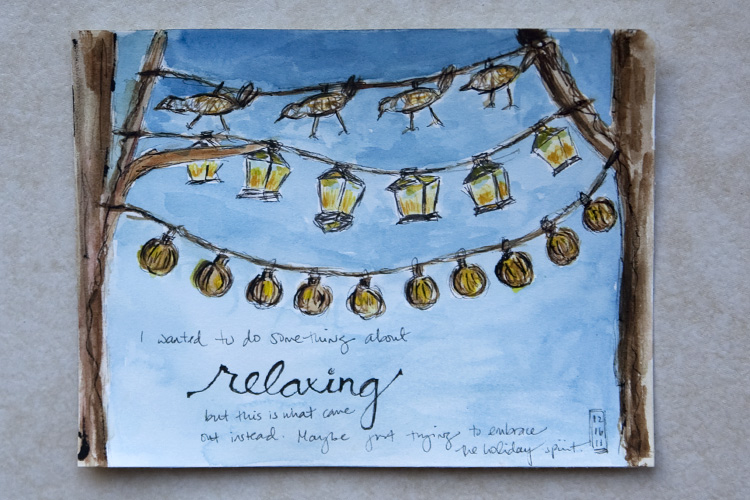
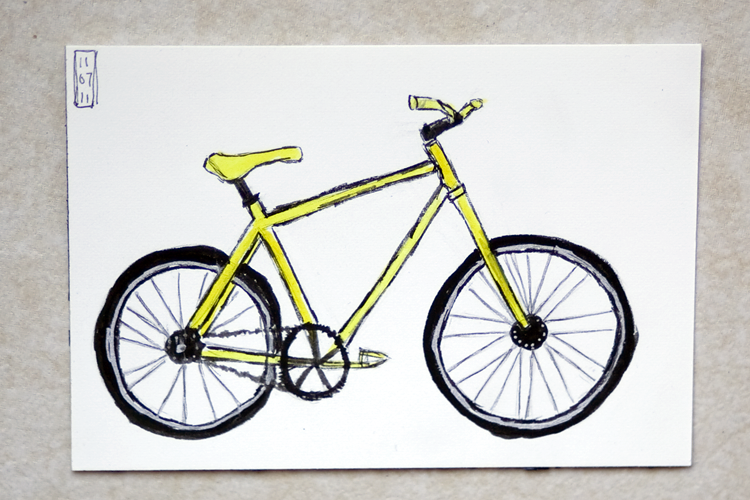
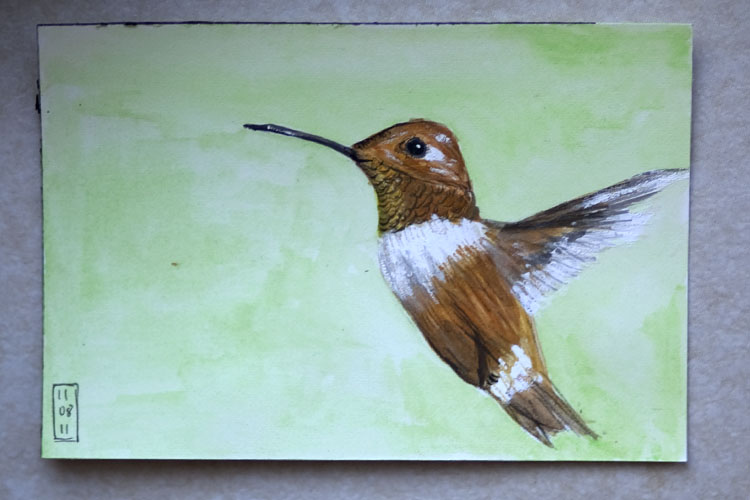
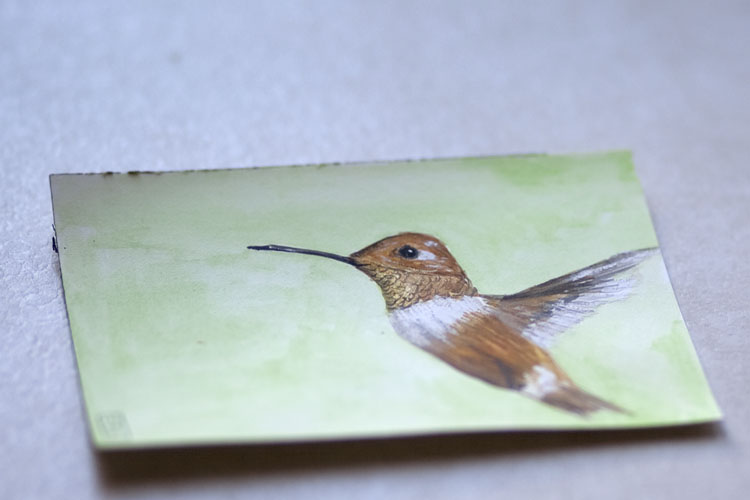
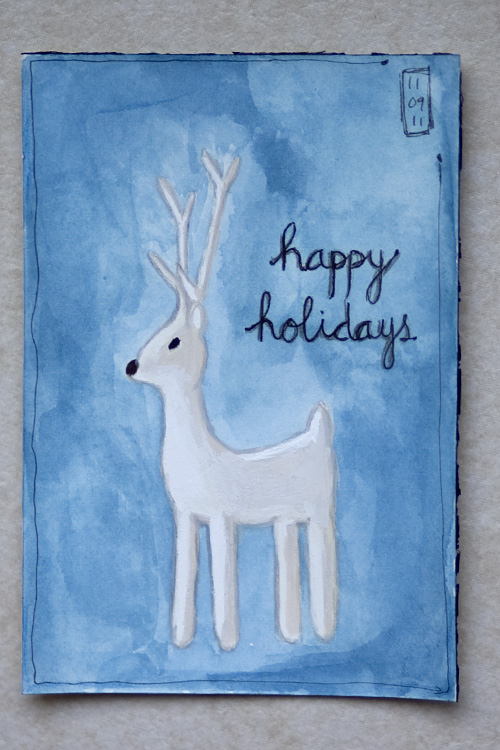
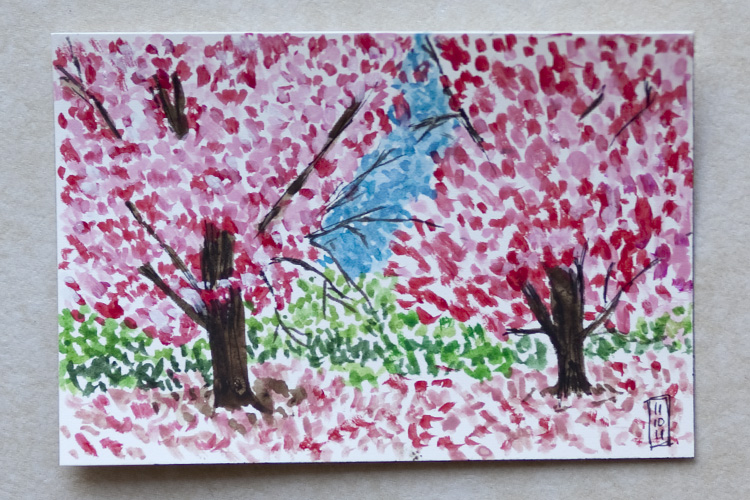
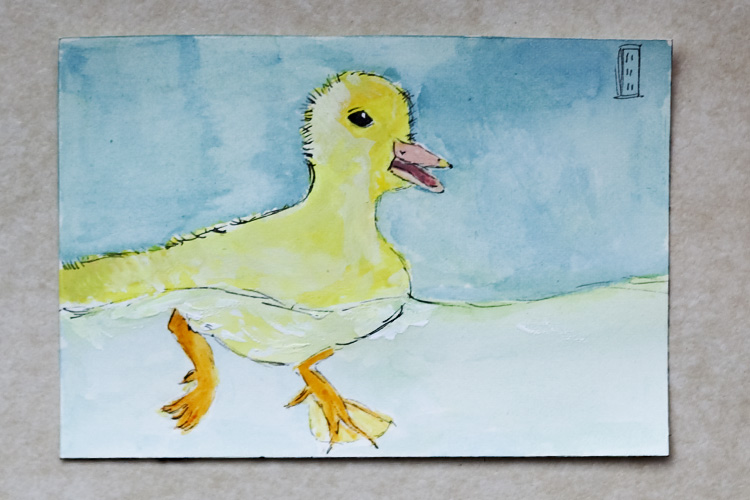
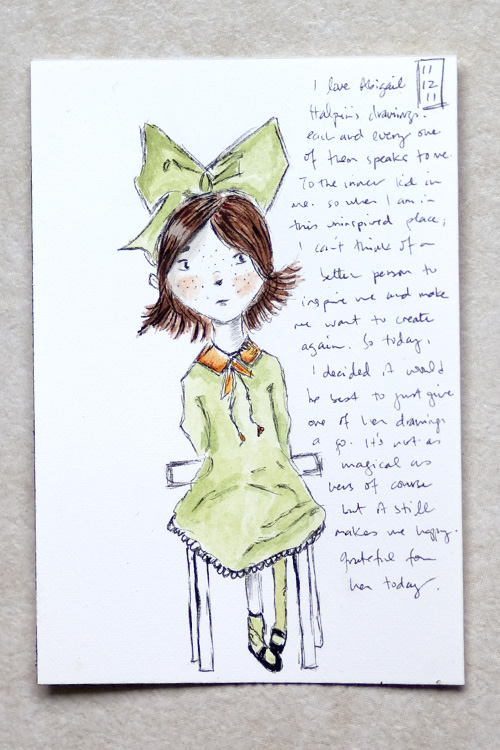
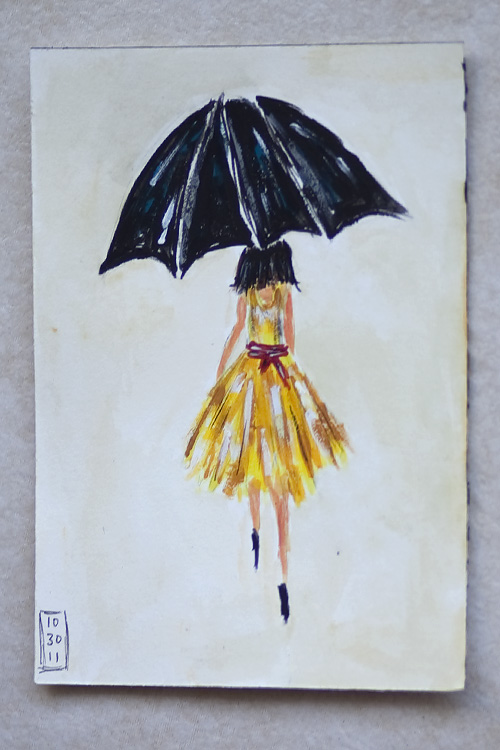
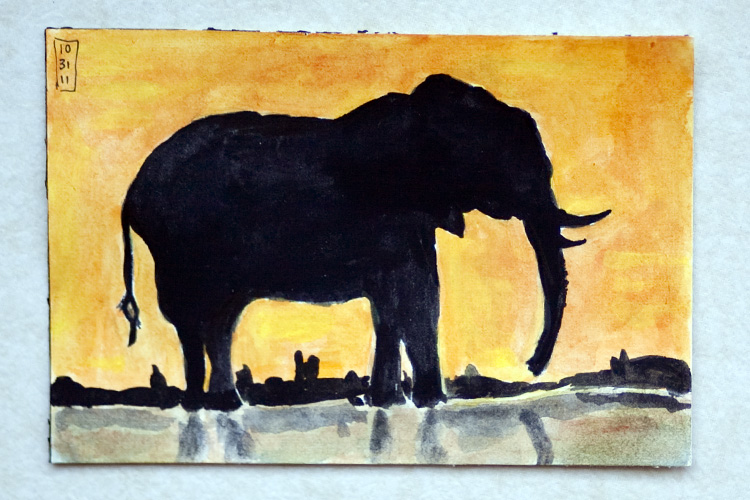
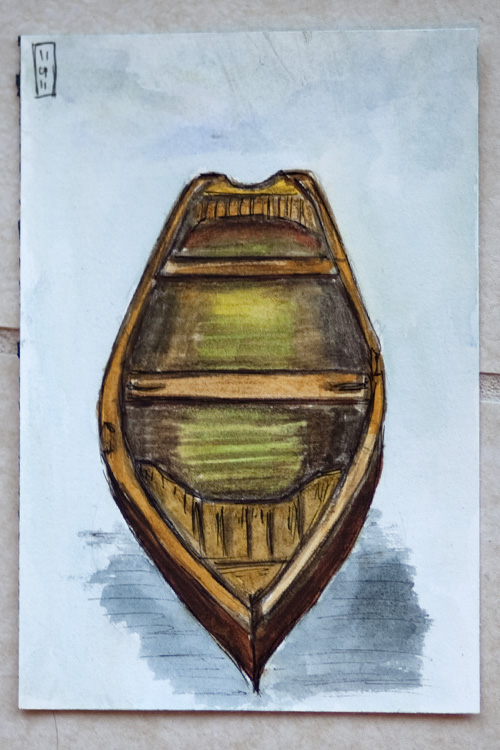
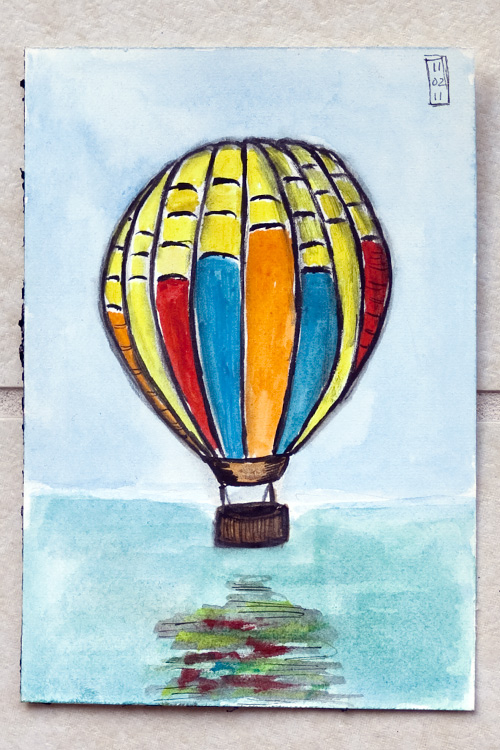
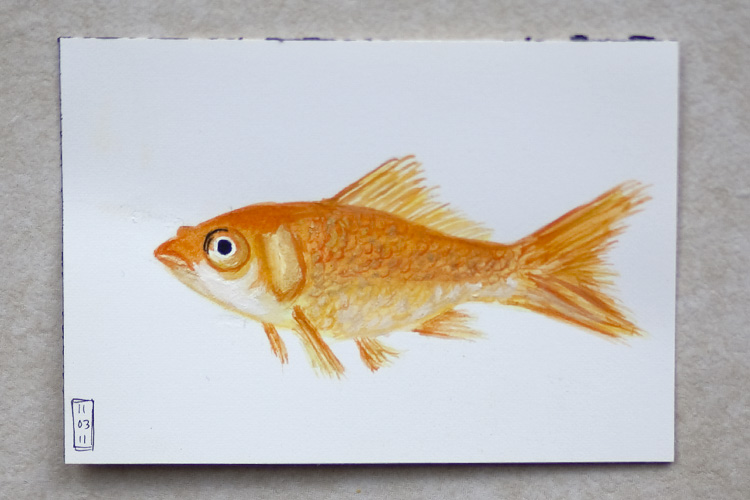
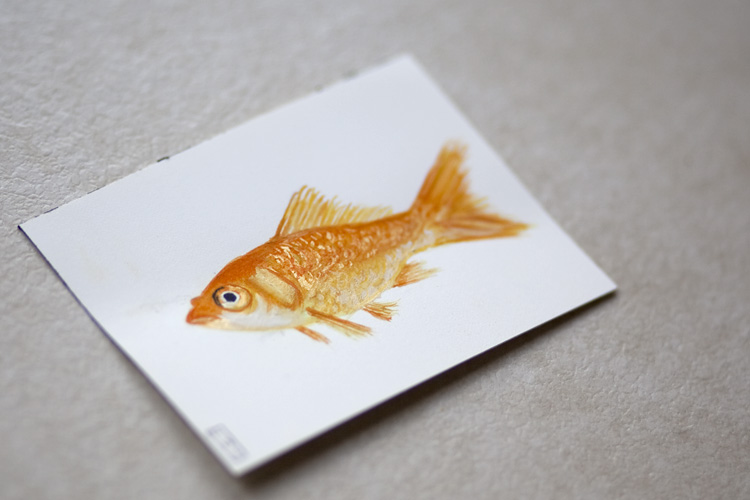
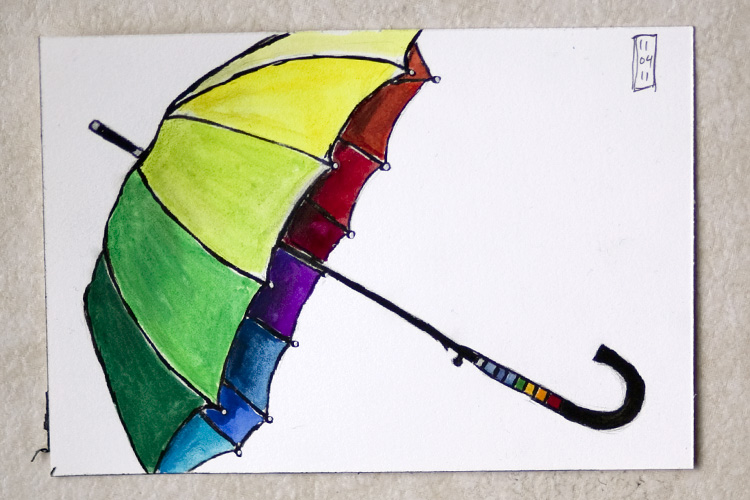
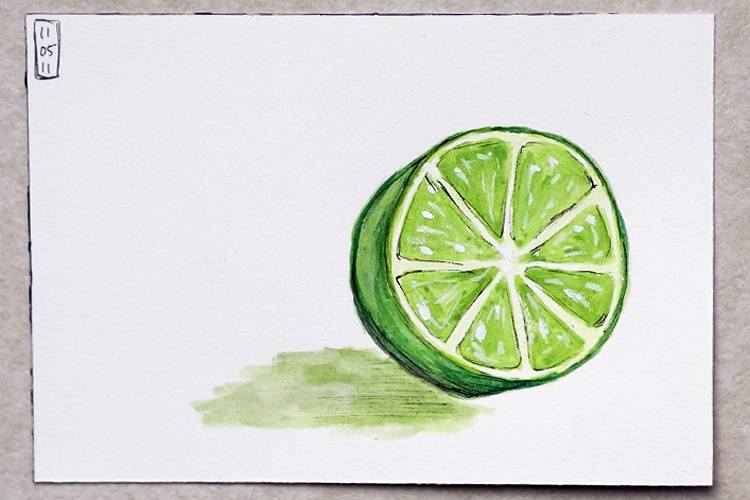
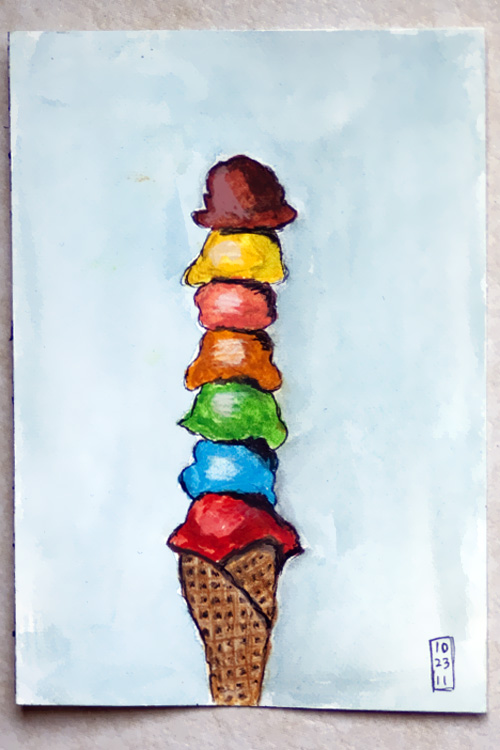
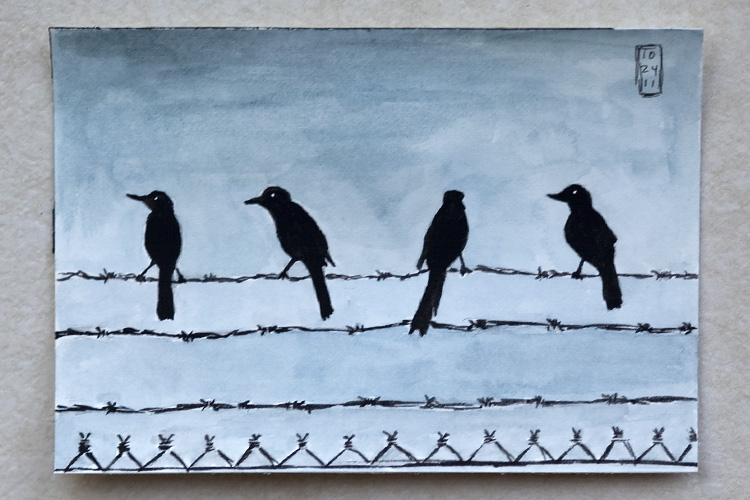
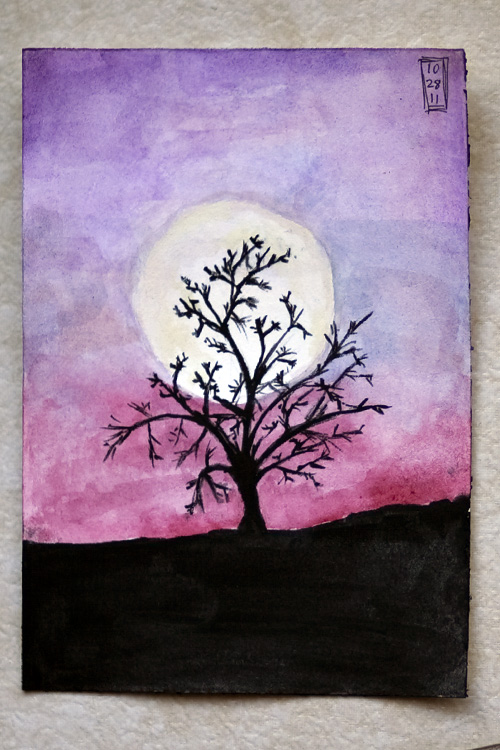
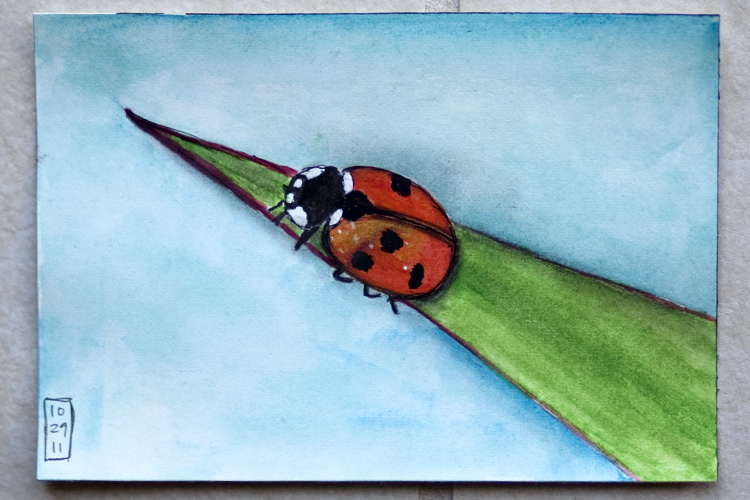
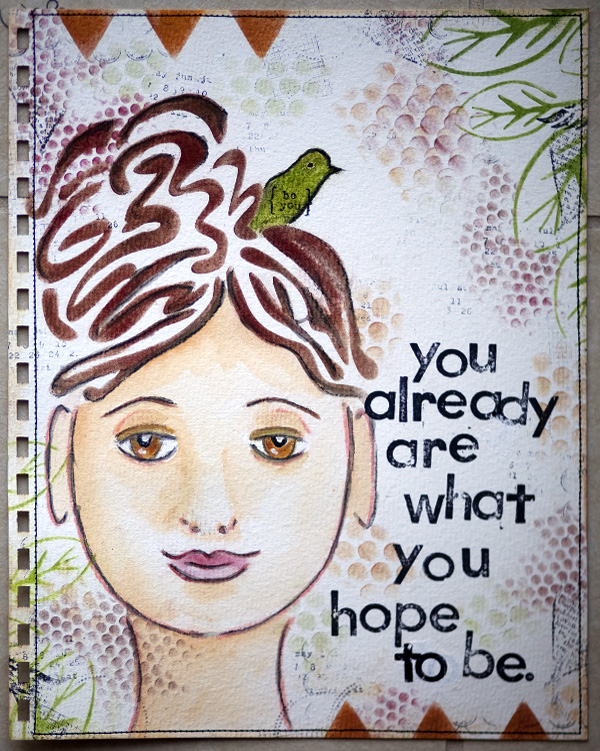
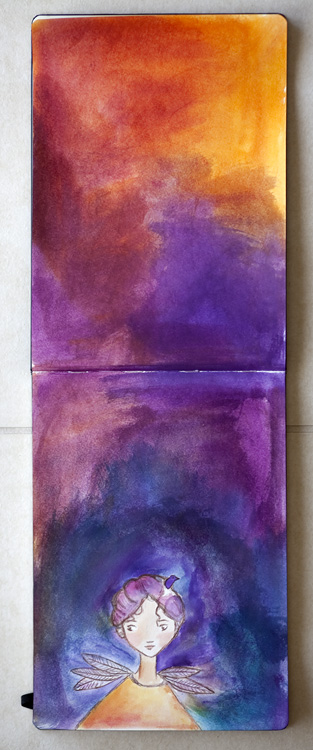
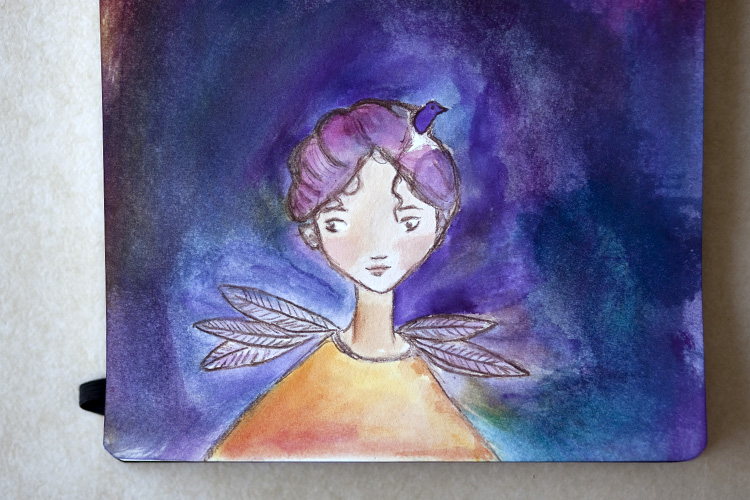
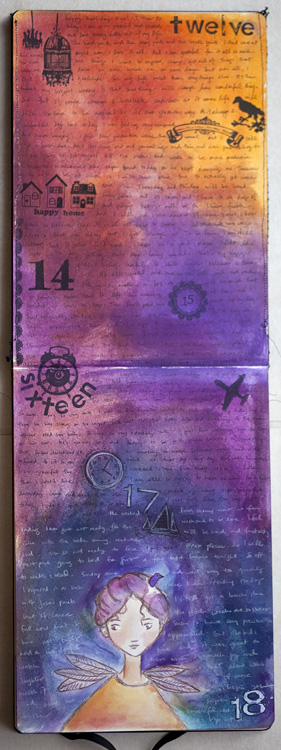
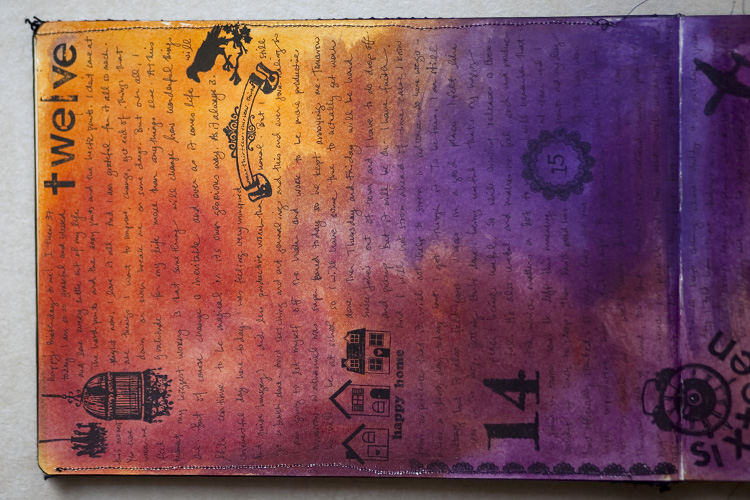
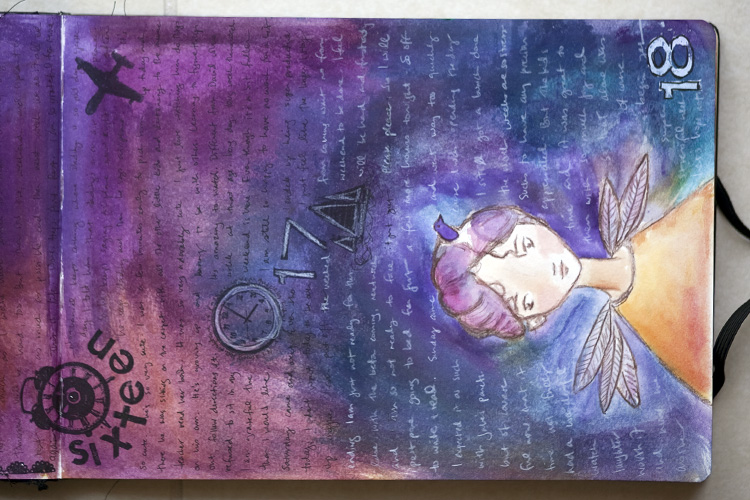
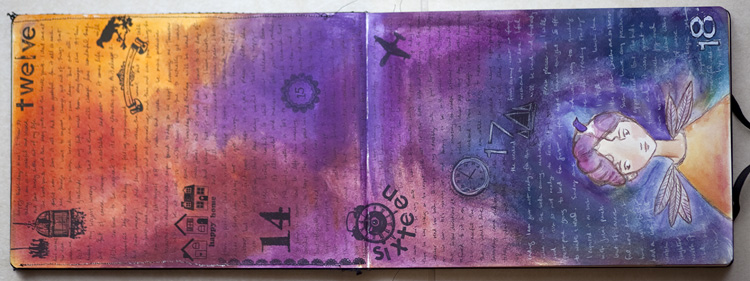
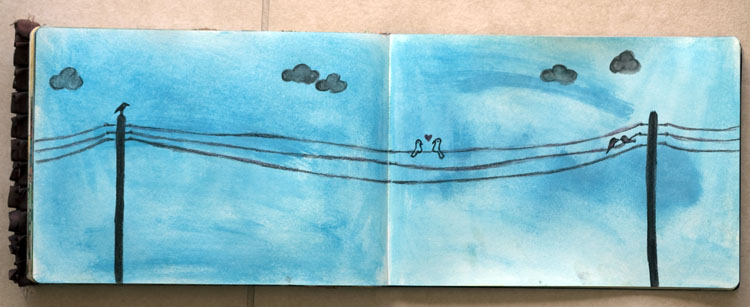
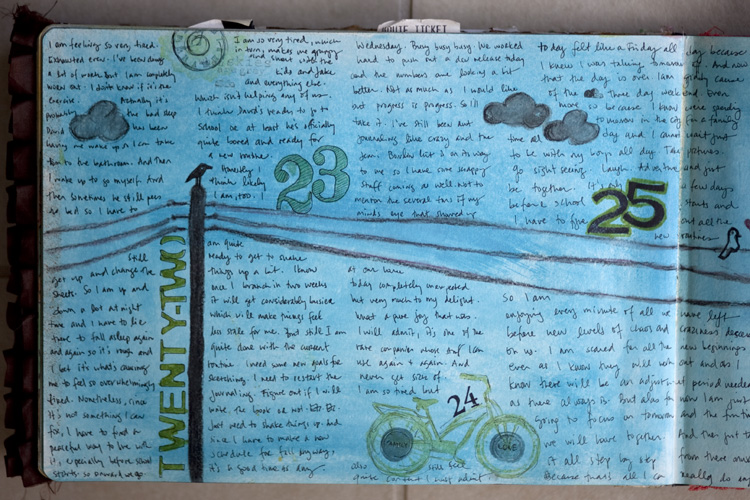
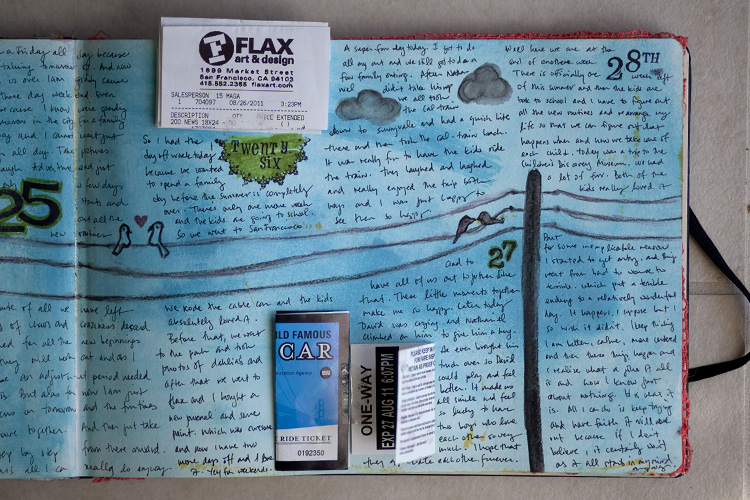
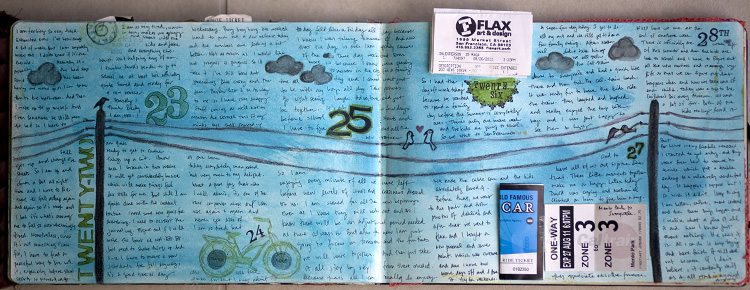
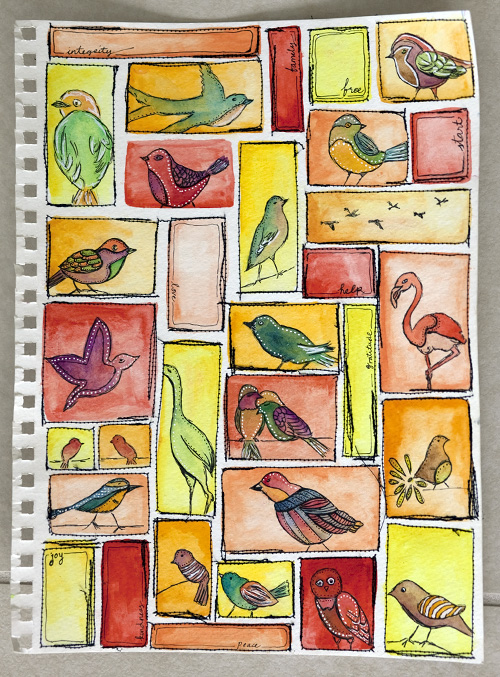
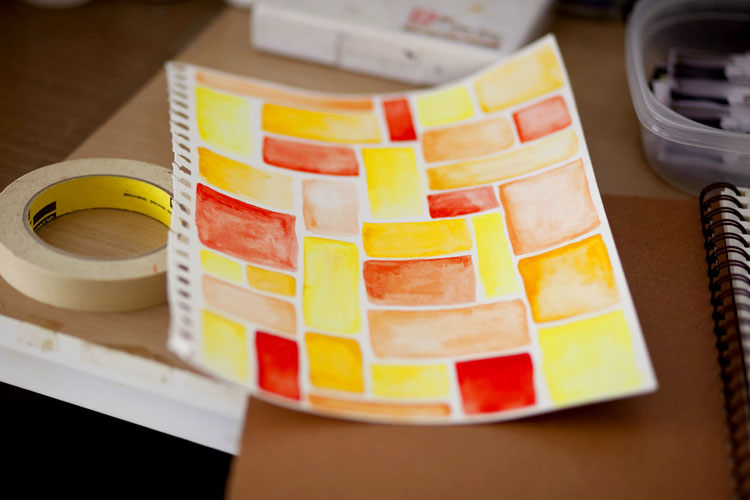
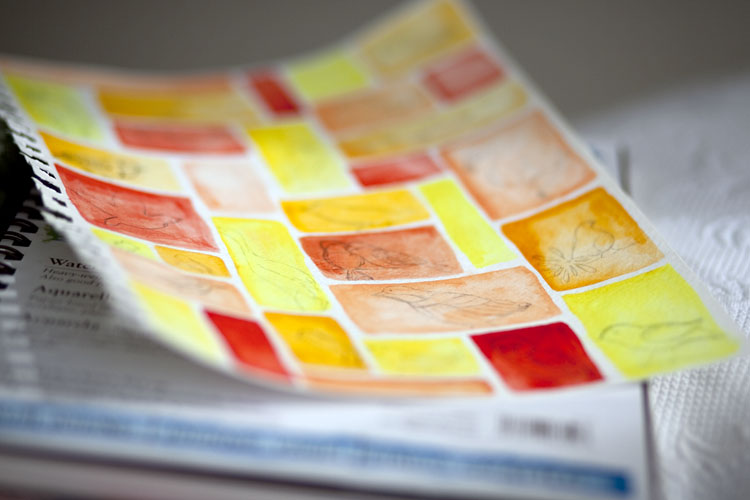
And then, two pivotal things happened. The first one was a blog post by Julie. I had seen similar week-long pages by Judy Wise and admired them, but I had never before thought I could create them, too. Julie’s post and the way she broke down her process was exactly what I needed. So I purchased the same journal and immediately started doing my own week-long pages. I used a wide variety. One week it would be watercolors:

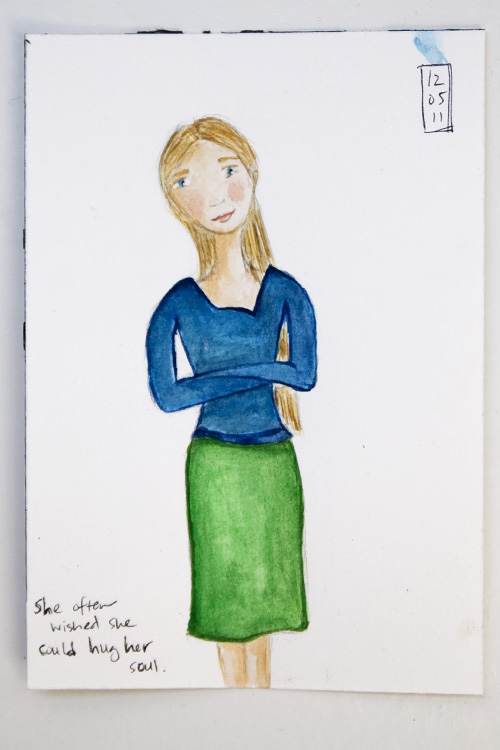
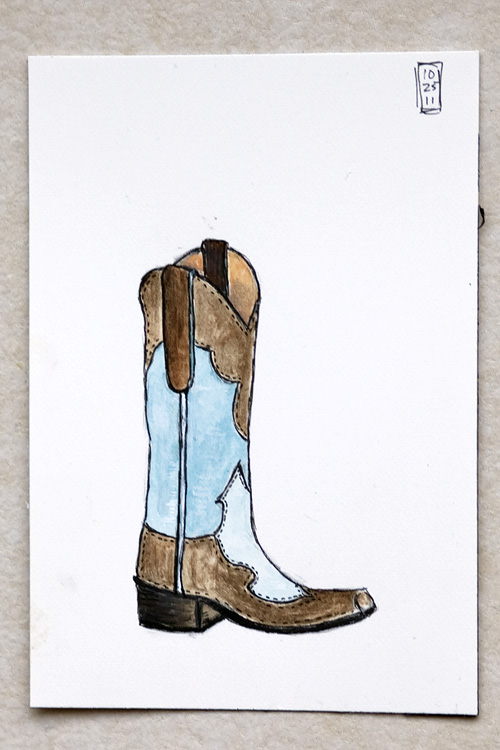
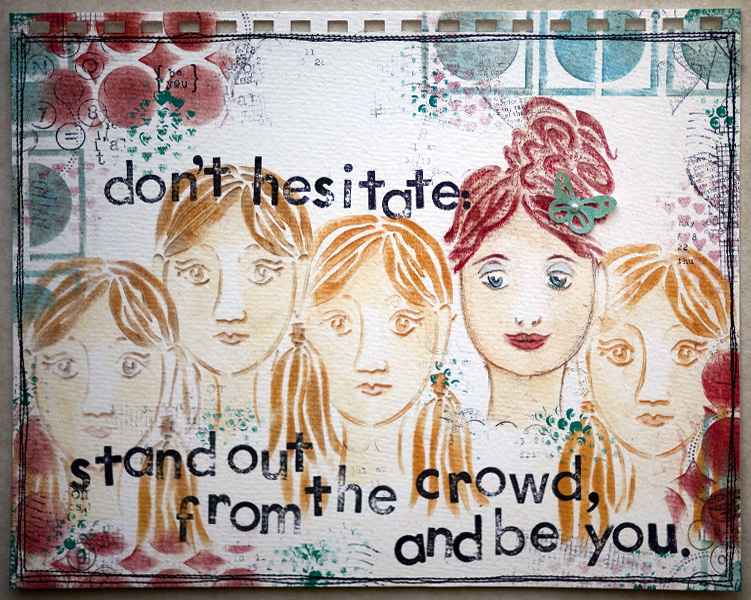
Then doodling.

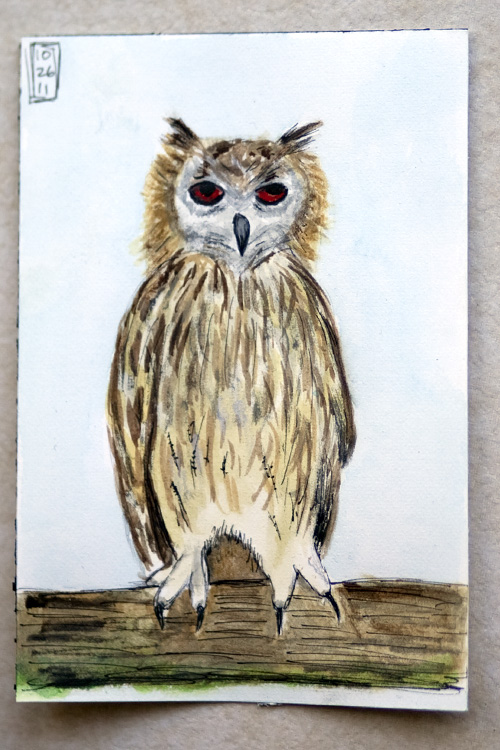
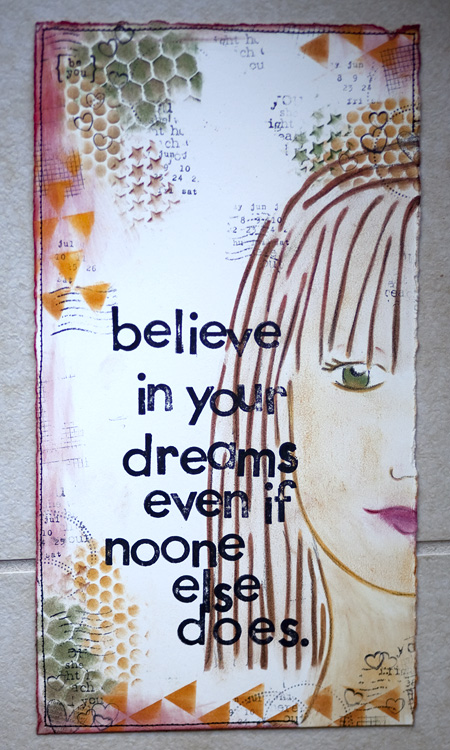
Then acrylics.
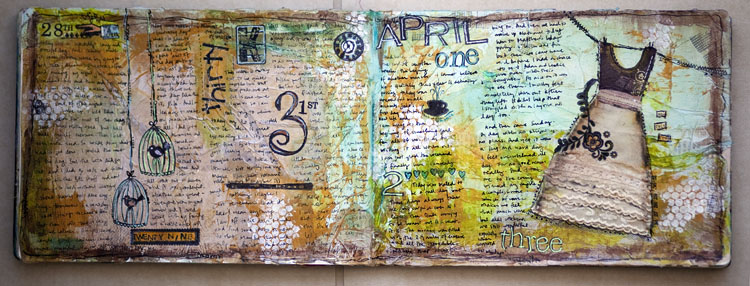
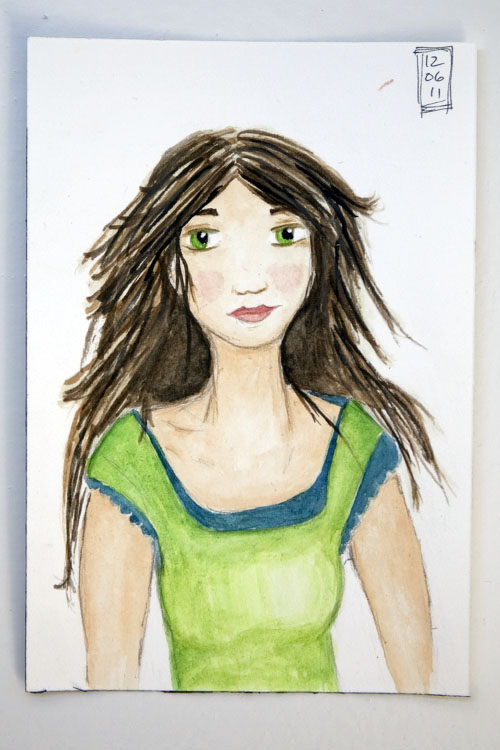
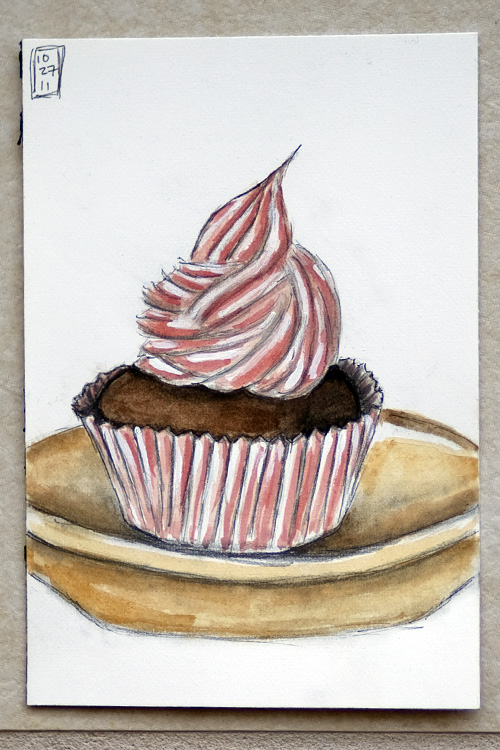
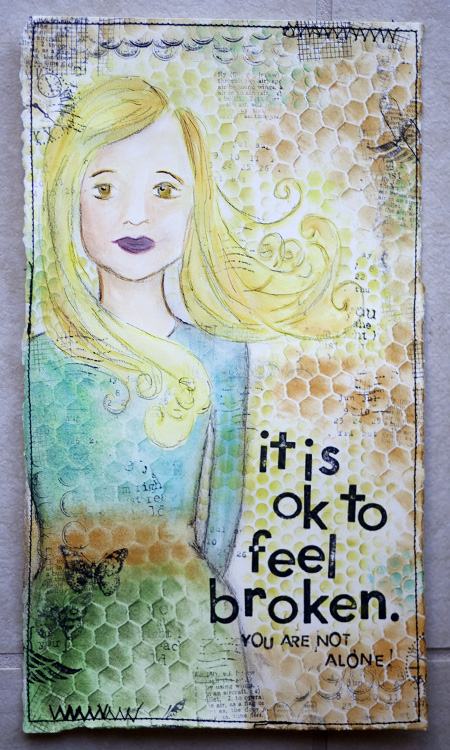
And then back to watercolors.

This project was a great step for me in unleashing my inner-artist. I would create some background pages on the weekends and then each day, I did a little bit of stamping, some coloring, and some writing. It felt very doable and I had a lot of fun with it. You can see all my pages here.
As much as I loved this new weeklong project, it wasn’t enough. I wanted to create those beautiful, artistic pages I saw others create. I kept searching for my artistic voice. I signed up for every class I could find online. My second pivotal event was taking Christy Tomlinson’s She Had Three Hearts Workshop. I’d already taken a previous course by her and it was good so I signed up for this one thinking it would be fun, too. But it was so much more than that, for me. As part of her class, Christy demonstrated several different mediums. She used videos so I could see exactly how each medium worked and there were a few that I had never tried that spoke to me.
Her class finally gave me the inspiration to sit down and create some pages. (Instead of just looking at them, bookmarking ideas, and never creating.) I bought a few new supplies and started to create daily. Within a few weeks, I’d accumulated a bunch of pages and while I liked these more, I still felt like something was lacking. My pages looked off to me but I kept creating and trying these new mediums anyway. One day, I was talking to my husband and I asked him what he thought of my most recent page. He said it was pretty but that the colors looked a little muddy.

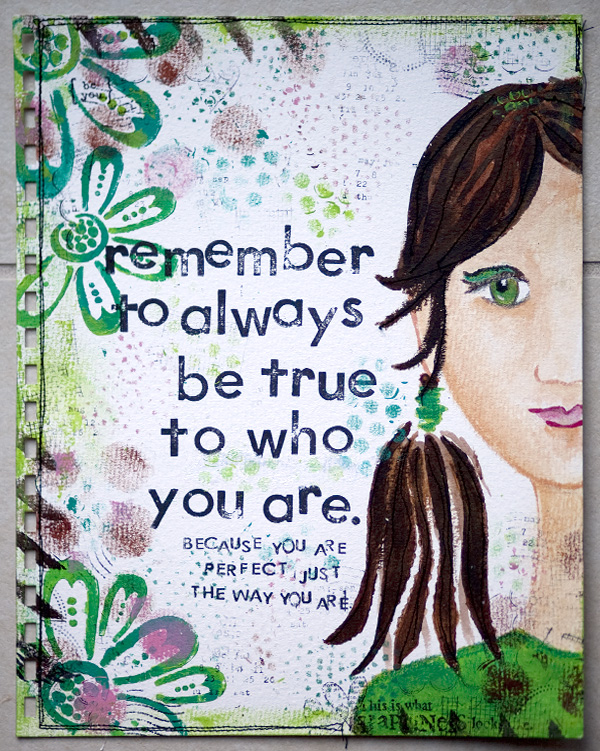
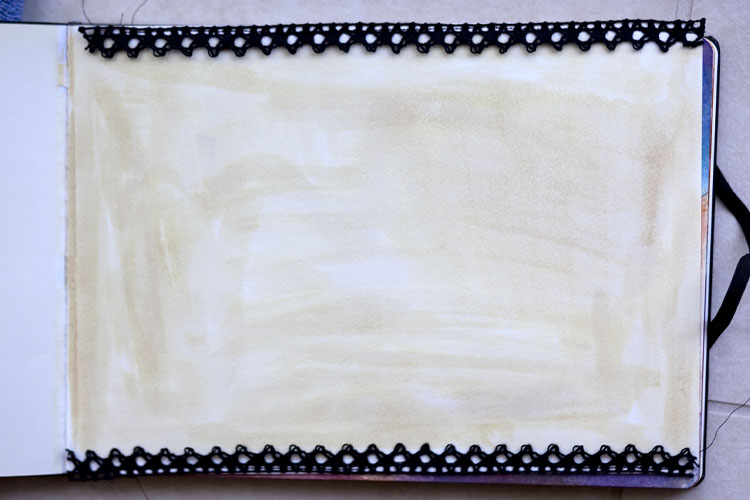
It’s going to sound weird but, for whatever reason, it was exactly what I needed to hear at that very moment. His words made me realize the problem I had all along! If you’ve ever seen my scrapbook pages, I always use a white cardstock background. I like the way colors pop out on white. And yet, when I sat to art journal the first thing I did was to paint my background. That’s what all the classes tell you to do. It’s supposed to help you overcome the fear of the “blank page.” But I hated the way blue looks against a page with a yellow background. I disliked that a colored background meant any layer I added didn’t have the true color anymore. So, the very next day, I used a white background instead:

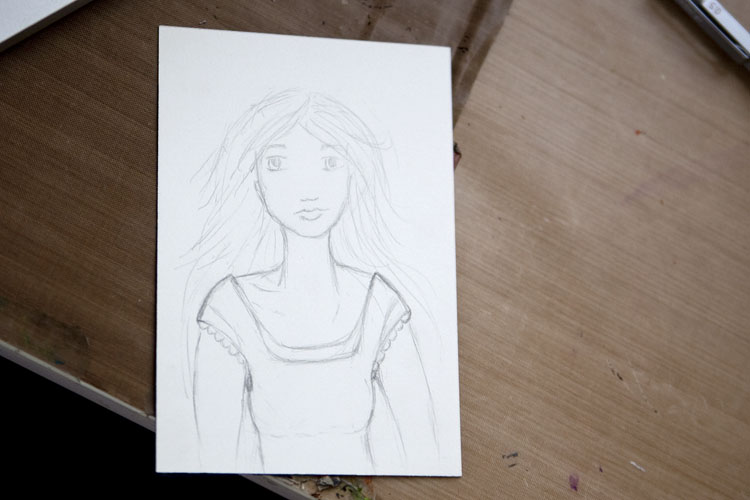
And suddenly, everything clicked for me. I’d finally found my way. Throughout the next few weeks, there were several other things that fell into place to define my personal way of art journaling but it all started with that white background. It freed me to let go of many other preconceived ideas I’d gotten from my classes.
So let me walk you through how I create a simple art journal page today and all the decisions I make along the way:
The first thing I do is cut a piece of paper. I do not use a journal. I like my pages to be loose so I can stitch all over them, so I no longer use bound journals. This, too, was a big change from the classes I took. They almost always tell you to get a journal.
I then pick some stencils I like and happy, bold, heavy body acrylic colors and create my focal point. Yet another no-no for art journaling according to the classes I take. You’re supposed to do your background first and focal point last. Not me.
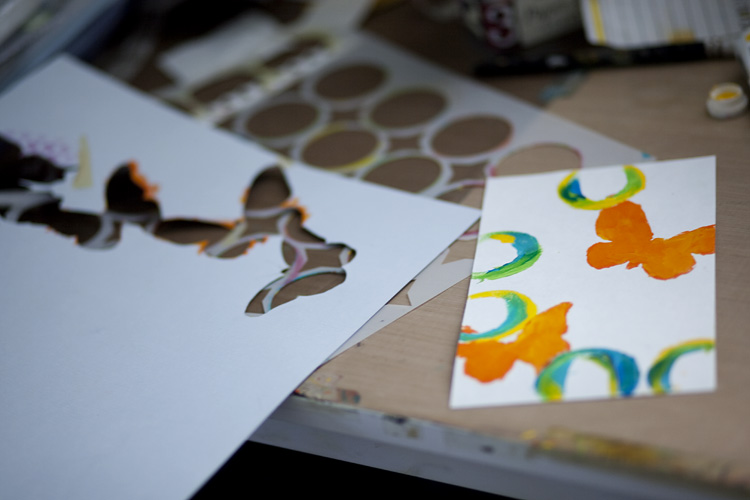
I rarely use water. I tend to take my dry brush, dip it in the paint and go for it. I like the look it gives on the dry paper. Oh, and I use watercolor paper and I never gesso. I like the texture the watercolor paper gives my page. I don’t like how gesso feels. Unless the medium desperately needs it (like acrylic ink!s) I will not use gesso.
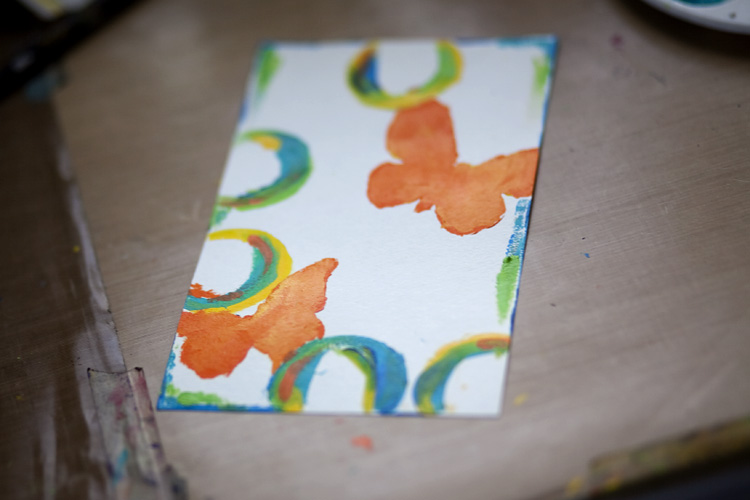
So here’s how it looks after my initial step. I just used two stencils and then similar colors to create a bit of a border. It’s messy and not tidy:
The next thing I do is stamp my saying. Each of my art journal pages have a saying. A meaning, a thought. To me, it’s a crucial part of the process. I do the same thing with my titles on my scrapbook pages. It’s the meaning behind this page. Why I created this particular page on this particular day. Most of the time, it’s a thought on my mind. Very rarely, it can be a quote or a song lyric. As I was stamping this one, I made a mistake and I wanted to keep the photo so you could see that it happens all the time:
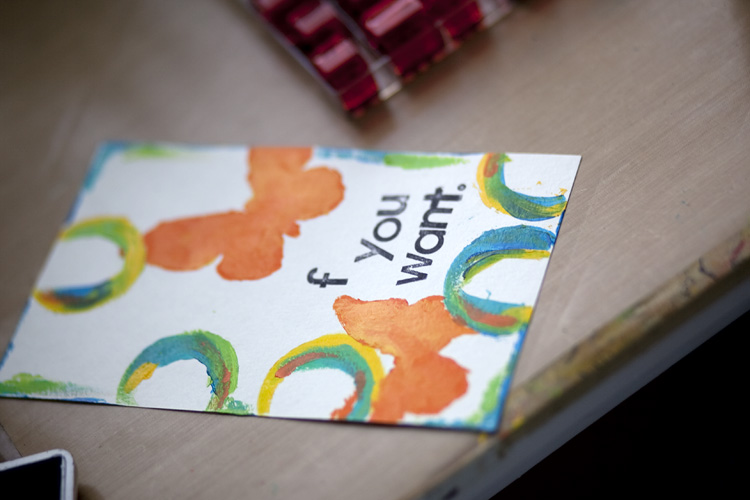
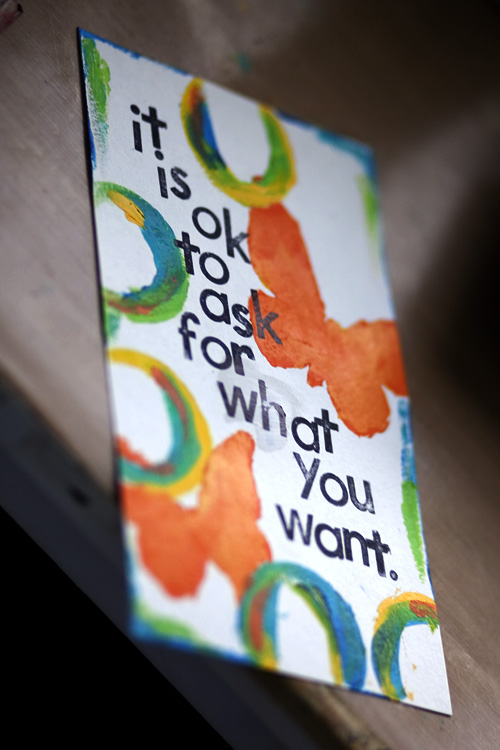
That “f” is supposed to be a “t.” So I used gesso to erase it (another advantage of a white background) and re-stamped on it when it dried. Here’s the page with the full title:
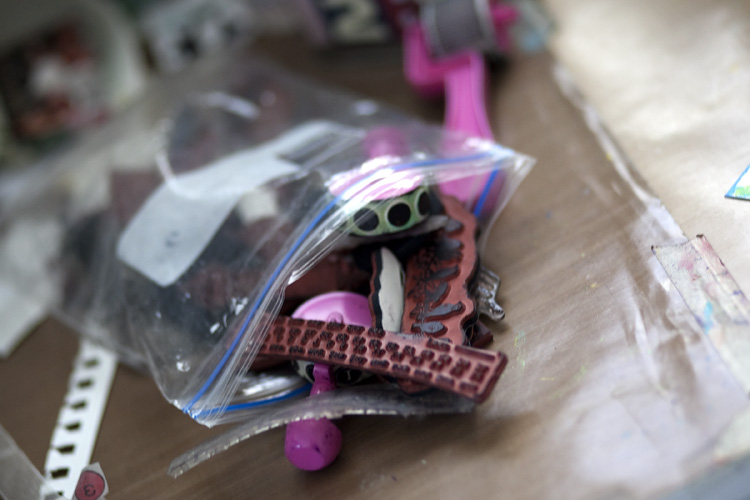
The next thing I do is use some of the stamps I have as texture and layers. I’ve accumulated these over time and I have a baggie of them so I can use different ones on each page. (Though I always seem to prefer the same few stamps.)
Here’s how the page looks once I’ve stamped on it some. This is another area where I make it my own. I have a stamp I use on every single page. It’s my “signature.” It’s the little “be you” stamp on the upper left corner of the photo.
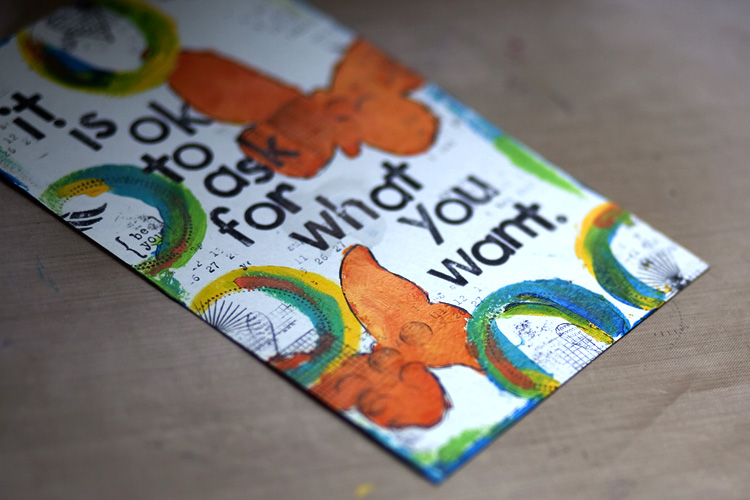
I then added some pen outline to the butterflies and circles to tidy them up a bit and make sure they popped out. The last thing I do is stitch all around the page and I am done. Sometimes I might stitch on my focal point, too. But not this time.
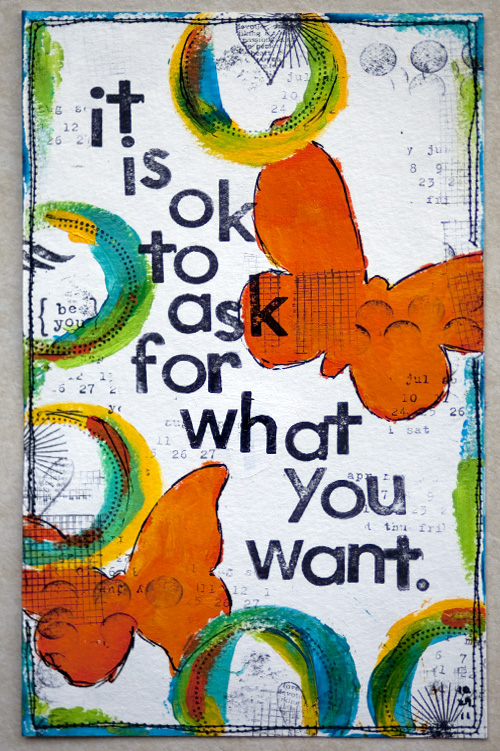
You might find it too sparse or even boring. That’s totally ok. The thing about art journaling is that it’s personal. What speaks to me might not speak to you and vice versa.
After four years and many, many, many pages, I feel like I am finally finding my personal voice and style of art journaling. I create a page almost every day and most of them are simple like the one above. I love the process and the end result. Sometimes I vary the look and try something new. But most of the time, I stick to what I love and what speaks to me.
That’s the trick with art. Doing what speaks to you. If you’re struggling like I was, I recommend throwing all the “rules” you’ve learned out the window and trying some new things. Here are some ideas of what you can try:
1. A different type of paper
I tried everything I had at home and bought a few new things. I finally found one specific paper I love the feel of and now I use that most of the time. I also found I love watercolor paper and not canvas. I love loose paper and not bound.
2. A different medium (watercolor, acrylic, pan pastel, pastel, oil, etc.)
I much prefer heavybody acrylics. I also adore pan pastels. I use watercolor on my sketches, but rarely on my art journal pages. I do like the feel of watercolor pencils and have it on my list to try them more often. The medium you use can make a world of difference. Don’t go out and buy a bunch of things but see if you can find a friend to borrow supplies from or see if you can go to a local studio for open art time.
3. A different background
Try using white. Try putting tissue paper all over the background. Or stamping all over it. Try using black paper. Kraft paper. See what speaks to you.
4. A different order
Dare to do your focal point first. Do the journaling first. Or create a page with no focal point. With three focal points. Just experiment on your own with doing things in a completely different order so you can see what inspires you the most.
Most importantly, the best thing you can do is to keep creating. Before I discovered my way, I made over 200 pages. If I hadn’t made all those pages, I would never have discovered that I didn’t like the way the colors looked muddy. I would never have found the paper I like or the colors I prefer. Lessons and bookmarks are great inspiration, but you can only learn and grow by trying. By experimenting and finding your own personal preferences.
Give yourself the time and space to play and discover what feels authentic to you. Take it from me: you do not have to do it the way everyone else does. We are all different and we have the space to express our uniqueness; that’s what makes art so incredibly powerful.
Thank you for letting me share my own journey with you
