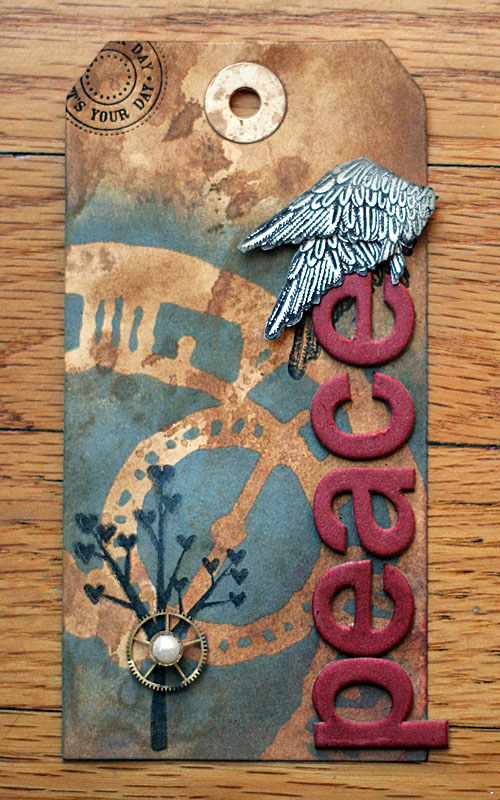
A few months ago, I made some handmade tags for Julie’s handmade for the holidays series. There were six tags and one set of downloads. I will post all of them one at a time during this week.
For all my tags I used manila tags I bought at Office Depot. You can always cut your own tag from cardstock and punch a hole as well.

Here are the steps to this simple tag:
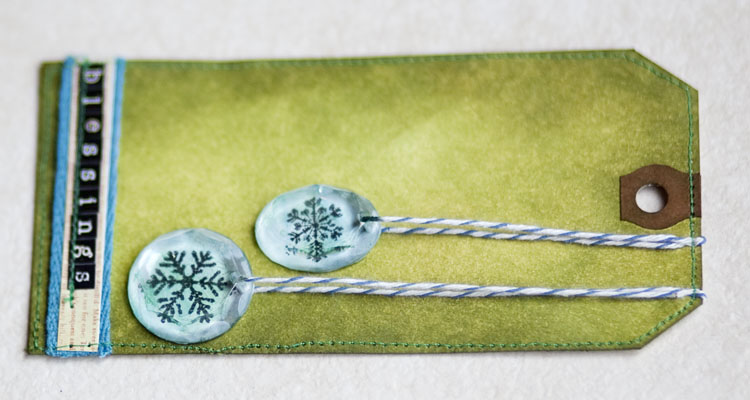
1. Using two different shades of green distress ink, I colored the background of my tag.
2. I stamped two snowflakes to light blue paper.
3. I picked two facets and glued them on top of the snowflakes, using glossy accents, which dry completely clear.
4. I dabbed a small amount of blue and green alcohol ink on the facets to give them a blueish glow.
5. I put some baker’s twine through the holes of the facets and glued the whole thing down on my tag so they looked like dangling ornaments.
6. On the bottom of my tag, I glued a blue ribbon and put a sticker with red type on it.
7. I spelled the word “blessings” with small letter stickers on top of that.
8. Finally, I stitched all around the tag and on top of my tiny letters just to make sure they don’t fall off in the mail. I also like the texture stitching adds to my projects.

Supplies Used: Peeled Paint and Shabby Shutters Distress Inks, Tim Holtz Idea-ology Facets, Tim Holtz Shabby Vintage Paper, The Girls’ Paperie Tinsel and Twig stamps, The Girls’ Paperie Tinsel and Twig Sticker Market, Stream and Meadow alcohol inks.
And here’s a movie where I demonstrate how I made the tag:
This was originally posted at Julie Fei-Fan Balzer‘s blog as part of handmade for the holidays series.


Just love your tag and thanks for the movie. I’m going to give it a try.
Gorgeous Karen – I missed this on Julies blog.